Windows 11 has just recently been rolled out to the masses in 2021. This major upgrade from Microsoft’s well-grounded operating system has arrived after more than five full years of using Windows 10. However, as we’ve discussed in our Windows 11 upgrade requirements article here, not all PCs will be able to support this significant enhancement right out the gate, unfortunately. Looking at the bright side, this is to ensure that all PCs that will install Windows 11 without any workarounds can have the best user experience possible, so the ideology that Microsoft is trying to implement in this case is pretty logical.
Windows 11 is out in October 2021, and each Windows user will be eventually notified to upgrade to this next big operating system. If you also cannot wait to start using Windows 11, bear in mind that your PC has to meet a set of requirements first. Out of all those, your TPM (Trusted Platform Module) must be version 2.0. If that isn’t the case, you might not be able to upgrade to Windows 11.
The good news is that Microsoft itself has just posted on their support page that there is a solution if you cannot meet the TPM 2.0 requirement. So please continue reading this article to find out what it is and quickly become eligible for Windows 11, even though your PC doesn’t have what it takes to be TPM 2.0.
How to bypass the TPM 2.0 requirement
TPM is short for Trusted Platform Module. It is an integral part of the Windows operating system that’s solely responsible for keeping the computer’s data safe and secure. An upgraded version of the TPM features means better security for Windows 11, making it sensible to strive for this upgrade.
However, if you cannot afford a new PC right now and still would like to experience the charm of a brand-new operating system, you can bypass the TPM 2.0 requirement using a simple trick. The following steps are going to discuss this process. Please read them carefully and implement them accordingly.
1. The first step is to check your current TPM version. Note that you will need at least TPM 1.2 to bypass the TPM 2.0 requirement for Windows 11. To check your current TPM version, press the “Windows” and “R” keys together to bring up the “Run” prompt. Once you have done that, type in “tpm.msc.” Your current TPM version will be displayed in the bottom-right area of the subsequently appearing window.

Trusted Platform Module (TPM) version checking
2. The next step is to open up the “Run” window again, but this time, enter “regedit” inside. Doing so will black out the screen and ask you for confirmation to access the Registry Editor. Select “Yes” as you go on, and this should open up a window for you. This window will be that of the Registry Editor.
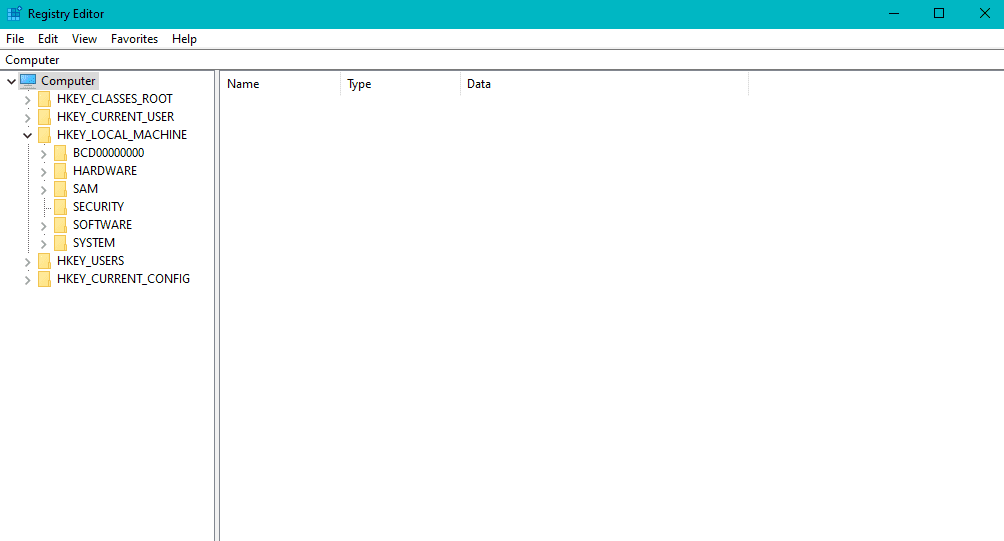
Registry Editor
3. Now, you have to make your way to a specific directory. The following text in the preformatted style tells you where you need to go. On the window of the Registry Editor, you first have to click on “HKEY_LOCAL_Machine,” followed by selecting “SYSTEM.” Then, you will scroll down in the same area and click on “Setup,” and then finally choose “MoSetup.”
HKEY_LOCAL_MACHINE\SYSTEM\Setup\MoSetup
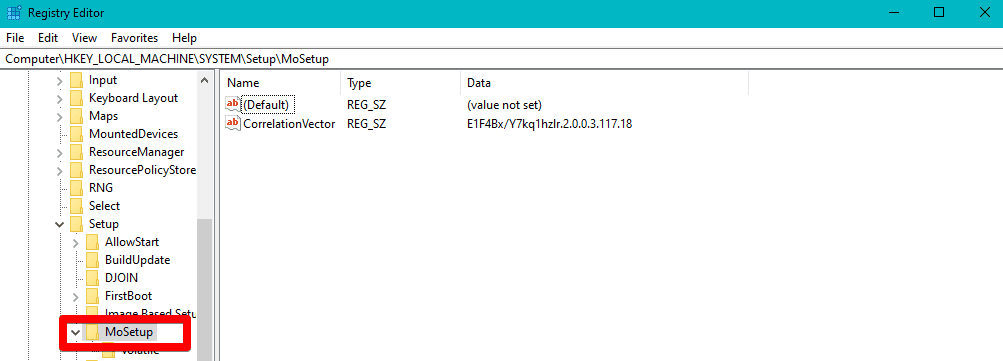
MoSetup area
4. Next, you have to right-click in the area where the contents of the “MoSetup” directory are displayed. When you do that, you will see that there’s an option to insert something “New.” Hover your cursor over “New” to bring up more options. Out of those, click on “DWORD (32-bit) Value.”
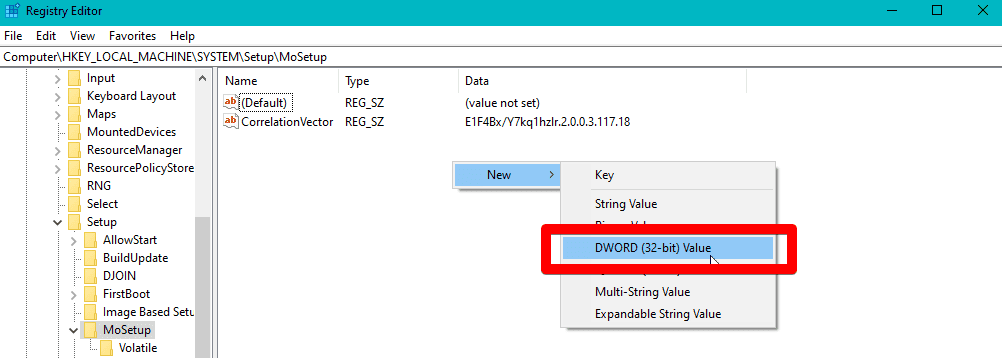
Creating new DWORD entry
5. After that, you will have created a registry value. However, the important part is yet to be done, so you will now name this registry value as “AllowUpgradesWithUnsupportedTPMOrCPU.” After doing this, you will now have to set the value of this registry as “1.” You can do that by right-clicking on the registry and selecting “Modify.” The option to enter the value will appear, so enter “1” right away and press the “OK” button to finalize the whole process.
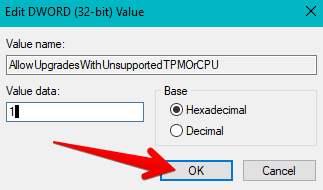
Finalizing the registry value
That is just about it for the tutorial! You are now all set to follow our guide of how to install or upgrade to Windows 11 on your PC, so we highly recommend that you get straight to it now if all that was left ticking off the list of requirements was TPM.
Conclusion
Windows 11 is the latest and greatest operating system from Microsoft that brings a lot of fundamental changes, new features, and, of course, a significant design overhaul. It’s the next major upgrade in six years and is measuring up to boast many promising things for the generation to follow. For instance, gaming will get a fantastic boost on Windows 11 since the operating system will focus extensively on it.
In addition to that, Windows 11 will also integrate Android applications with it, but not anytime soon. You can read all about the much-touted features of Windows 11 in this article here. Now that you know how to bypass the TPM 2.0 requirement, you’re one step closer to installing this fantastic operating system on your computer. We hope that you’ve found this article helpful. Keep following Windows Pixel for more informative tutorials like this one!
- Check out the top Windows 10 features that won’t be making it to Windows 11.
- Here are some commonly asked questions regarding Windows 11 and their answers.