Table of Contents
The cache is a collection of temporary files that various apps and programs store on the system to accomplish a task on subsequent attempts quickly. This includes the Windows cache as well as the browser cache. Over time, the cache may use a significant amount of storage space and adversely impair the efficiency of your Windows 11 PC; as a result, it is advised that you clear it regularly.
However, no single location on the system stores all cache and can be erased in a single operation. Depending on the app or software that generated it, it may be saved in various places.
To optimize your PC”s performance and keep it clean, you should clear several caches regularly. We”ll show you how to do this with Windows 11.
Why is it necessary to delete the system cache?
The thing about system cache is that deleting it would not occur until you had a performance issue. However, emptying the system cache regularly has several advantages:
- Clears Disk Space: As cache files collect over time, they can take up a sizable percentage of your hard disk. If your system runs out of memory, deleting the cache can free up disk space.
- Increases Performance: The system will slow down with insufficient storage capacity. As a result, emptying the cache improves system speed.
- Prevents Faults: Cache files can get corrupted over time, resulting in various errors, which can sometimes cause Windows to crash. Cache cleaning regularly helps prevent these issues and maintains your system healthy.
Now that you recognize the value of system cache cleaning let”s look at the many techniques available.
Deleting the system cache on Windows 11
Numerous built-in tools and functions assist you in clearing the system cache and manually deleting it from the area where it is stored.
1. Delete temporary internet files
These files are generated by apps when they do various activities and, in an ideal world, should be destroyed automatically after the task is completed. However, this is not always the case, and you will need to delete them manually.
The folder will quickly fill up again as the applications continue to generate these temporary files. As a result, you must clear it regularly.
To delete temporary cache files, click WINDOWS + R to open the Run command, type “% temp%” in the text field, and hit ENTER or click on “OK” at the bottom. Alternatively, you can use the” Run” command to open the temporary files folder to the following location. Replace “USER” with the user you are currently logged into Windows in the following path.
C:\Users\USER\AppData\Local\Temp
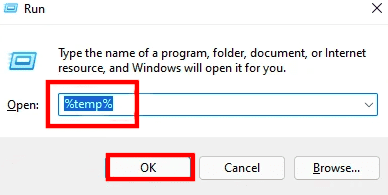
temp command
Once in the temp folder, click CTRL + A to select all files and then either hit the Remove key or right-click on any file and select the “Delete” icon to delete them.

Delete
Select the appropriate response to finish the deletion procedure, a confirmation box will display.
2. Using the settings app, clear the system cache.
A few additional temporary files distributed across the system can be readily deleted via the Settings menu.
To delete the system cache using the Settings menu, click on the “Start” symbol in the Taskbar menu or click WINDOWS + X to bring up the Quick Access menu. Next, select “Settings.” Alternatively, you may fire up the Settings app by pressing WINDOWS + I.
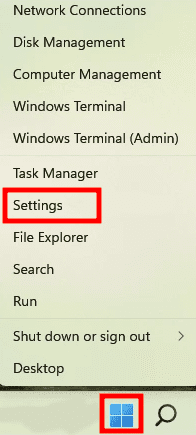
Settings
Scroll down to the “Storage” option in the Settings” “System” tab.

System Storage
Allow Windows to scan and assess the temporary cache files on your machine. Now, at the top, pick the “Temporary files” option.
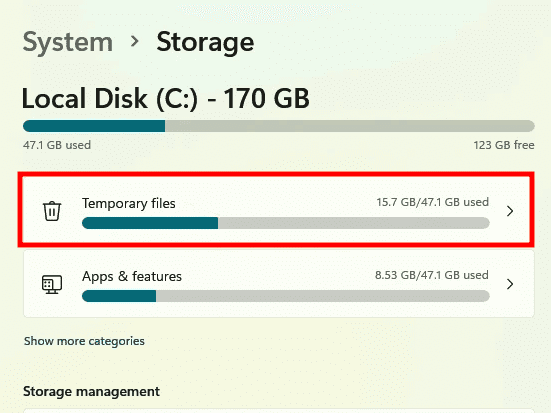
Temporary files
The multiple cache files will be shown in alphabetical order. Next, select the files you wish to delete by scrolling down and clicking on the “Remove files” option.
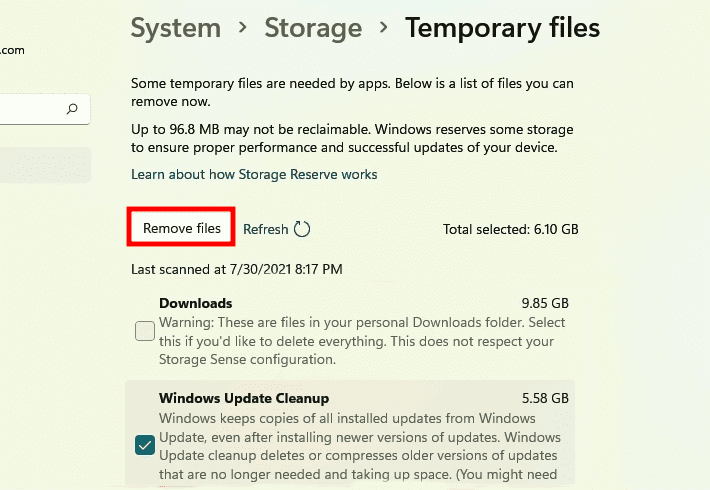
Remove temporary files
Finally, click “Continue” to finish the process.
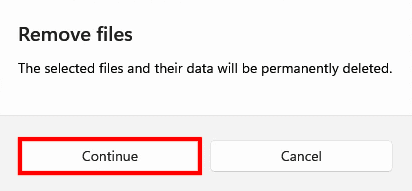
Remove files
The files you”ve chosen will now be erased.
3. Using Disk Cleanup, clear the system cache.
Disk Cleanup is a built-in tool that examines your hard drive for unused cache and other transient system files.
To use Disk Cleanup to remove the system cache, search for the application in the Search menu and click on the appropriate search result to open the application.
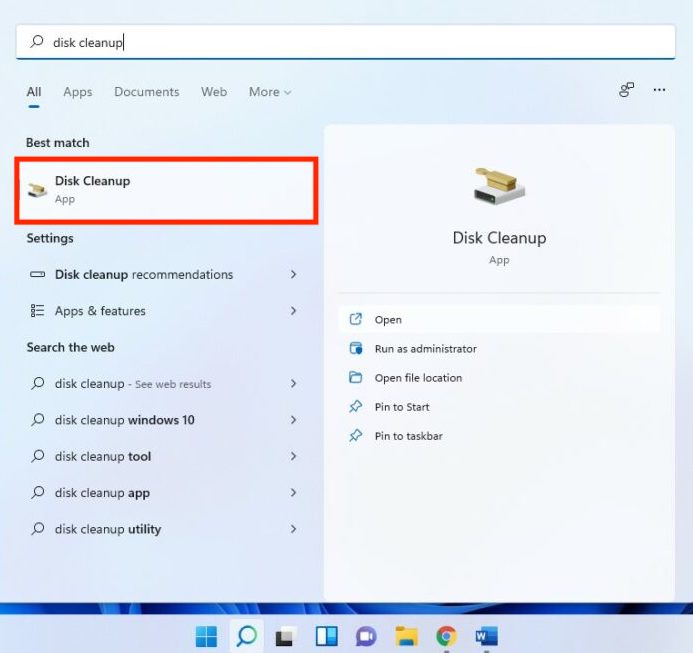
Disk Cleanup
You will now be prompted to select the drive to clean. Select the drive using the drop-down option and click “OK” at the bottom. Disk Cleanup now will scan your system to discover any cache files.
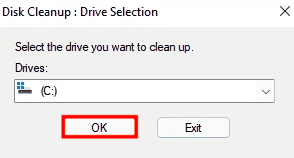
Select disk
After the scan is complete, choose the files you wish to remove from the “Files to delete” section and click “OK” at the bottom. If a confirmation box displays, select the proper response.
Additionally, you can clean out the file system with the Disk Cleanup software. These files typically consume a large amount of disk space, and deleting them improves system speed.
Click on the “Clean up system files” option to clear the system files.
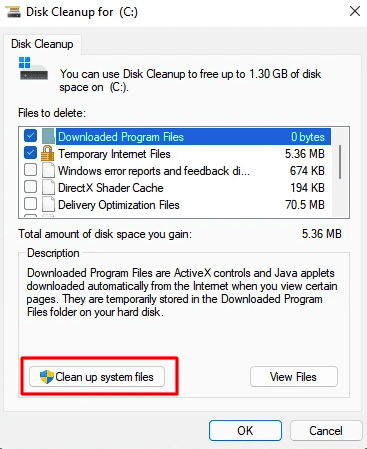
Cleanup system files
Now, navigate to the drive that contains the system files, which is most likely the “C:” drive. Now, sit tight for Disk Cleanup to search your hard drive and detect unnecessary system files. Once the scanning activity is complete, choose the files you wish to remove from the “Files to delete” section and click on the “OK” button at the bottom.
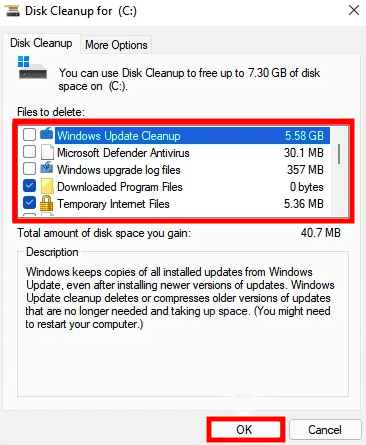
Select files to delete
Select an appropriate response if a confirmation box appears.
4. Delete the DNS cache
The DNS (Domain Name System) server caches the domain names of previously visited websites to load them more rapidly on subsequent visits. Over time, this database may become overburdened, and the records may become corrupt, resulting in website loading issues. This section describes how to remove the DNS cache.
To remove the DNS cache, run the software by searching for “Windows Terminal” in the Search bar and clicking on the appropriate search result.
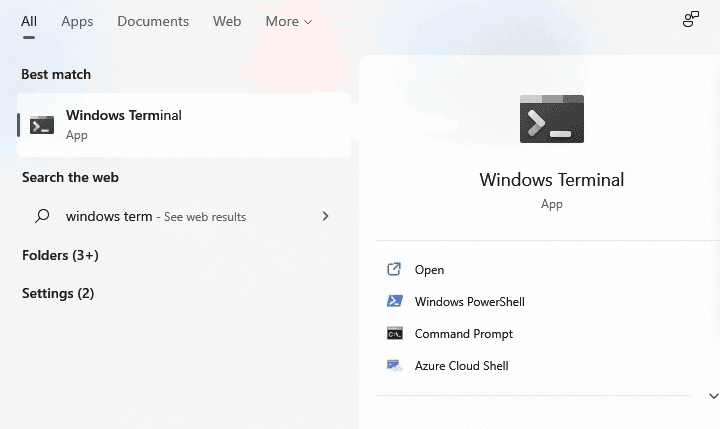
Windows terminal
Unless you explicitly choose “Command Prompt” as the default profile in the Windows Terminal application, the PowerShell tab will open by default. To open the CMD (Command Prompt,) click on the arrow symbol at the top, and then on the menu that appears, select “Command Prompt.” Alternatively, you can open the Command Prompt tab by pressing CTRL + SHIFT + 2.
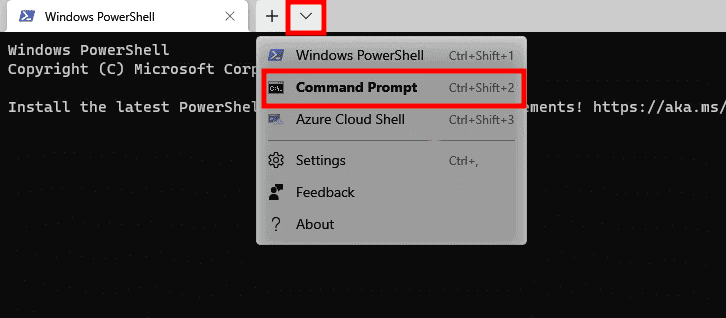
Command Prompt
Type the command below in the Command Prompt and hit Enter to run it. This will erase the DNS cache.
ipconfig /flushdns
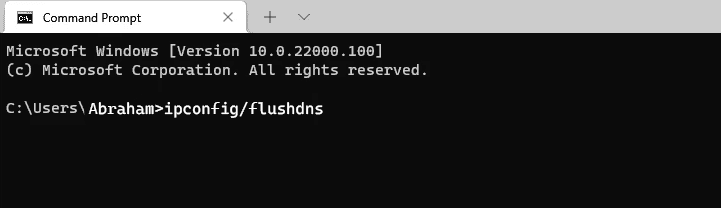
Flushdns
Now, the DNS cache will be flushed.

Flush DNS
5. Empty the Location Cache
Additionally, you can remove the system”s cache of location activity.
To clear the location cache, open the “Settings” app as described above, navigate to the left navigation pane, and select “Privacy & security.”
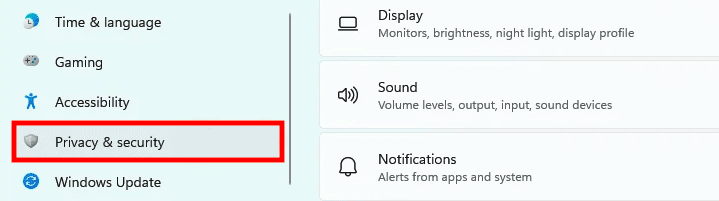
Privacy and Security
Now, on the right, click the “Location” option under “Apps permissions.’
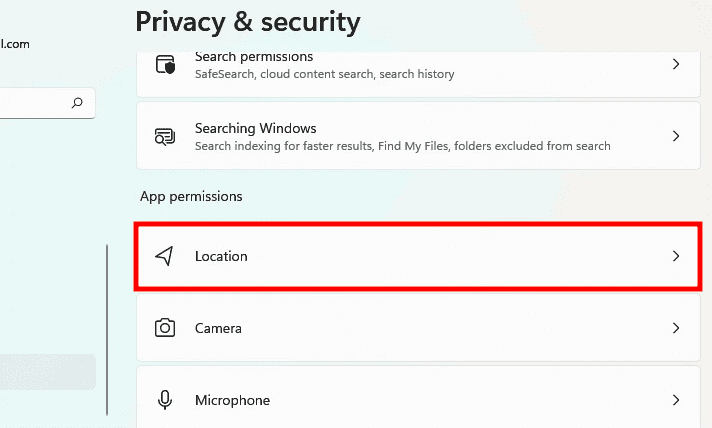
Location
Following that, locate “Location History” and click on the “Clear” button beside it.
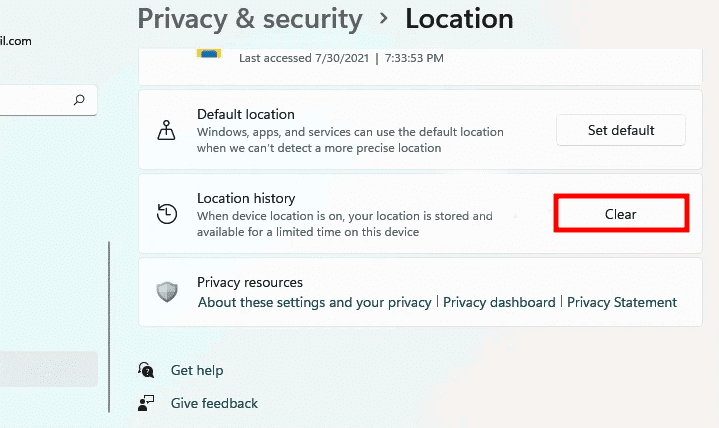
Clear Location History
The system”s location history will be wiped.
6. Delete Cache from Microsoft Store
When you visit the Microsoft Store and acquire applications, cache files are created. These files can be readily deleted with a single command. Let us see how you accomplish that.
To erase the Microsoft Store cache, click WINDOWS + R to invoke the Run command, type “wsreset.exe” in the text field, click “OK” at the bottom, or hit ENTER.
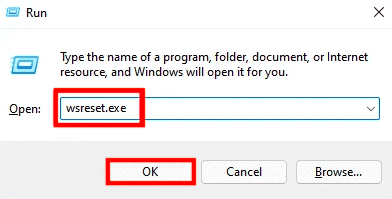
Run
This will display a black window with no text. Once the cache has been emptied, the Microsoft Store program will launch.
7. Empty the browser cache
When you visit a website, your browser downloads some items, such as graphics and scripts, to speed up later visits. Clearing the browser cache is not suggested unless you are experiencing difficulties accessing a specific website.
Clearing the browser cache frees up system storage and is an effective troubleshooting tool. Frequently, if the edition of the cached copy of a webpage differs from the current version, accessing it will be impossible. Clearing the browsing cache is an efficient way to resolve this issue.
Before we lead you through the process of deleting the browser cache, let”s define cache and cookies, two different terms that are frequently used interchangeably.
- Cache: These are the files that have been downloaded from the website, such as photos, fonts, and source code. The cache for people who have visited the same webpage will be nearly identical.
- Cookies: Cookies are tiny text files that enable tracking of your online browsing activities and the data you enter. The server sends your browser a cookie stored on your computer when you access a site. You would see the information you previously input on subsequent visits to the same website. Cookies will be unique for each person who visits the same website.
Now that you”re familiar with the browser cache, let”s look at how to erase it.
a) Microsoft Edge cache deletion
On Edge, click the “Settings and more” icon in the top-right quadrant, hover over “History” in the flyout menu, and pick “Manage history” from the range of choices. Alternatively, you can open the History window by pressing CTRL+ H.
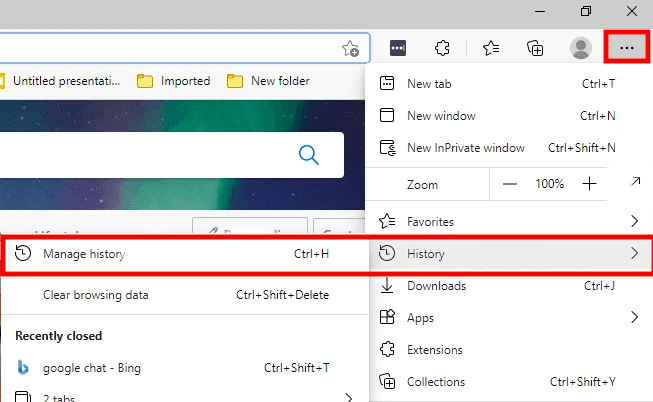
Delete Cache on Microsoft
Now, in the top-right corner, click “Clear browsing data.”
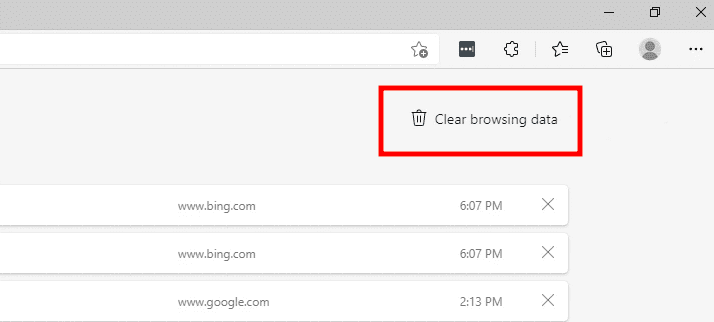
Clear browsing data
Following that, click on “Time range” and choose the period for which you wish to erase the cache. Finally, check the “Cached image and files” checkbox and click “Clear now” to clear them.
Microsoft Edge”s cache will now be erased.
b) How to delete the cache from Chrome
If Chrome is selected as the primary browser in Windows 11, you must also delete its cache.
To remove the cache in Chrome, click the ellipsis in the upper corner and hover the pointer over the flyout menu item “History.”
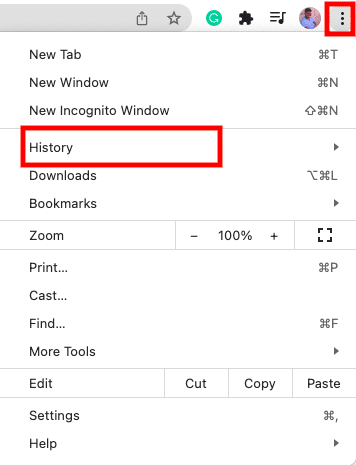
Chrome History
Now, from the secondary menu that appears, pick “History.” Alternatively, you can use CTRL + H to open the “History” section of the browser.
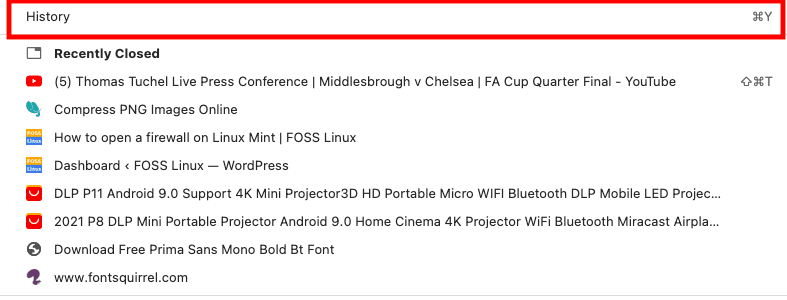
Google Chrome history
Then, click the “Clear browsing data” option on the left.
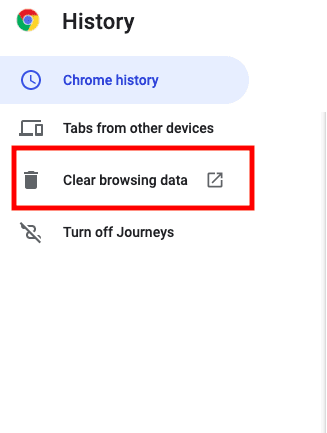
Chrome clear browsing data
Select the time range you want to delete the cache from the drop-down option at the top, check the box for “Cached photos and files,” and click “Clear data” at the bottom. Select an appropriate response if a confirmation box appears.
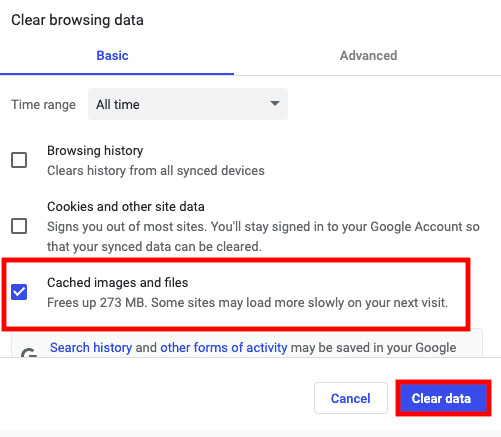
Clear data
Google Chrome”s cache will now be cleaned.
Conclusion
The techniques outlined above are the most effective at clearing the system caches on Windows 11 and would result in significant storage space being freed up. Additionally, these solutions are helpful if you experience an error due to a faulty cache file. We hope this article guide was useful. If yes, please leave a remark below. Thanks for reading.
1 comment
Excellent articles.