
Table of Contents
VirtualBox is free and trusted virtualization software designed to run multiple operating systems on a single computer/server. In this article, we’ll show you how you can install and configure VirtualBox on Windows. As indicated by its name, Oracle VirtualBox is an open-source that lets you create and run virtual machines to test various operating systems on a single host. This setup eliminates the need of setting up a new PC or creating a dual boot system.
Generally, this powerful virtualization tool is used to test new releases of Windows versions. Moreover, you can also use it to run operating systems like Linux, Ubuntu, and Solaris inside a virtual machine without risking your main operating system.
System Requirements for installing VirtualBox
To install Oracle VirtualBox on your system, it must fulfill the following requirements:
- To install the VirtualBox, your CPU must support virtualization technology.
- The system should have at least 80 GB of disk space.
- You must be using Windows 8, 8.1, Windows 10 Pro, or Enterprise to install VirtualBox.
- Your computer should have a minimum of 8 GB or 16 GB RAM.
If your system fulfills the above requirements, you can easily install VirtualBox on Windows by reading the next section.
Installing VirtualBox on Windows
- Visit the VirtualBox website and click on “Windows host” under platform packages to download the VirtualBox file.
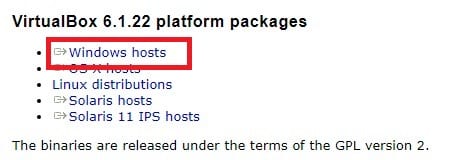
Windows Host Under Platform Packages
- Once the file is downloaded, double-tap to open it.
- Click on “Next” under the Virtual Setup box.

Clicking on Next Under Virtual Setup
- Now, uncheck the unimportant options from the list and tap on “Next”.

Unchecking the unimportant items
- Say “Yes” to the Network reset warning to proceed with VirtualBox Installation. Remember, it will reset your network settings and add a virtual adapter to your system.
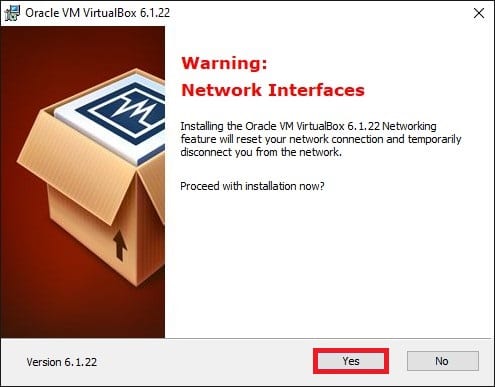
Network Installation Warning
- Click on the “Install” button to begin the installation process.
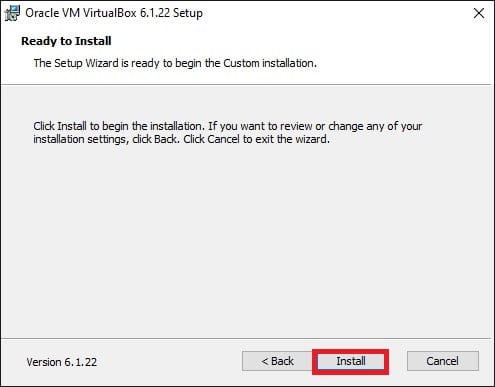
Installing Oracle VirtualBox
- In the Windows Security box, select “Always trust software from Oracle Corporation” and then tap on “Install”. The installation will begin.
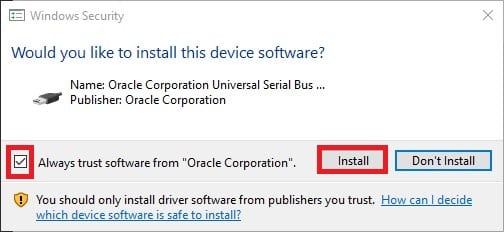
Windows Security Dialog Box
- Finally, tap on “Finish” to start the VirtualBox application.

Finishing the installation
Installing VirtualBox Extension Pack on Windows
Installing the VirtualBox Extension pack is not mandatory, but it allows support for disk encryption, USB 2.0 and 3.0 devices, NVMe, PXE boot, and VirtualBox RDP. You can leave this step and jump to the configuration part if you don’t want to enable support for any of the above devices.
Here’s how you can install the VirtualBox Extension pack on Windows:
- Go to the official VirtualBox website and click on “All supported platforms” under VirtualBox Extension Pack.

All Supported Platforms Under VirtualBox Extension Pack
- After downloading the extension pack, open the previously installed “VirtualBox Manager”.
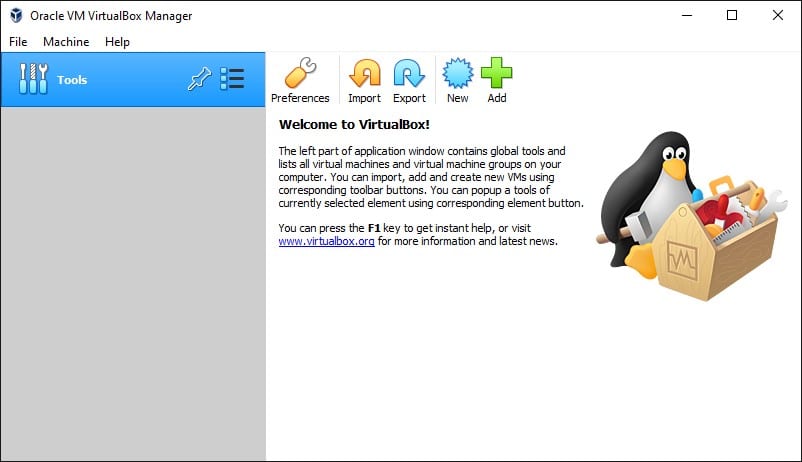
Opening Oracle VM VirtualBox Manager
- In the “Files” option, go to “Preferences” and then switch to the “Extension” tab.
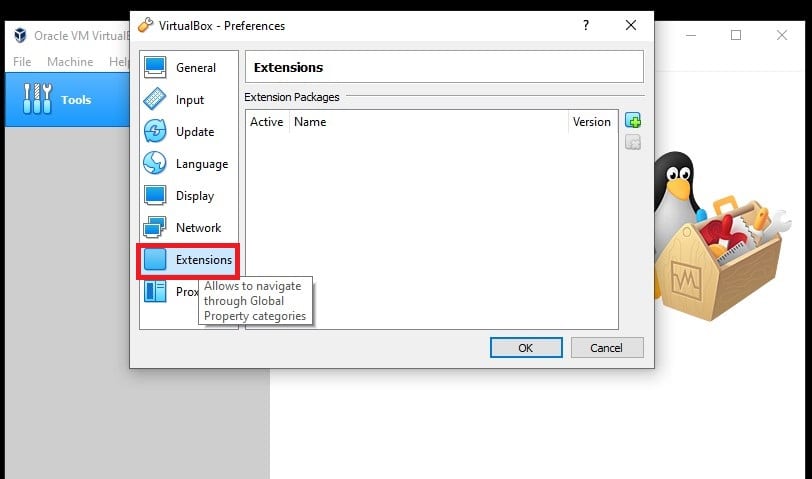
Extensions in Preferences
- Tap on the “Plus” sign in the extension tab and select the downloaded extension pack. A pop-up will appear, prompting you to install or cancel the extension pack.
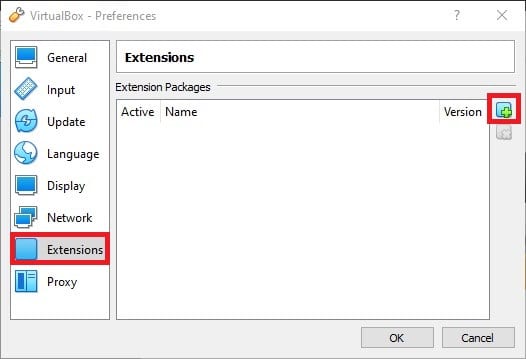
Tapping on Plus Sign in Extensions Tab
- Click “Install” to begin installing the VirtualBox Extension pack on your computer.

Installing VirtualBox Extension
- Wait until you get the installation successful message. Tap on “OK” to the successful installation prompt and exit the app.
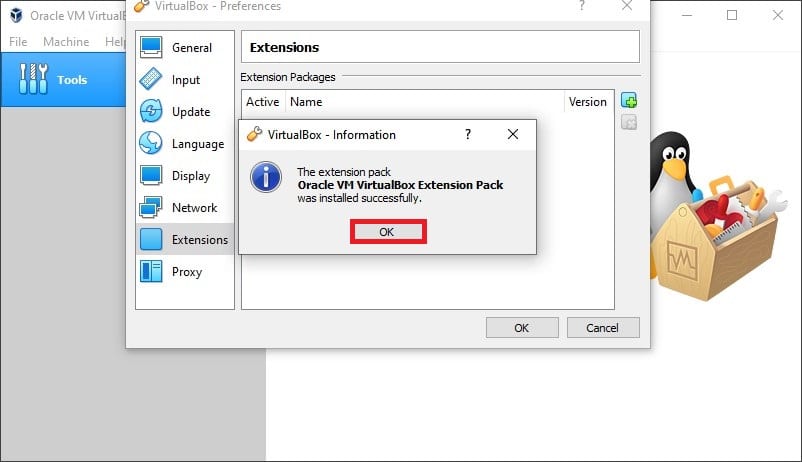
Installation Successful Message
Configuring VirtualBox on Windows
Once you have installed the VirtualBox app/manager on your PC, it’s time to configure it. Although, you don’t necessarily need to change the default settings, as they work fine for many users. However, there are some basic settings you might want to modify while setting up a virtual machine on your system.
Follow these steps to configure VirtualBox on Windows:
- Launch the “VirtualBox” app and select “Preferences” in the “Files” Option.

Selecting Preferences in Files Option
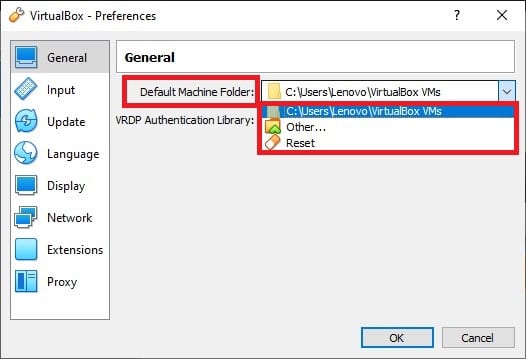
- In the “General” tab, choose your desired default location to store virtual machines. For this part, we recommend choosing an external hard disk as it will save your system from slowing down. Click “Ok” to save the default location.
Maximum Guest Screen Size in Display Tab
- Now, switch to the “Update” tab and tap on the “Check for Updates” option there. You can then check which releases or pre-releases of the app you want to use and finally click “Ok”.
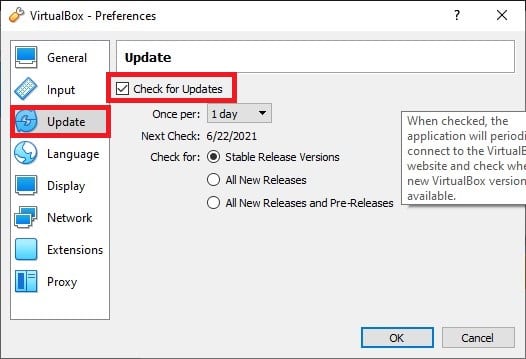
Check for the Updates option in the Updates tab
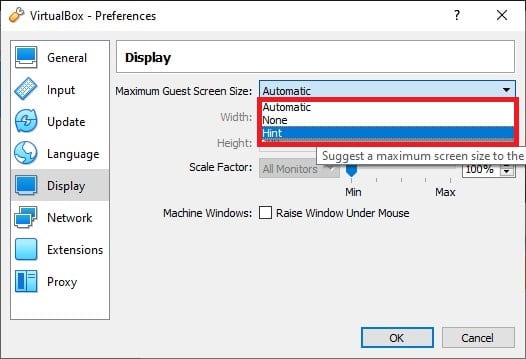
- The last part of the configuration process is to select “Maximum Guest Screen Size” in the “Display tab”. Here you can choose the “Hint” option to use the default maximum screen size.
Choosing the default machine folder
- Lastly, click on “Ok” to save and apply the custom configuration settings while creating virtual machines.
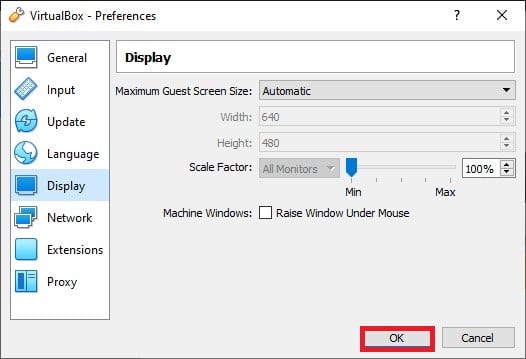
Applying Custom Configuration Settings
Conclusion
Since it’s free and open-source software, VirtualBox is widely used to create virtual machines having multiple operating systems on a single host. Furthermore, it enhances the computer’s performance and provides various hardware features like USB device support, remote machine display, etc.
This article features a step-by-step guide on how to install and configure VirtualBox on Windows. Follow the steps and set up a virtual machine on your system without disturbing your whole system.