
Table of Contents
ReShade is a generic post-processing injector developed by Crosire for games and video software. It exposes an automated and generic way to access frame color and depth information and all the tools to make it happen. It features its very own shading language and Tran’s compiler called ReShade FX. The syntax is based on HLSL but with additional tools for creating post-processing effects. ReShade is now open sourced under the rules of the BSD 3-clause license, as of January 1st, 2017.
Since ReShade only alters in-built post-processing elements, it does not cost as many frames as alternative graphics mods like ENB – although as a result, ReShade is not capable of the same level of change as ENB. ReShade helps you to better differentiate aspects of your surroundings in games like PUBG by changing the color palettes. At any one time, your peripheral vision sees a lot more than you realize. One of the ways ReShade helps is by allowing you to see changes in your peripheral vision more clearly.
PC gamers are always looking for new methods to improve their visual quality. As a result, high-definition texture mods and packs are becoming increasingly popular. If your PC can handle such mods, you may download Photorealistic ENB shaders for the vast game library, but keep in mind that most of these shaders are user-made. With ReShade, you can imagine your favorite games with improved color correction, genuine depth of field effects, and ambient occlusion options. Thanks to its powerful capabilities, it allows you to access both depth information and frame color automatically and generically. There are numerous choices, and some developers have included all of them.
These are some of the possibilities:
- SMAA Antialiasing
- Screen Space Ambient Occlusion
- Depth of Field effects
- Chromatic aberration
- Dynamic Film grain
- Automatic saturation and color correction
- Cross processing
- Multi-pass blurring
- Advantages for PC games
After installing ReShade on your computer, you can make various changes, such as defining your textures, adding shader code, and changing the rederstates. You can also request specific values such as critical states and timers and color and depth data. This isn’t the end because the editor will allow you to write your shader codes all at once, and they’ll work wherever. ReShade ensures that your target, whether open GL or Direct3D, is compiled to the correct shader model and language.
Before installing it, you should be familiar with the fundamentals of shaders and how to set them, as it is the most common shader add-on for DirectX games, with a somewhat lower performance impact than the ENB series. As a result, ReShade is the one you should use for older PCs to get the best performance, whereas ENB hooks itself into the game’s script and can reduce your framerates.
Requirements for ReShade
There are some additional shader packs also available such as:
- MassFX
- Shaders by Loxa
- ReShade 2.0 shaders ported to ReShade 3.0
Downloading and installing ReShade
To get ReShade working, you will need to download the installer from the ReShade website and then use it to install the software on your game. Before starting, find out which version of DirectX the game you want to install ReShade on uses. Then, to install ReShade on your PC, follow the steps below:
- Begin the process by downloading the software from ReShade’s official website and installing it.
- Choose the.exe file you want to work with, and ReShade will bring up a window asking you to choose an API.
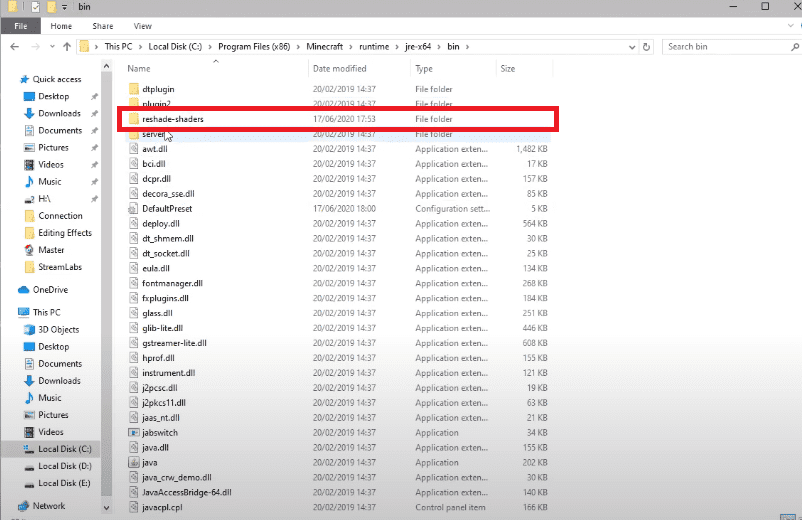
- In the third step, you’ll see a folder structure that includes a ReShade DLL and a folder called ReShade-Shaders, as well as subfolders like Shaders and Textures.

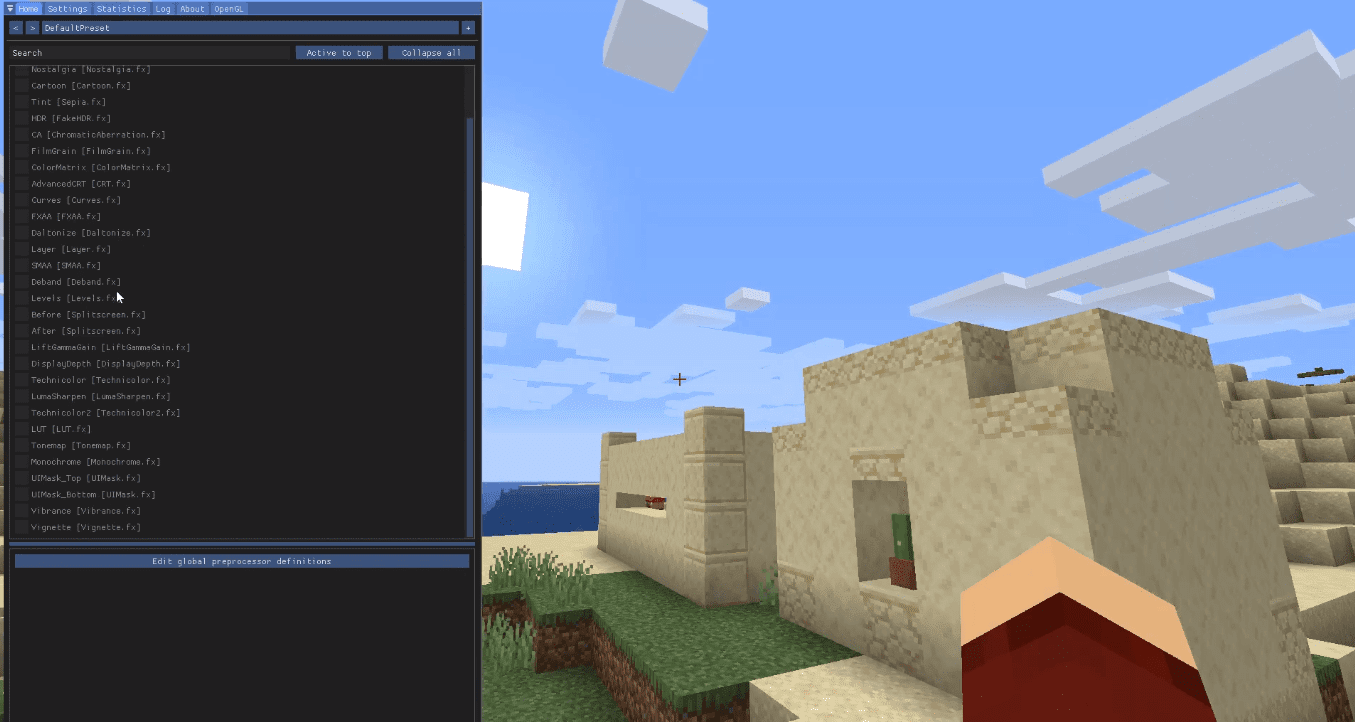
reshade shaders
- Start the game and press Shift and F2 to open the ReShade overlay menu. You will see a brief instruction if you do so.
- To make the user interface for configuration more accessible, go to the settings button and change the input processing option to (Block all input when overly visible for you).
- If you can’t locate any shaders in the main menu, you’ll need to get custom shader packs.
- On the home page, you can enable effects after you’ve completed all of the steps.
- The most important thing to remember while working on it is that if you’re using too many in-depth effects, you’ll need to tweak the preprocessor definitions.
- Once everything is finished, the game can be released in a few minutes.
reshade Minecraft
Installing presets
If you want to avoid the hassle of tweaking ReShade settings and instead prefer to use the settings someone else comes up with, you can install presets that community members make public. To install presets, use the following steps below:
- Download the preset files you want for the game you are using ReShade on
- Extract the files to your desktop
- Copy the preset files, then paste them into the same folder that the game’s executable is in
- Now when in the ReShade menu in-game, you can select the preset, and all of the ReShade settings will change to what the community member who made it had them as.
Setting up ReShade for video game post-processing
1. Select Rendering API
After installing the ReShade utility, you’ll be prompted to enter the location to the game’s “.exe” file and select the appropriate rendering API for your game. When it comes to API, there are three options: Direct 3D 9, Direct 3D 10+, and Open GL. Go to this website and search for your game in the list to see which APIs are compatible with it. You can see which games ReShade supports and to what extent, as some games may only have restricted render options. When it comes to post-processing, older games have more significant limits than newer games.
2. Download standard effects
This step entails obtaining a set of standard shaders from an open GitHub repository. The installation procedure will prompt you to select shaders, but you can download them and select the effects you need later in the game. The download and installation of these standard effects will take some time, but they are required for appropriate ReShade configuration.
3. Activate ReShade settings
You can begin playing your game after the installation is complete. You have to hit the “shift + F2” combination of keys to enable the ReShade consoles. Then, in the ReShade menu, create a new preset with a new name.
Finally, you can turn on or off any effects that you think will enhance your gaming experience. The following are the most widely accepted effects:
- Fast approXimate Antialiasing (FXAA) – a faster and more effective shader than the typical MSAA antialiasing.
- Ambient light – enhances the overall lighting on the surfaces, which will let you see things better even in the darkest of games.
- Digital Picture Exchange (DPX) – allows limited post-production image effects that provide more color controls over the resulting image.
- High Dynamic Range (HDR) Rendering – provides more vibrancy and contrast to the overall picture without skewing the flow of rendered frames.
Now you can fix graphics in your games the way you want it and whenever you want it.
About Performance
You may use this software with a low-performance system to improve the color shaders, or you can use it to reduce your framerates by more than half if you employ all of the advanced shading techniques. It’s a lot of fun to experiment with different things in your favorite game to find the perfect place, but here’s a general sense of what you should expect from Shaders in terms of FPS (Framerate per Second). Some games that aren’t well optimized, such as Dishonored 2, can significantly benefit from the SweetFX profiles. You can easily create bright visuals and improve performance by removing Antialiasing processing and using SMAA to sharpen the filer.
Conclusion
This article has comprehensively covered how to install ReShade on a Windows PC game. It also covered the process of setting up ReShade for post-video processing, ReShade preset installations, and the requirements for installing Reshade. At this point, we believe you have all the required content concerning ReShade installation. If yes, please give a thumbs up via the comments section. Thanks for reading.