Table of Contents
In a world full of graphic designers and video editing experts, not many can get far without a handy editing tool by their side. Many tend to Adobe Photoshop, for that matter, while others seek out working alternatives. When you come down to explore all your options, it’s not rare to get confused since there’s just a lot to consider.
However, when all of your worries concerning video editing are addressed, you don’t have to keep looking for the right tool. That is precisely where the OpenShot video editor comes in, an excellent software comprising advanced editing tools and a sizable, vibrant community. This award-winning program is available on many platforms and is also open-source, so don’t hesitate to make your modifications to OpenShot.
All that is to say that this software is the go-to choice for millions of people worldwide due to its commendable ease of use and feature-rich interface. In this article, we will talk about how you can use the OpenShot video editor on your Windows laptop if you’re a beginner, so keep on reading for a thoroughly detailed guide. So without any further delay, let’s jump right in.
Minimum system requirements for OpenShot video editor
Before we get into using the OpenShot video editor on your PC, let’s verify whether your system consists of the minimum requirements to run this program or not. The following is what you should need for OpenShot.
-
64-bit operating system (Linux, OS X, Windows 7/8/10)
-
Multi-core processor with 64-bit support
-
4GB of RAM (16GB recommended)
-
500 MB free space for installation
-
Extra: Solid-state drive (SSD)
How to install OpenShot video editor on Windows 10
We are now going to talk about the installation steps of the OpenShot video editor so you can have an easy time getting it on your Windows laptop.
1. The first step is to visit the official installation page of the OpenShot video editor, and you can do that by clicking here. When you are there, click on the “Download” button to begin the download process.
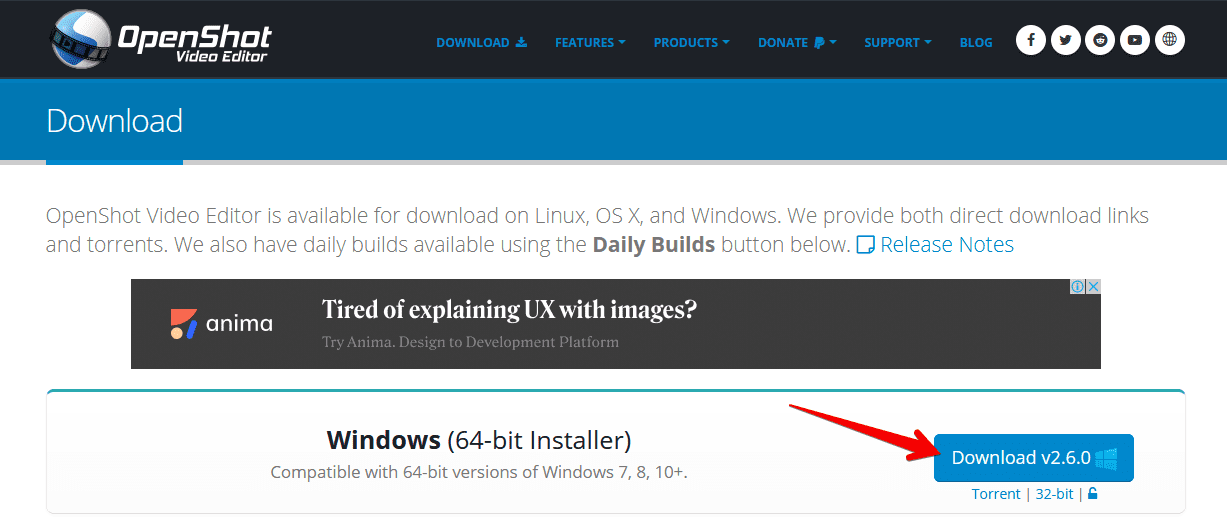
Downloading OpenShot video editor
2. When the downloading procedure has been finalized, you will launch the setup and go forth with the installation. Then, follow the on-screen instructions, and you will be good to go.
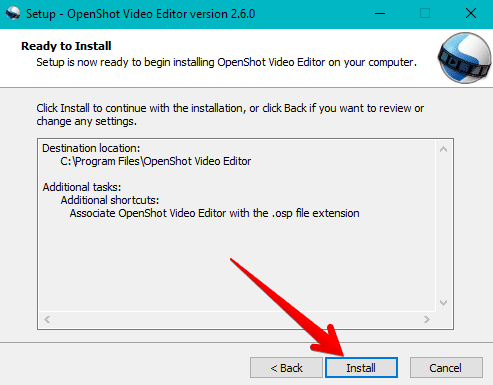
Going through the setup of OpenShot
3. After following the on-screen instructions, you should be all set to launch the OpenShot video editor on your Windows laptop. That can quickly be done through the Windows Start menu by searching for the application, or the editor can launch itself too after the installation is finished.
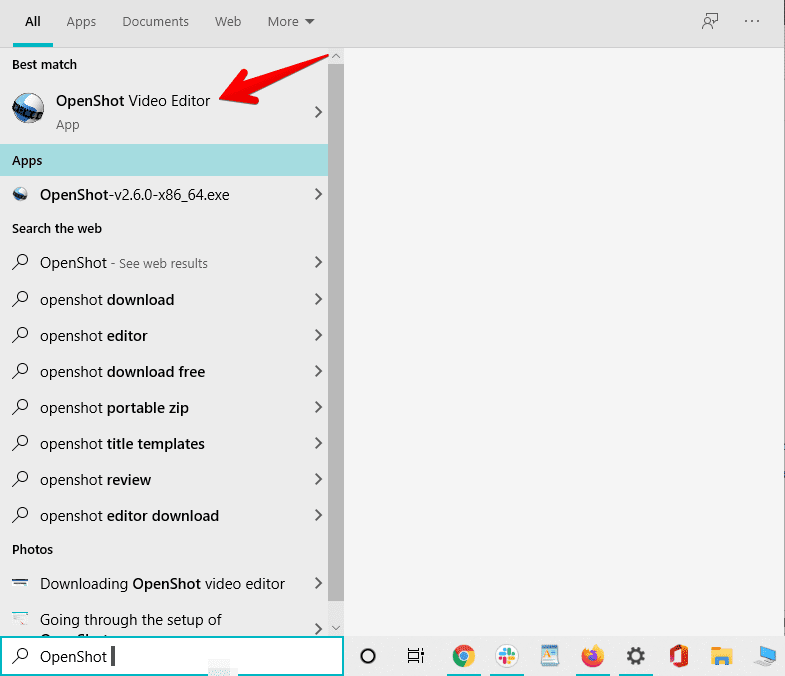
Launching OpenShot video editor
You now have the OpenShot video editor on your Windows 10 PC. However, it would help if you now launched it to understand better its working and how this top-of-the-line editing tool operates.
How to use the OpenShot video editor
Note that the following is a basic introduction of the OpenShot video editor and doesn’t discuss anything advanced. However, beginners and casual video editors will get a thorough idea of working with this tool and get around it quickly. So, with all this said, let’s get into the procedure of how to use OpenShot.
When you first launch the OpenShot video editor, you will be welcomed by the greeting screen that also includes a short tutorial. The following is a screenshot of the interface of this video editing program.
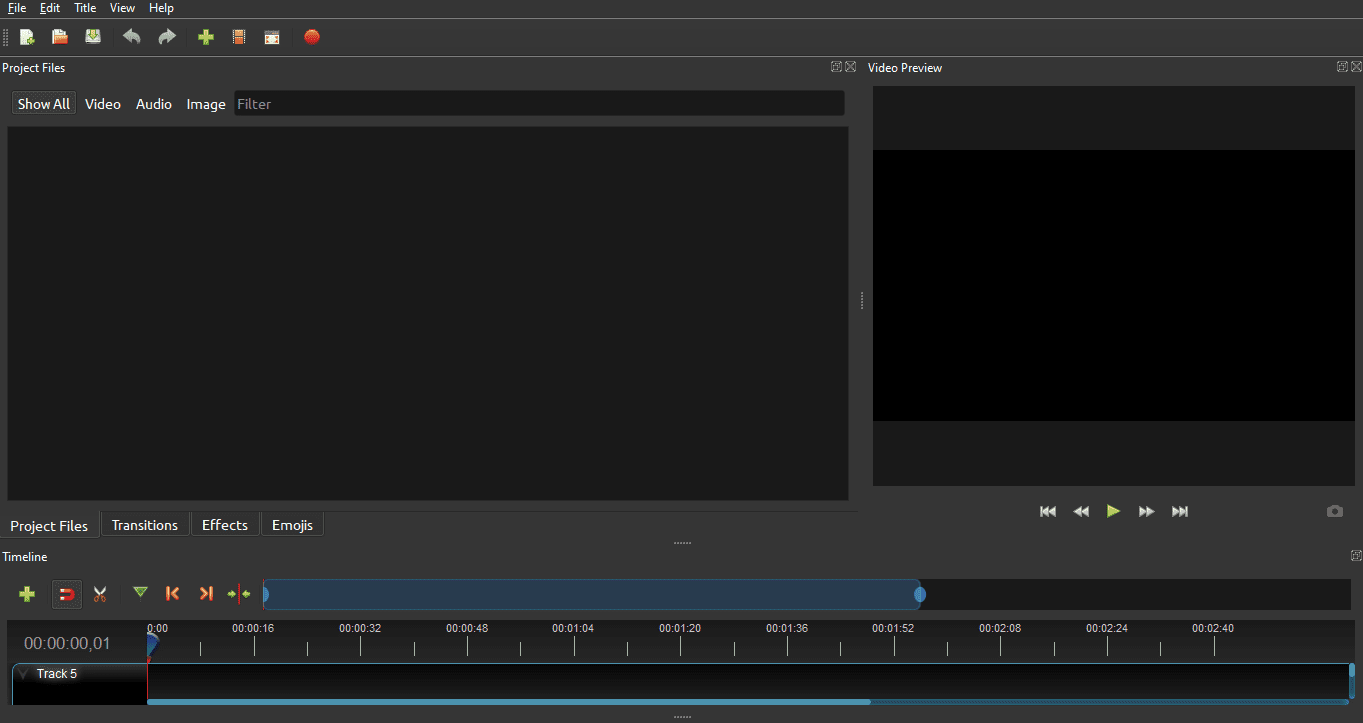
OpenShot video editor interface
At a basic level, there are four major components of OpenShot that you need to be aware of to get into using this video editor. Let’s take a look at them below and break them down one by one.
- Project Files
- Timeline
- Preview
- Export
Project Files
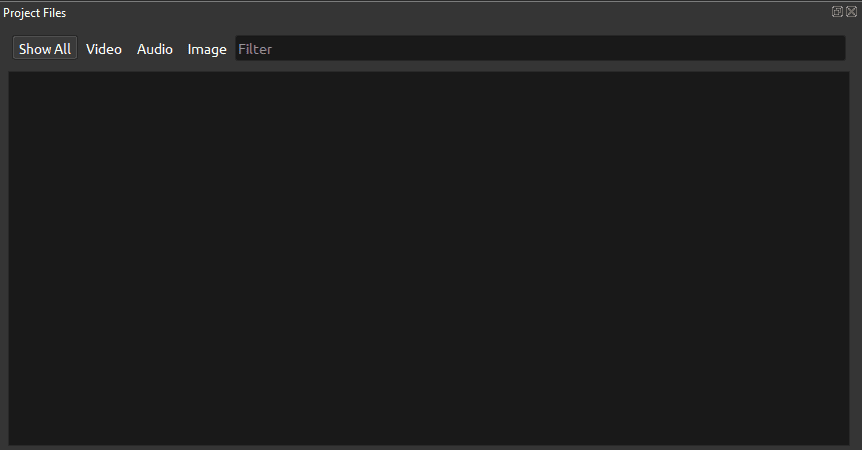
Project Files area of OpenShot
The first component is called “Project Files,” which starts all the magic for you. In the middle-left of the interface of OpenShot, there will be this specific area of Project Files. The primary function of this component is to import files from your computer’s local storage to start editing them and putting them together to make a proper, full-fledged video. This includes audio files, video clips, and photos. The Project Files area follows a drag-and-drop mechanism, meaning that you can easily select the relevant files from your computer, drag them across your desktop, and drop it in the Project Files section.
To use another method of importing files, you can also click on the “File” option present in the toolbar above and select “Import Files.” Alternative to this process, you can press the shortcut key combination of “CTRL + F” and start importing files from your computer quickly. Once you have imported everything you need to make your video, it’s time to move on to the next step of using OpenShot.
Timeline

Timeline area of OpenShot video editor
This is the area where all the elements of your to-be-made video are compiled and formulated to become one whole unit. The Timeline allows you to piece photos, audio tracks, and video clips together and edit them however you’d like. However, before you start doing that, you will first have to drag files from your Project Files area, which you’ve just imported the files to, and drop them into the Timeline area.
You will have to place your files strategically so you can have the desired effects. For example, dropping the video clip first and then adding photos to the Timeline would mean that the images would appear during a specific period in your video. The same goes for other additions, such as audio clips, more photos, and other videos.
The Timeline area is where you can deploy many of OpenShot’s features. Some of those include Transitions, Effects, and Emojis as well. Just like the procedure of adding photos to your timeline, the Effects, Transitions, and Emojis will be similarly transferred to Timeline by using the drag-and-drop mechanism.
Once you’re done with your inclusions and edits, it’s time to get into the next step.
Preview
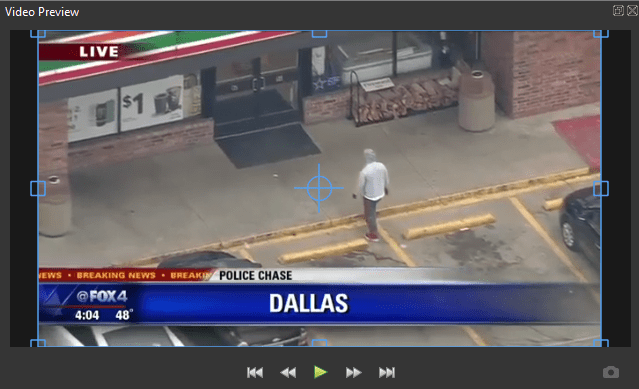
Preview area of OpenShot video editor
The Preview component of the OpenShot video editor goes hand in hand with the Timeline component because you constantly have to go over your video and see if the changes you’re making are giving you the desired effects or not. The Preview screen will show you how your video looks like when your edits have taken shape. You can pause, play, fast forward, rewind, jump to the start, and jump to the end of your video using the component’s buttons at the bottom area.
Another functionality of OpenShot’s Preview component is to let you capture a frame during the video playback. If a particular frame has sparked thoughts within you and you’re debating whether you can utilize that image for something more splendid, capture it right away using the camera icon in the bottom-right corner.
After everything has been sorted out, all left is to export your created video and save it to your computer easily. So let’s talk about that now.
Export

Exporting videos in OpenShot
The Export button is shaped like a red circle. It lets you save your progress and export your video to your local storage on your computer so you can finally put your edited video to good use.
When you click on the “Export” button, a window will appear containing different parameters of the export function. For instance, you will be able to select the video resolution, along with where you’d like to save the video. In addition to that, you can also set the video quality from Low, Medium, and High – whatever you need for your project. As far as the video resolution is concerned, OpenShot supports resolutions up to 4K UHD 2160p 60 FPS (3840×2160).
Moreover, there’s also flexibility in the file format area, such as Blu-Ray, Device, and Web.
Conclusion
OpenShot is a high-performance video editor with a tremendous fan following and an admirable monthly user count, all because of its open-source nature and an exceedingly valuable number of features and advanced tools. It’s free to download, and the setup file is sized somewhere around 166 MB. The video editor is reasonably lightweight and isn’t too heavy on the operating system. What’s more, you don’t need to have a professional video editor certificate to use OpenShot. It boasts a simple user interface for beginners who can get the hang of the system in no time.
In this article, we have talked about utilizing OpenShot video editor at a basic level. It’s a good idea to start with humble beginnings and then gradually work your way up to this advanced tool by learning expert-level techniques. We hope that you’ve found this article valuable and beneficial.
