Table of Contents
Are you looking for a way to capture your PC’s screen? Taking a screenshot makes things easier since taking a photo from your phone’s camera makes it blurry and deteriorates the quality. With your own PC’s screenshot capabilities, you get to snap a photo of your device’s screen and share/edit it. Fortunately, Windows 10 offers you a variety of ways to take a screenshot.
Taking a screenshot in Windows 10
With built-in tools and keys that are right in front of you, you can capture the entire screen of your Windows 10 PC. In this read, you’ll be learning the fastest and simplest methods of taking a screenshot.
Snip and Sketch Tool
The Snip and Sketch tool was revealed by Microsoft a few years ago. Since then, it is known to the #1 tool for taking screenshots on Windows 10. Not only does it let you capture the screen, but it also allows you to capture parts of it. So, you’re saved from the hassle of having to crop your screenshot later on. All you have to do is press the Windows Key, Shift, and S simultaneously. Once you do that, your screen’s brightness will automatically dim, and a small panel will appear on top.
You’ll find a total of four options displayed on the panel. What are they for? Let us find out!
- Rectangular Snip. The Rectangular Snip option allows you to draw a rectangular shape of the part you want to capture on your screen.
- Freeform Snip. The Freeform Snip allows you to capture your screenshot in a free selection mode.
- Window Snip. This option lets you capture a full screenshot of any window currently displayed on your PC’s screen.
- Full-screen Snip. Lastly, the Fullscreen Snip option captures the entire screen for you.
Once you’re done with taking the screenshot, the Snip and Sketch tool will display a pop-up confirming that the screenshot taken has been saved to the clipboard.
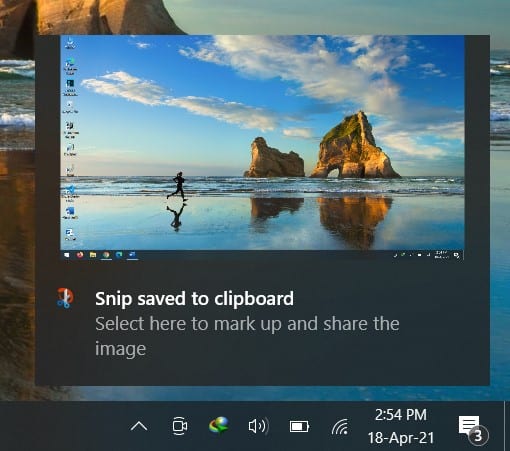
Snip Saved Popup
Click on the pop-up, and the Snip and Sketch tool will open an editing window from where you can edit your screenshot or save it as you took it. If you miss the pop-up and it disappears, open the notification panel, and you’ll find it there. Once the editing window opens, you’re free to edit your screenshot and save it. You’ll find several editing tools here, such as brushes, crop tools, erasers, etc. Clicking on the floppy disk sign will allow you to save the screenshot to your preferred location.
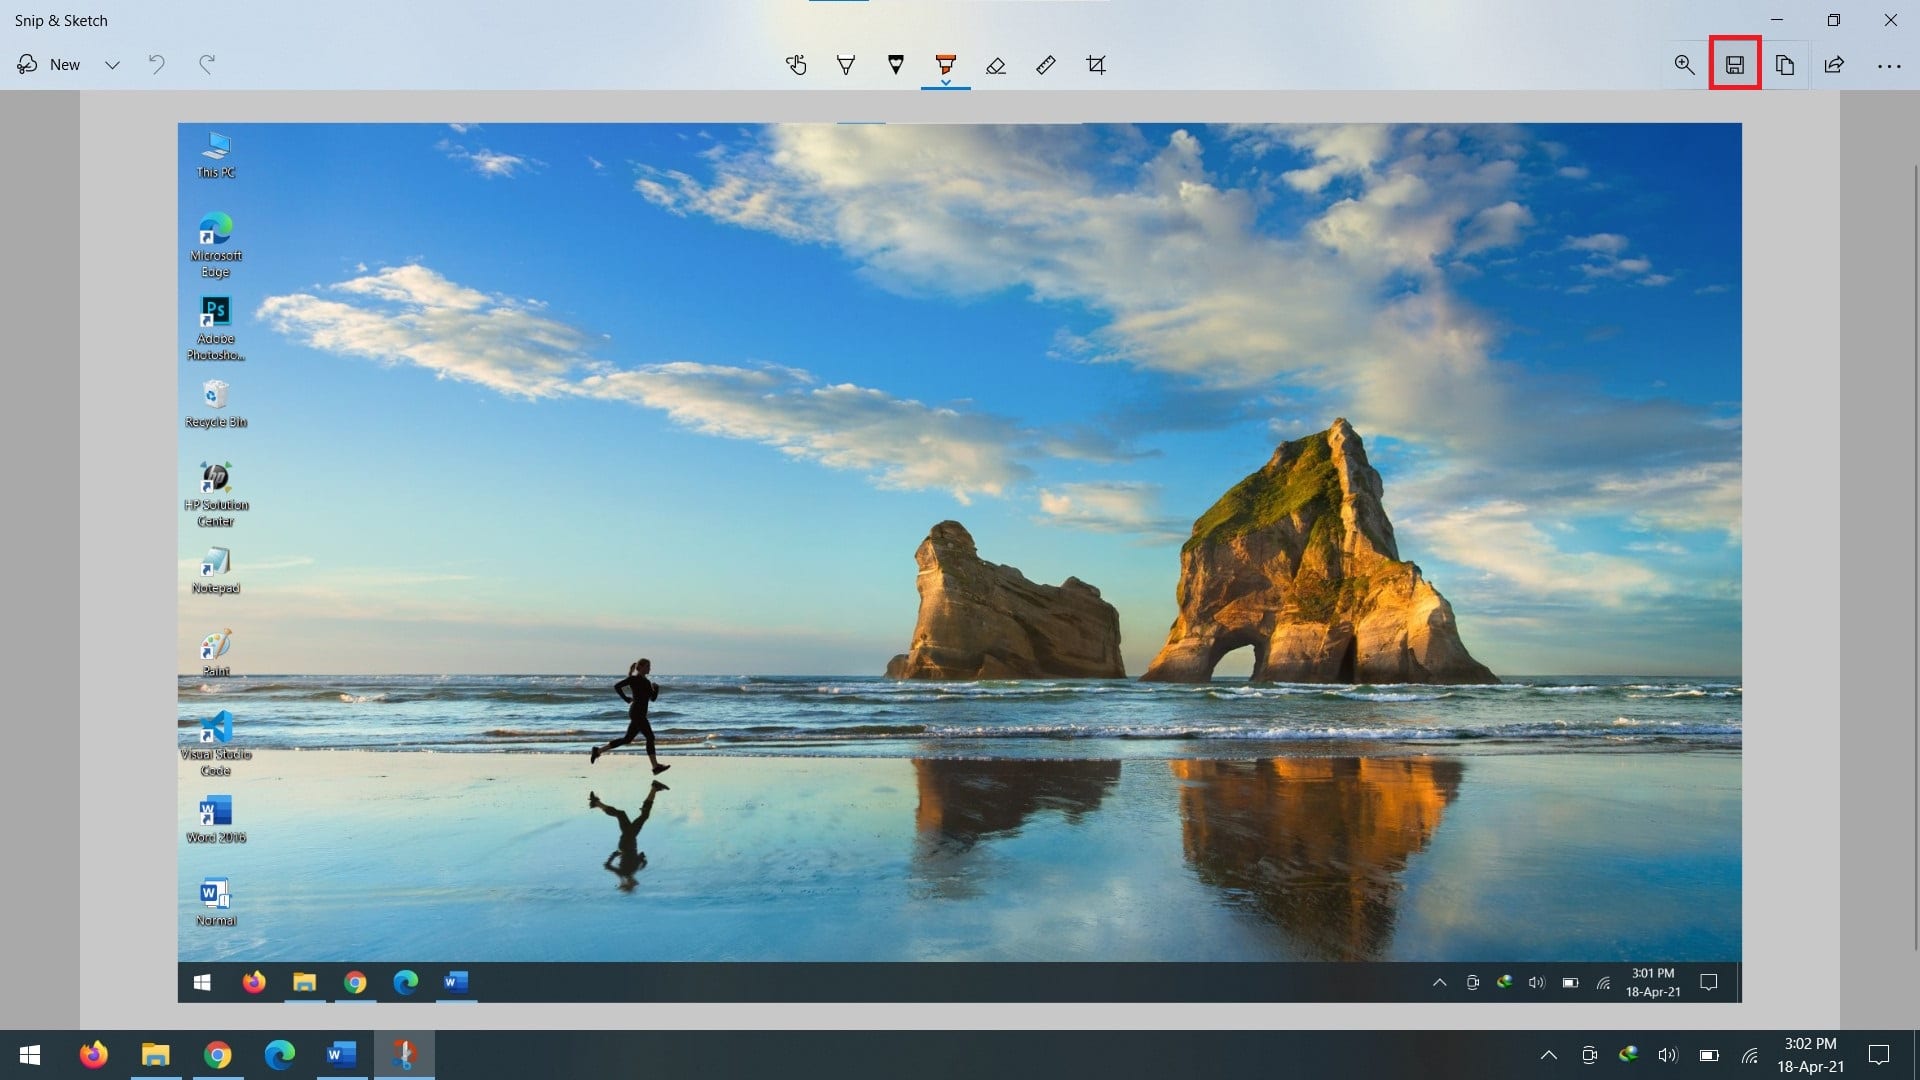
Screenshot Editing
So, that was the Snip and Sketch tool guide on how to take a screenshot. Our list of methods doesn’t end here. If you’re looking for a slightly faster way of capturing the screen, then the next one’s for you!
Print Screen Key (PrtScn)
To take a full screenshot, press the Print Screen button from your keyboard. This key can be found with PrtScn labeled on it. Once you tap it, a full screenshot will be saved to your clipboard, and you’ll have to be directed once again through an editing tool before you can save it. If this does not work, make sure you have enabled the PrtScn to open screen snipping on your PC. Here’s how to enable this feature:
- Open your PC’s settings through the Windows Start menu.
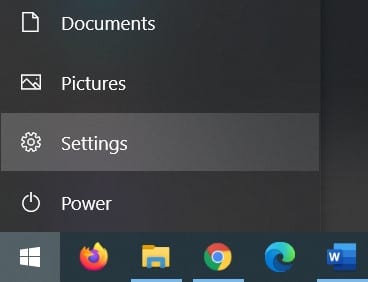
Accessing Settings
- Click on “Ease of Access.”
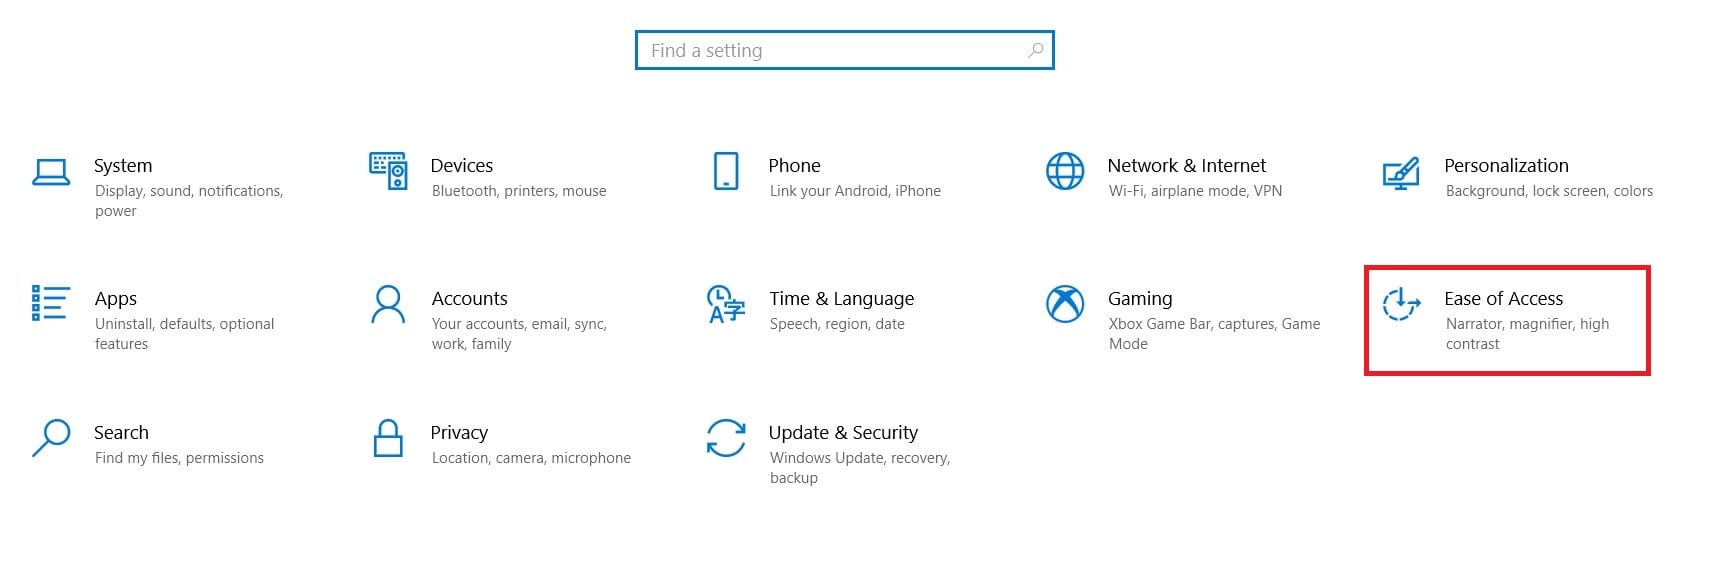
Ease of Access Option
- Scroll down a little till you come across the keyboard settings. Click on “Keyboard.”
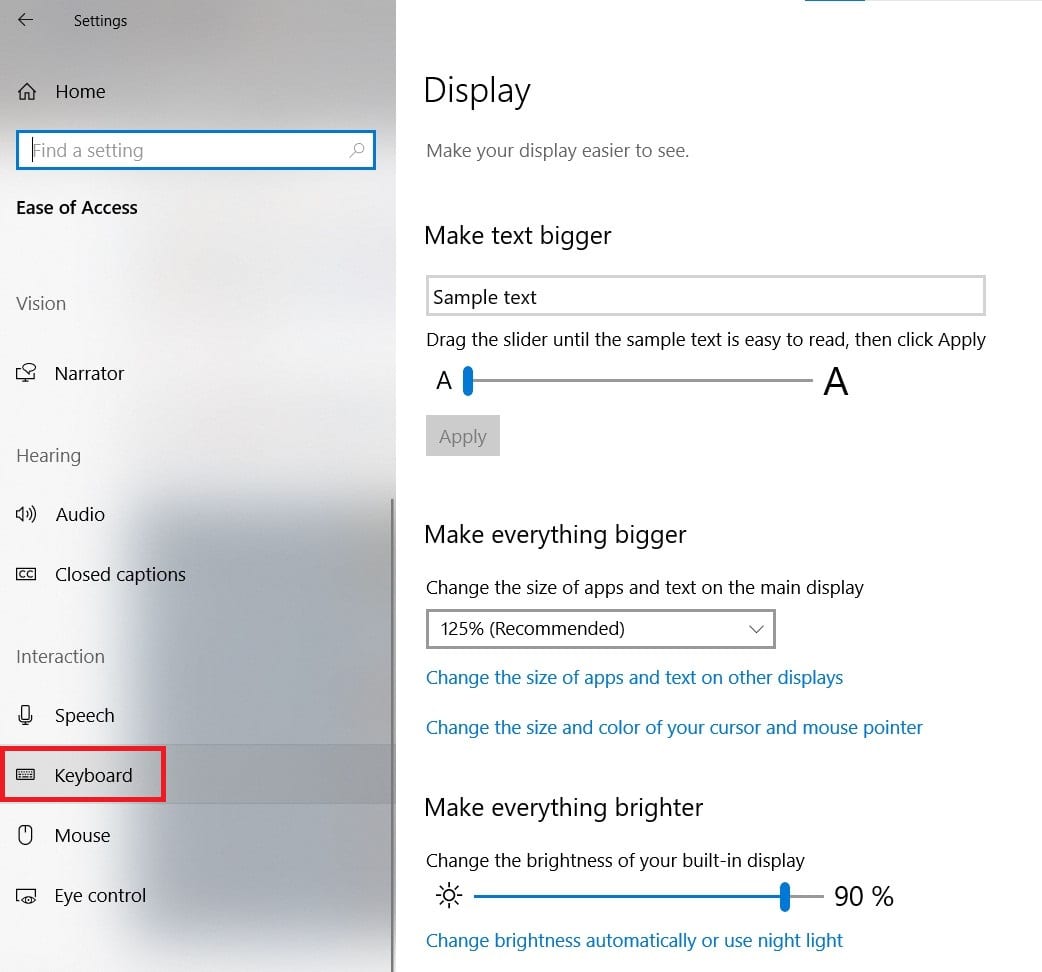
Opening Keyboard Settings
- Scroll down to the bottom once again and turn the Print Screen switch On.
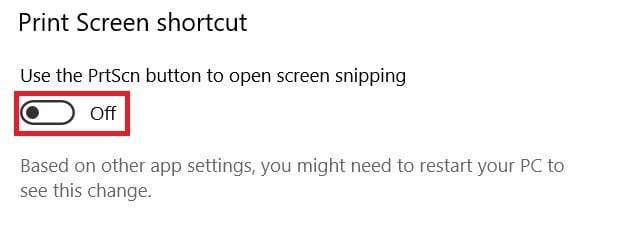
PrtScn Switch
Snipping Tool
In our last method, we’ll be using the Snipping Tool, which is yet to be replaced by the Snip and Sketch tool. However, it can still be used to take screenshots on Windows 10. Here’s how to get the Snipping Tool to capture your screen:
- Click on the Windows Start button. Type “Snipping Tool” and click on “Open” to launch it.
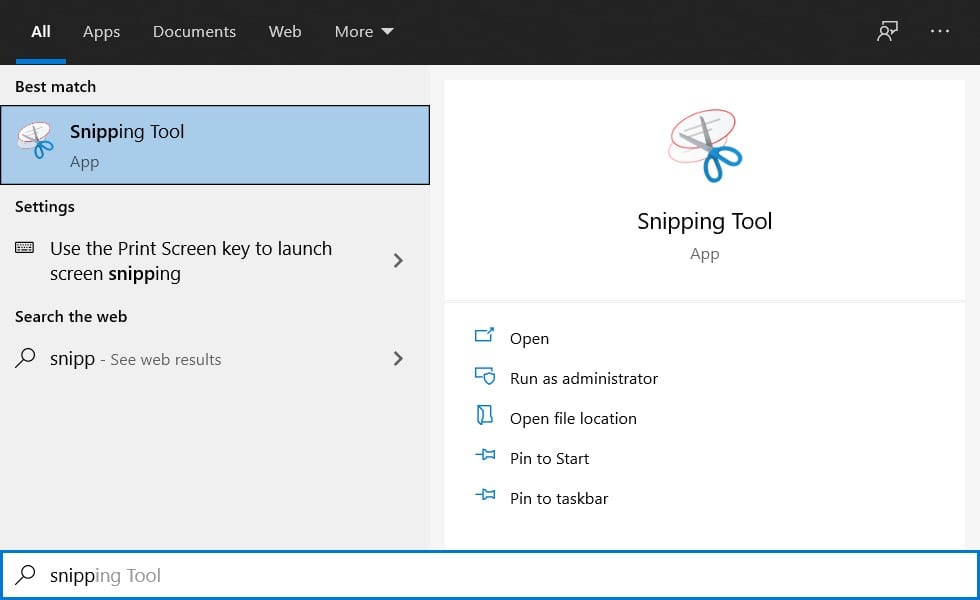
Launching Snipping Tool
- Once you’ve launched Snipping Tool, you’ll find a “Mode” button that allows you to choose the same modes just as you did in the Snip and Sketch tool.
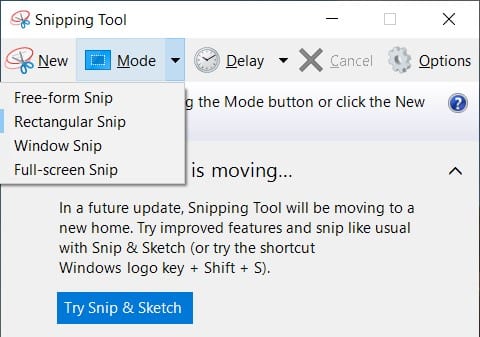
Snipping Tool Mode
- Choose a mode, and the Snipping tool will take a screenshot. You’ll be directed once again to an editing window. Here you can save your screenshot by clicking on the floppy disk icon.

Save Snip Option
We have a pro tip for you guys to check out the “Delay” option right next to the modes. This will allow you to delay your screenshot capture for a few seconds of your choice.
Conclusion
By now, you can tell that taking a screenshot is no biggie in Windows 10. There are many other ways to take a screenshot, but our three methods are the easiest and fastest. We hope our guide proves out to be beneficial for you guys.