
Table of Contents
Here’s a likely scenario that led you to look up what TiWorker is on Google: Your PC seems to be running a bit slow, and the constant lag is bugging you. You haven’t put anything on download recently, so the PC’s dragging performance raises a question mark above your head. You decide to head towards the Task Manager to see what’s the fuss about, and there you see it, TiWorker.exe. A program you have no clue of taking up a notable fraction of your processing power.
Even if this scenario does not seem familiar, you might probably have seen TiWorker running in the background. Whether you’re curious about what TiWorker is or how you can stop it from draining too much of your PC’s resources, we’re here to answer both of your queries. Firstly, we will be addressing what TiWorker is and why do you need it. Then we shall cover some quick short fixes to get your PC running smoothly, just as it was before.
Tiworker.exe process in Windows 10
The TiWorker.exe program, a leading factor behind your PC’s below-average performance, is basically a Windows Module Installer. This program is closely affiliated with your PC’s operating system Windows 10. Its main job is to handle the downloading and installation of Windows updates. Whenever you’re installing a Windows update, you’d find TiWorker.exe running in the background consuming a tad bit of additional processing power than an average program usually does.
There’s nothing to worry about, though. Being a Windows 10 user, you should get used to TiWorker.exe taking up your CPU power every once in a while. This is because Windows 10 automatically handles its own updates. So, TiWorker launching and occasionally running in the back should be considered no problem at all. However, abnormal drainage of processing power from TiWorker is certainly a sign of something fishy. Here are a few possible causes of TiWorker’s irregular conduct:
- Pending Windows 10 update
- Faulty drivers
- Errors in Windows updates
These are the top causes of TiWorker’s abnormal behavior. Fortunately, solving these issues is a piece of cake. So, if you’re facing an extraordinary amount of power consumption from TiWorker, resort to the following methods to fix the possible problems at hand.
Pending Windows 10 Updates
There’s a chance that new updates are pending to be installed. You’ll have to install them for TiWorker to stop taking up too much CPU power.
- Click on the Windows Start button on the bottom left of your screen, then click on “Settings.”
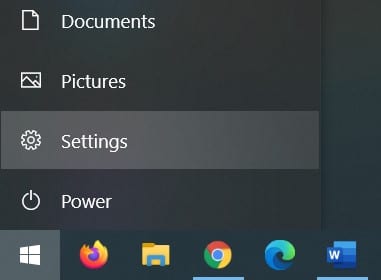
Opening Settings
- Once the Settings open, click on “Update & Security.”
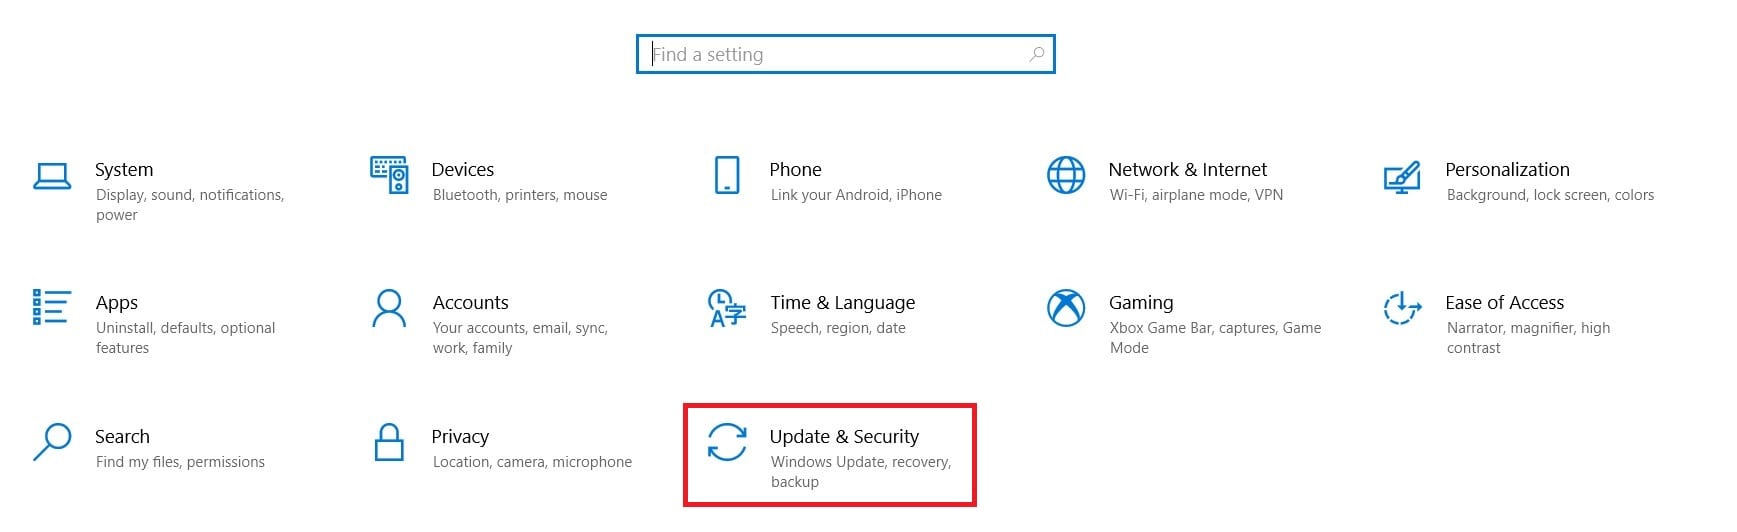
Update & Security
- Here you’ll find the “Windows Update” panel. Select the “Install now” option to install the pending updates.
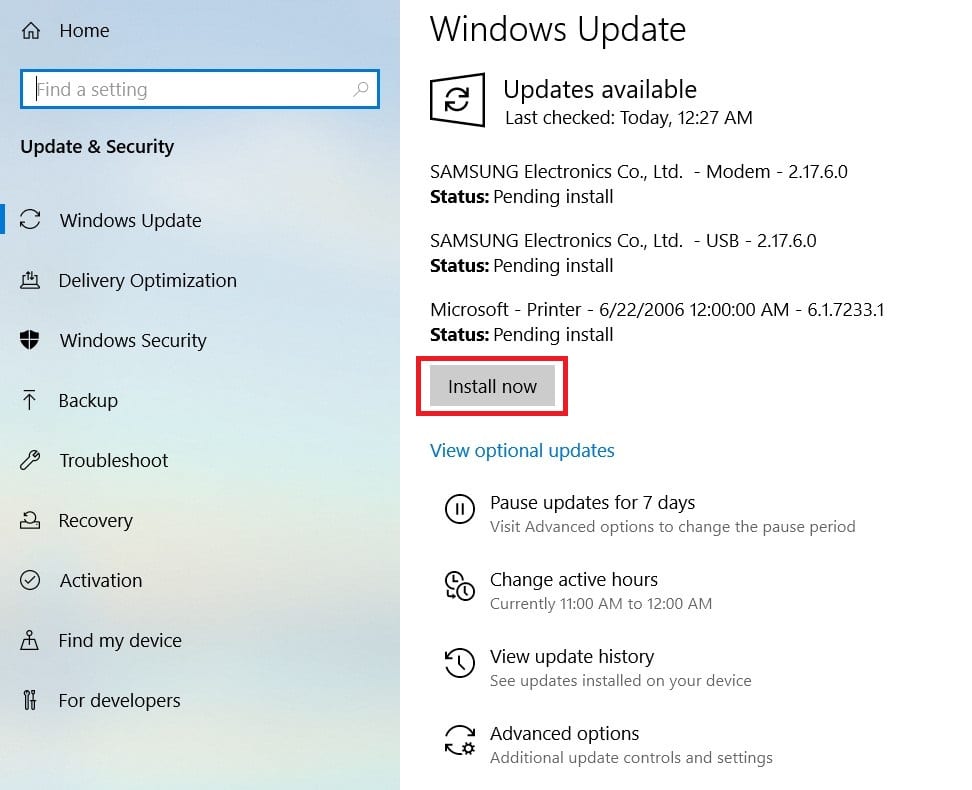
Installing Updates
Windows will begin installing the pending updates after this.
Faulty Drivers
If installing updates doesn’t solve the problem, then faulty, outdated, or incompatible drivers might cause the issue. A simple update of the drivers would surely take care of the problem.
- Click on the Start button once again and type “Device Manager” from your keyboard. Click on “Open.”

Opening Device Manager
- Here you’ll find all the internal/external devices connected to your PC. Click on a device, then click on the “Update Driver” option given on top.
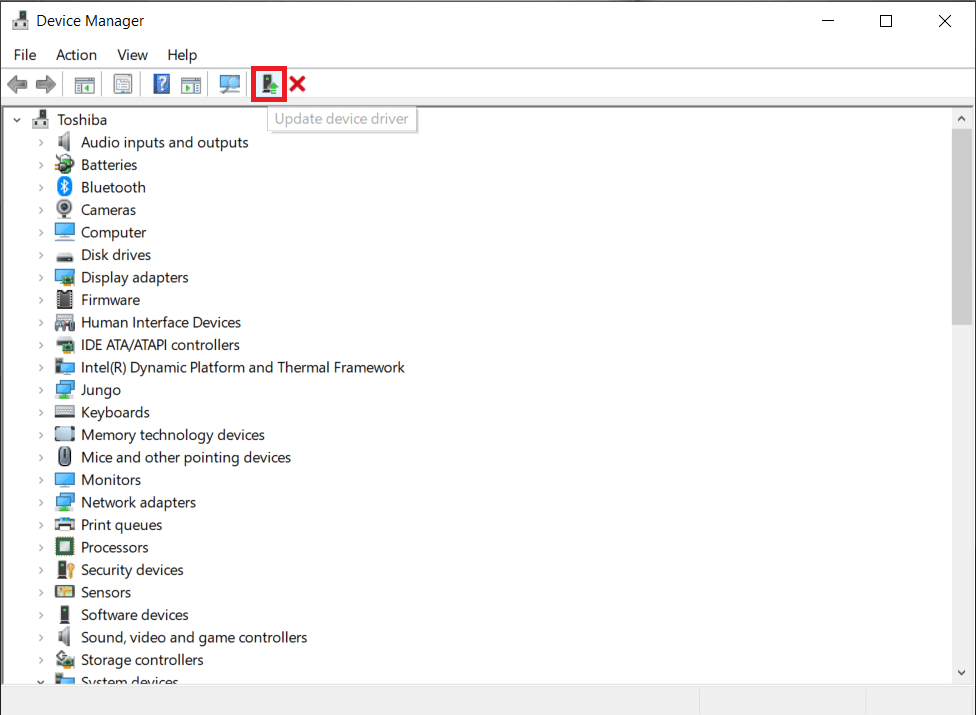
Updating Drivers
- Select the “Search automatically for drivers” option to update the drivers.
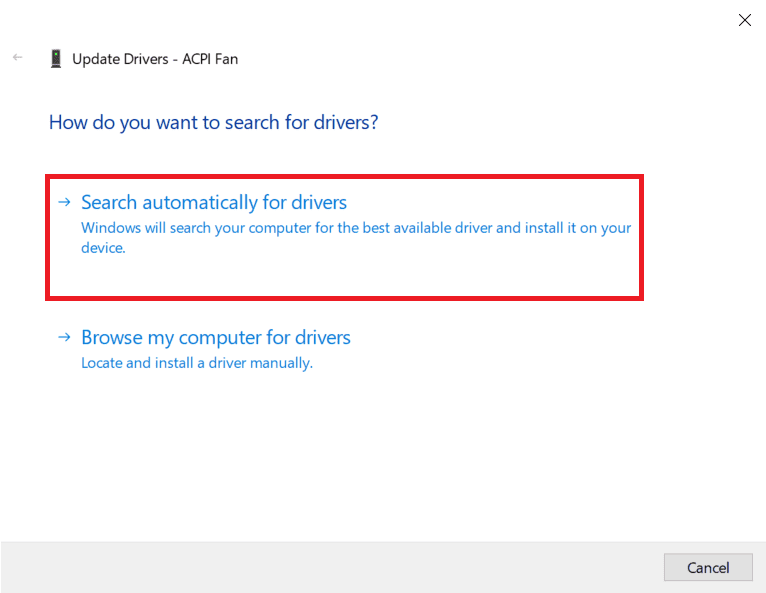
Automatically Updating Drivers
Hopefully, the problem will be solved after this. If it doesn’t, you can check out our third method below.
Errors in Windows Updates
Errors being caused in updates are nothing special and often occur in Windows 10. They might be a reason too behind TiWorker’s excessive CPU power consumption. The best way to combat errors is through running the troubleshooter. Here’s how you can do that:
- Hold the Windows Key and then tap the “R” key from your keyboard. Type “Control Panel” in the Run program to launch the control panel.
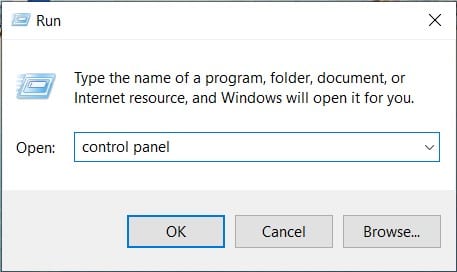
Launching Control Panel
- Once the Control Panel is displayed on your screen, set the view as “Large Icons.”
Control Panel Large Icons
- Now you’ll find the “Troubleshooting” option. Click on it.
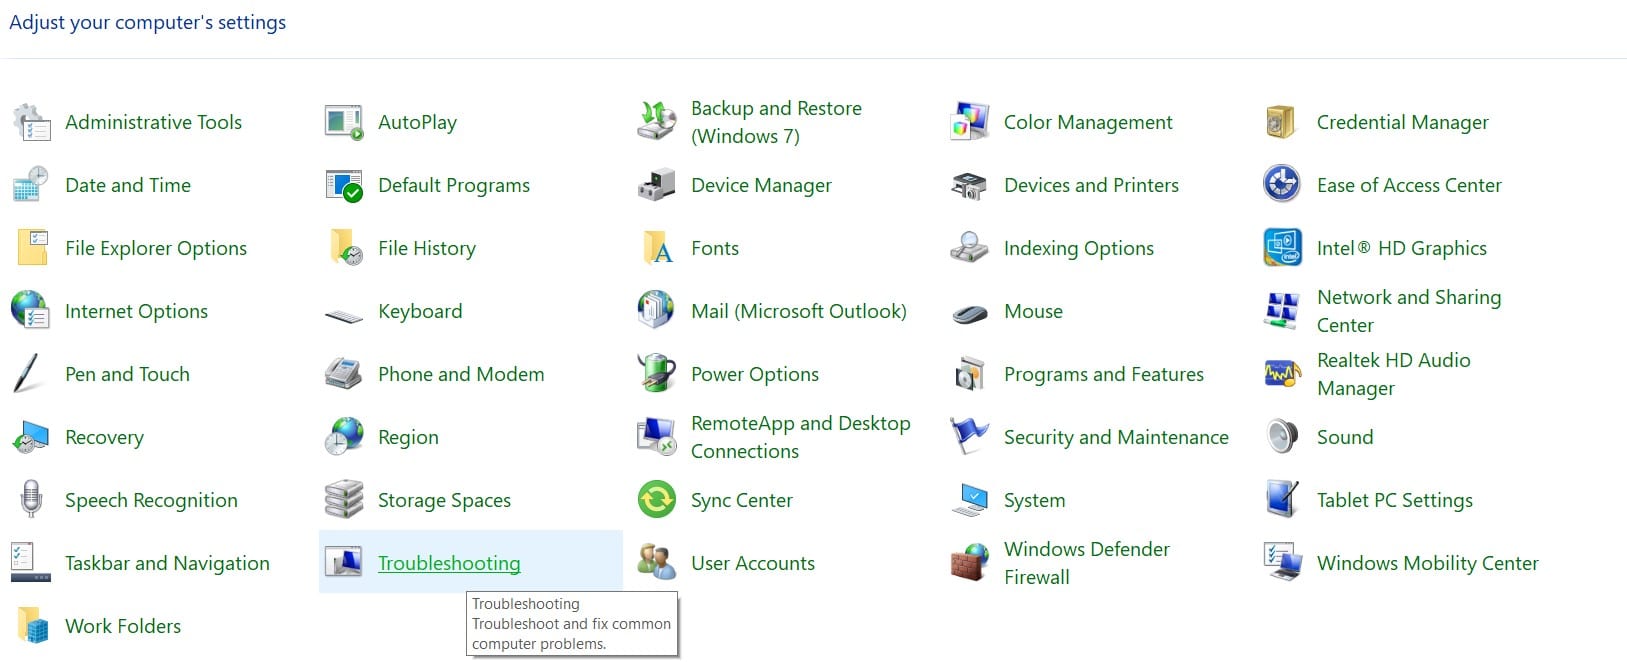
Troubleshooting
- Click on the “Fix problems with Windows Update” option given under “System and Security.”
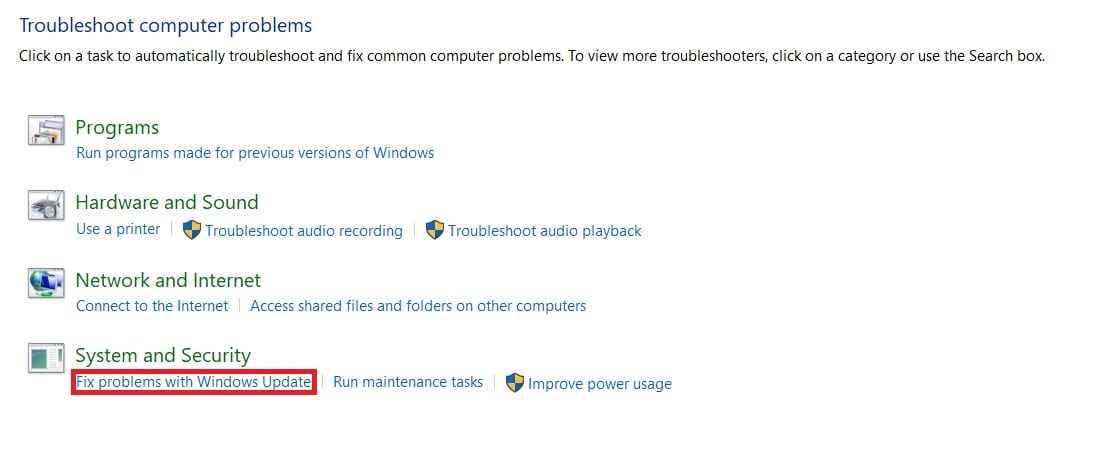
Fix Problems With Windows Update
- From here, Windows will direct you through a short set of instructions to execute the troubleshooting process.
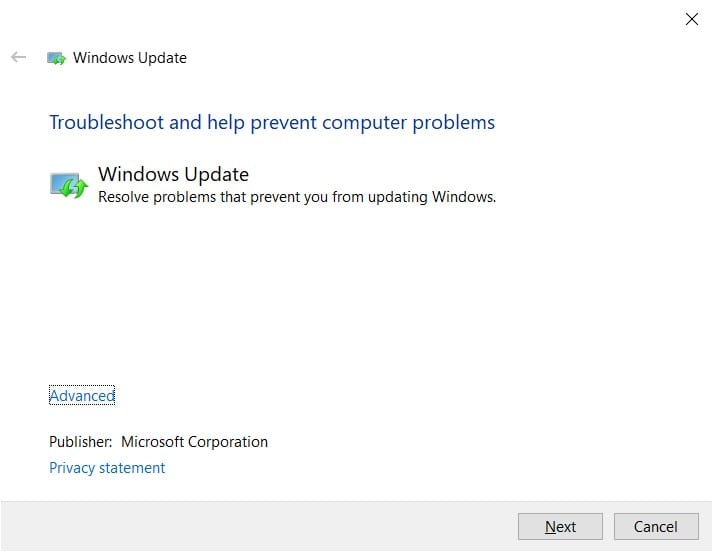
Troubleshooting Windows Update
Troubleshooting is known to be the preferred solution for almost all types of errors that occur in Windows 10. Therefore, this method will surely bring balance to your Task Manager and eliminate TiWorker’s excessive CPU usage.
Conclusion
The TiWorker.exe program is important when it comes to updating your operating system. It should not be uninstalled or deleted. Whenever it causes problems, the above-mentioned procedures should be enough to handle them and eliminate the bugs causing them.