Table of Contents
Minecraft has a ton of features that makes it an exciting game for game lovers. One of the best things about this game is the dimensionality. It allows one to use the custom player skins. If you are a starter, you will find yourself using the default skins to a more considerable degree. If we are honest enough, sometimes repetition can be monotonous, and we do not want to let go of our games.
On the other hand, using different skins can boost your gaming mood, especially if uniqueness is something that cheers you up all the time. In Minecraft Windows 10, you can choose your character out of the many skins packs on the homepage or come up with your personalized skin to uniquely identify your player in the game.
In this article today, I will walk you through the two ways you can create your custom player skins and use the skins in the game.
How to create your custom player skins
1. Creating your custom skin from scratch
Creating your custom skin is where Minecraft and your crafting goals chip in. The feeling of creating your personalized skin is pretty fulfilling in a way. So, without further ado, let us take a look at how you can create your own Minecraft windows ten custom skins quick and easy with the following simple steps;
On your favorite web browser, navigate to minecraftskins.com/skin-editor/. The skin editor in minecraftskins is a fantastic editor to go for to accomplish your skin creation.
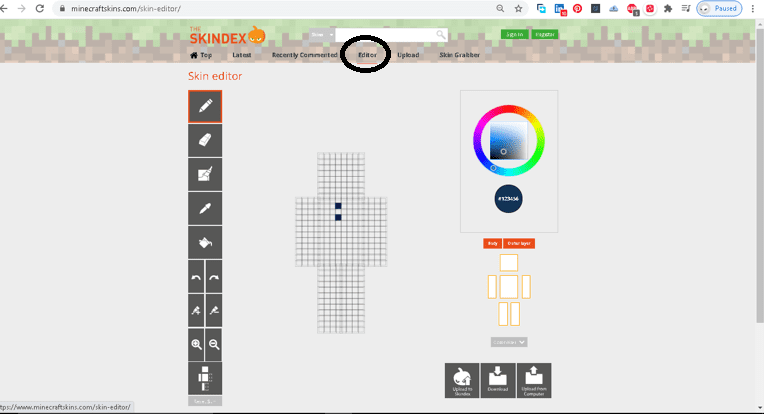
skin editor
From the color wheel, click on your color of interest. Apply the paint to the squares on the player model by clicking on each square you wish to have that specific color.
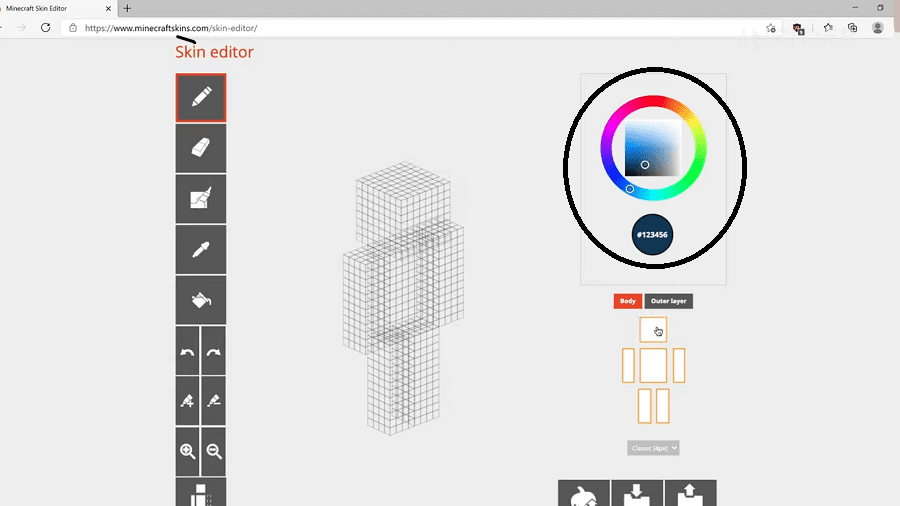
color wheel
In the case of applying color to an unwanted square, you can use the eraser by clicking on the eraser button on the top left to clean up.
Click a blank space on the right of the model to rotate it.
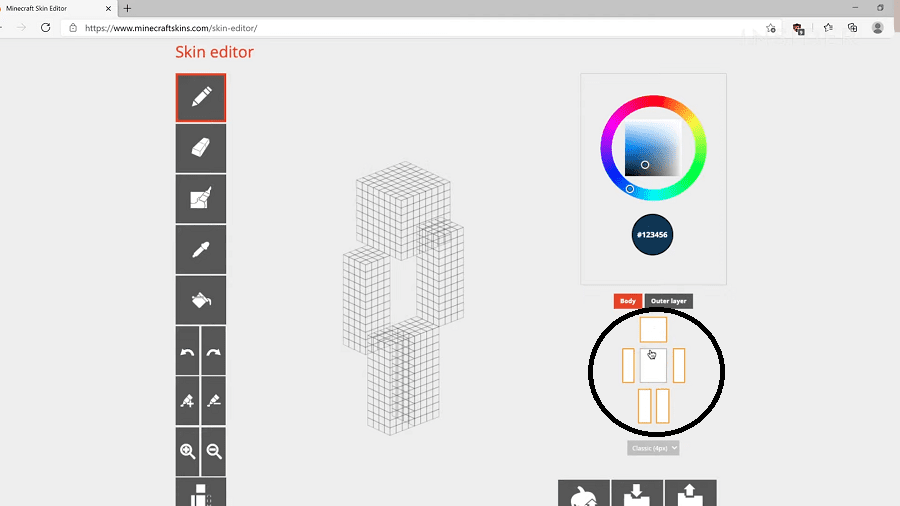
Blank space to rotate
When you are done and satisfied with the model appearance, hit the download button to download it.
Save to your PC location of choice.
2. Downloading a premade skin
Downloading a premade skin is an alternative method to get you a unique player without creating it from scratch, which can be time-consuming to a great extent. There are numerous sites you can visit to download existing skins and those crafted by other Minecraft lovers.
Minecraftskins.com is one of the most popular sites to download uniquely premade skins.
On your browser, visit minecraftskins.com and select a random skin of your choice.
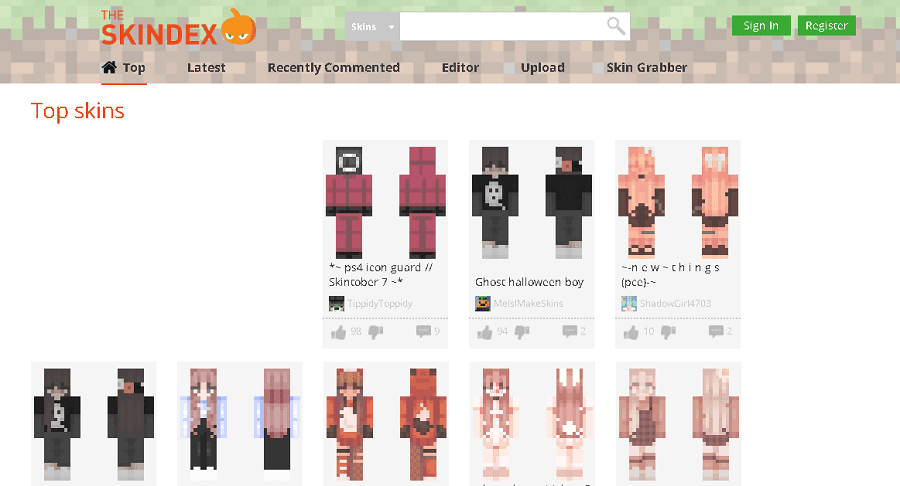
premade skin
Click on it and press the download button on the right of your skin. It is also worth noting that your downloaded skin should be a PNG file so that your alpha channel data is rendered correctly, and by that, your transparent pixels do not render as white.
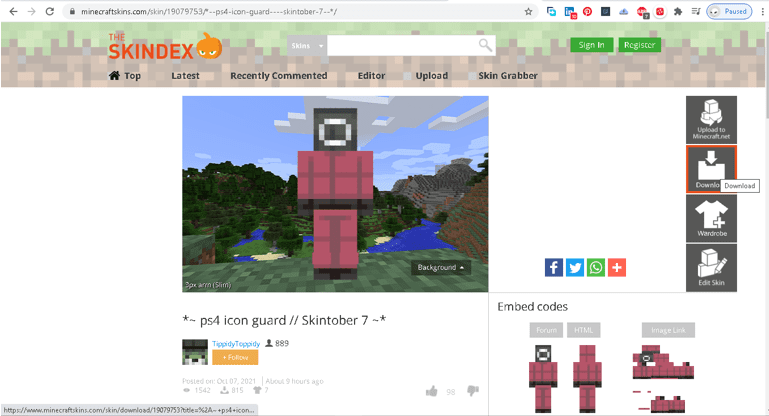
Download skin
Click on the Save button to have it in your download folder. It is wise to have your skins in a separate folder on your computer to make it easier when you want to access and tweak them.
3. Uploading and using a custom skin in Minecraft
Having created or downloaded your custom skin, you can finally follow the steps below to upload and use your skin;
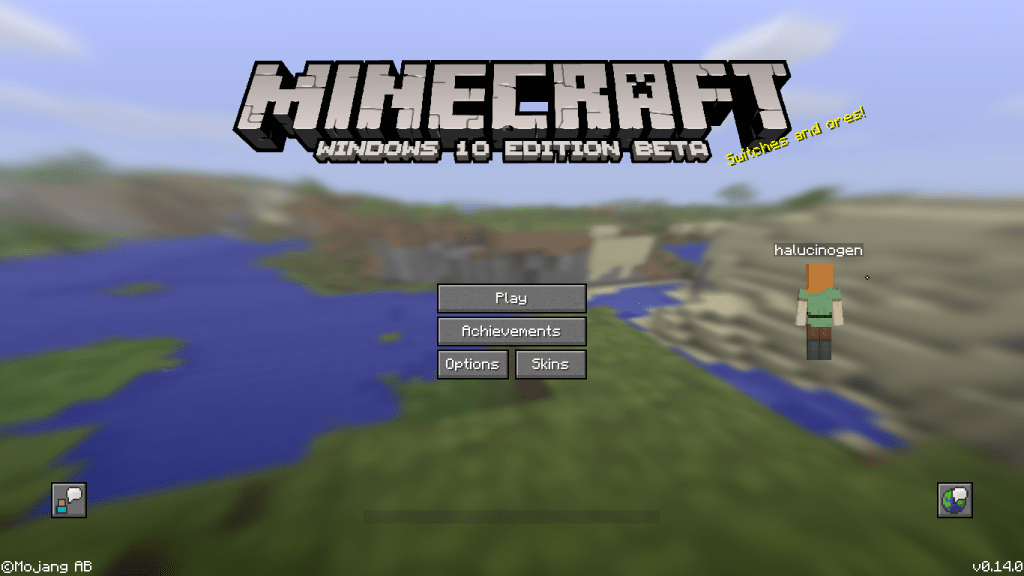
On your desktop start menu, launch your Minecraft windows 10 edition.
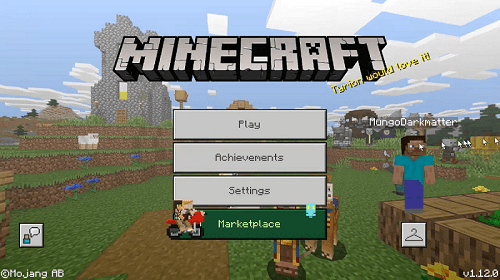
Launch Minecraft
Click on the hanger button on the bottom right side of the screen.
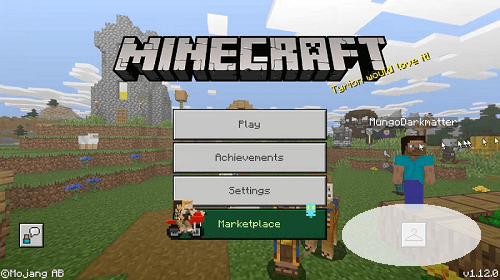
Hanger button
Now, just after the default skin of the game, click on the blank model.
Next, you want to click on the ‘choose new skin’ button.
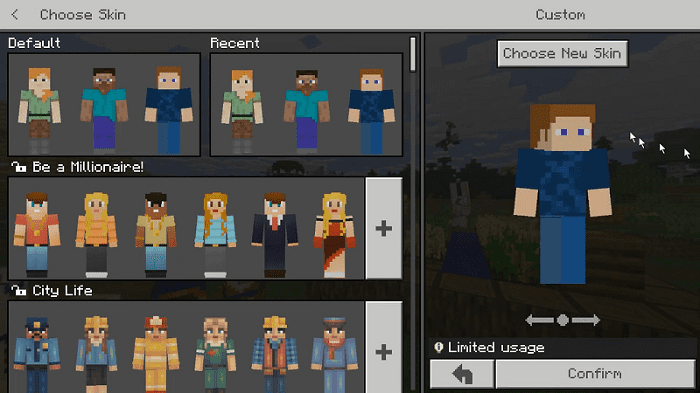
choose new skin
Select a skin to upload from the downloaded custom skins from the file explorer and click “open.”
You now want to choose the model type that is eye-catching and click on “confirm skin” so that it is added to the game.

confirm skin
Isn’t it fantastic that you now have your unique custom skin for your Minecraft player? You can now proceed to use your newly created custom skin, and more interestingly, every time you check in to play the game, your player will have the skin you have chosen.
Bottom line
Minecraft Windows 10 edition is such a fantastic game, and customizing it makes it even more enjoyable. You can choose to use the default skins, create your own or download from thousands of limitless premade skins.
I hope you now understand how well you can create and use your player’s custom skins in your game.