Table of Contents
In a world where text editors from major developers like Microsoft Word and Google Docs are spreading their dominance across the spectrum, there exists another premium-quality writing app that millions of people are actively enjoying in fair secrecy—Scrivener. You might not have heard of this software if writing does not concern you or doesn’t have anything to do with text editors. However, for those that write novels, books, blog posts, and articles, Scrivener is a must-have.
This article will talk about Scriver in detail, including what it is, what are its best features, and how you can install and use it on your Windows PC. Don’t forget to read until the end if you’re after a high-quality all things Scrivener guide.
What is Scrivener?
As far as writing-oriented applications go, a handful of apps out there are on the same level as Scrivener. We have an outright deluxe-grade software made for writers, novelists, and book writers of all kinds. The working interface of Scrivener is adorned with top-class features and is everything a writer could ever ask for.
It features tailored functionality for long-term writing projects by allowing you to divide your text into both small and large sections. You can always jot down ideas whenever they pop up in your mind, regardless of worrying about their correct placement. Moreover, the app uses an effortless project outline, so you always stay in control of your drafts and have them easily accessible whenever you want.
Scrivener offers a free trial period for users looking to test the software before purchasing it. The Standard License for Windows PCs costs $49, while the Educational License for Windows PCs will set you back $41.65. It’s currently available on Windows, macOS, and iOS as well. You won’t find it on Linux or any other platforms other than what we’ve mentioned.
Now that you have a fair idea of Scrivener let’s talk about the major highlights that the application boasts consistently.
Major highlights of the Scrivener app
The following is a round-up of some of the best features of the Scrivener application that users are enjoying to boot.
User-friendly text editor – Perfect for beginners
One of Scrivener’s major strengths lies in its user-friendliness. Despite offering many advanced features for power users and experienced writers, the application is quite simple to use at its very core. If you’re a beginner who’s just looking to mark their foray into the art of writing, there’s no better app to pick up than Scrivener.
If you’ve ever had the opportunity to write on popular text editors like Microsoft Word or Google Docs, Scrivener will be developed in a similar tone. It’s effortlessly to bold, italicize, and underline your written text, among all the functionalities you’d implement using another software.
Great import capability
If you had taken up a long-term writing gig on another platform, such as Microsoft Word, and you now want to make the switch to Scrivener, you’re in luck. The writing application in question boasts a high-quality import feature that will pull your project in painlessly and allow you to continue working with zero obstructions in-between.
The capacity for the type of importable files includes web pages, PDFs, audio tracks, video clips, and, of course, text documents. You’re not going to find Scrivener being lackluster along any step of your writing journey.
A highly unique Corkboard
In its working interface, Scrivener features what it calls the “Corkboard.” But this isn’t just any Corkboard that most mature writers might already be familiar with. Scrivener’s Corkboard is decorated with intuitiveness more than any other writing app out there. You get a dedicated virtual card associated with your created project.
The related manuscript gets relocated similarly whenever you move a card on the Corkboard. This negates the need to perform the typical extra steps when rearranging your Corkboard. When you have too much on your plate at once, you’ll appreciate what the Scrivener Corkboard offers overall flexibility.
Multitasking features
Scrivener lets you slave away on not only one but three different documents at once and even more using its side-by-side display feature. This helps writers improve their focus levels and check back on previous drafts to maintain consistency. Another use case where you’d like to have multiple iterations of your document opened up at once is when you’d like to describe a photo and keep looking at it as you constantly define its features.
Go full-screen
Scrivener lets you say goodbye to the rest of the world and enter a land of creativity where there’s only writing and writing, then some more writing. You can practically make the Scrivener app operate on full screen and allow you to cut away from distractions on the fly.
Another highly desirable feature concerning this particular aspect is Scrivener’s writing background customization. You can slap on various colors while writing to suit your style and accommodate your requirements.
You’re free to apply different colors however you want, whether yellow-colored text on a black ground or red-colored words in front of a white backdrop.
How to install Scrivener on Windows 10
There are two ways the installation of Scrivener can go about from here. Either you can download the free trial version of the famed writing application or download a copy of the app and redeem your purchased license inside. While it’s relatively easy to go forth with the latter, the following steps will cover the free trial version of Scrivener from the perspective of a new user.
1. The first step is to use this direct link and get straight to the download section of the official Literature and Latte website, which happens to be Scrivener’s developer. Once you’re there, scroll down to find the “Free Trial” department. There’s going to be a download button under “Windows 64-bit.” Click on it to begin the download.
- Do note that the trial version of Scrivener runs with all the features present in the paid version of the application. However, this variant of Scrivener will expire exactly 30 days after initiation, as the website states.
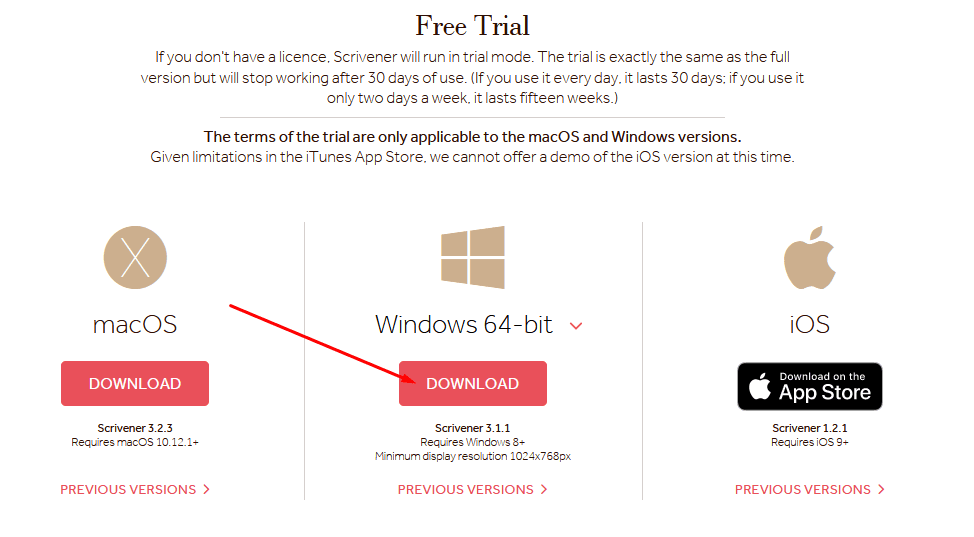
Downloading the free trial of Scrivener
2. The next step after that is to run the downloaded Scrivener setup file on your Windows PC. You’ll find it sitting in your Windows Explorer system utility.
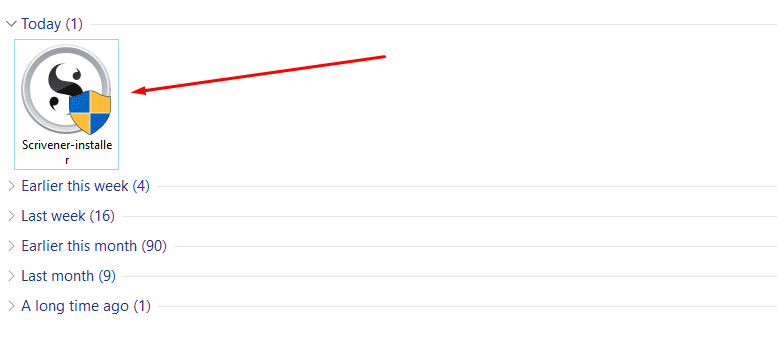
Running the Scrivener setup file.
3. After launching the Scrivener setup file, confirm the UAC prompt that you want to make this file allow changes to the system. Once done, go forth until the end of Scrivener’s installation. Get started by clicking on “Next” when the application’s setup first launches.
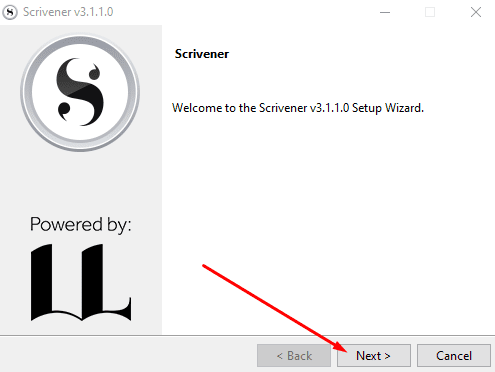
Commencing the installation of Scrivener
4. After clicking on “Next,” you will have to accept the end-user software license agreement to continue further. Click on the toggle beside “I accept the agreement” and select “Next.”
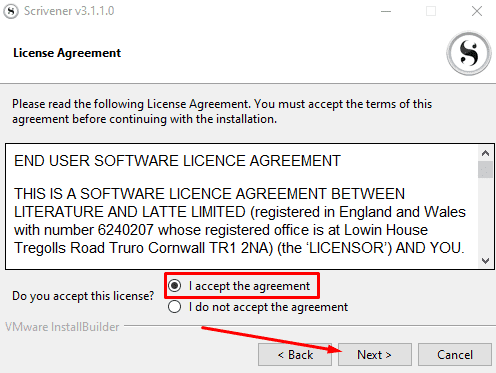
Accepting the agreement
5. Choose the installation directory for Scrivener. Choose whatever you want or leave it at default—it’s entirely your call. Once you have decided, click on “Next” to get to the next step.
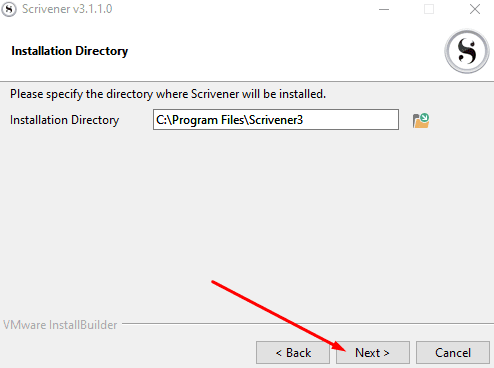
Specifying the installation directory
6. Click on “Next” one final time before the installation can commence.
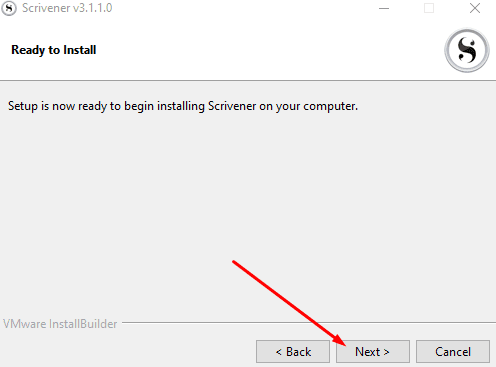
Proceeding with the installation
7. You now have to wait until the process finishes, and the Scrivener application installs on your computer. You’ll be told this through the setup window as soon as the operation concludes. Click on “Finish” to close the window and make your way toward launching Scrivener.
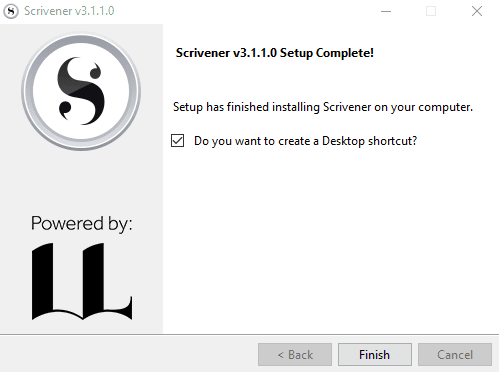
Installation finished
Great going so far! You have successfully installed Scrivener on your Windows PC.
Using Scrivener on Windows 10
When you first launch Scrivener on your Windows PC, you will be asked to choose a backup folder for your files. Once done, the next step will be to select a default theme for your Scrivener writing experience. With the customization menu, you can always switch things up later, so it’s better to race through these initial tweaks as quickly as possible.
When you’re done with the start-up configuration, you’ll be shown a prompt within the Scrivener interface. It’ll offer you to purchase the full-fledged version of the writing application or continue the free trial for now. Choose the latter to proceed.
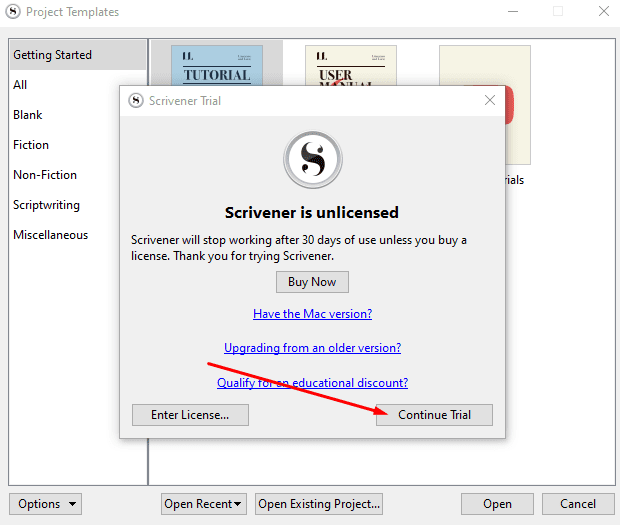
Continuing the Scrivener trial version
Right after that, you’ll be taken straight to the “Project Templates” section of Scrivener. From here, you can interact with the app’s in-built tutorial or choose to create a new draft instantly. Feel free to explore the area until you want to get to the next step. If you ever want to take things up a notch from there, click on the “Create” button while having a template selected.
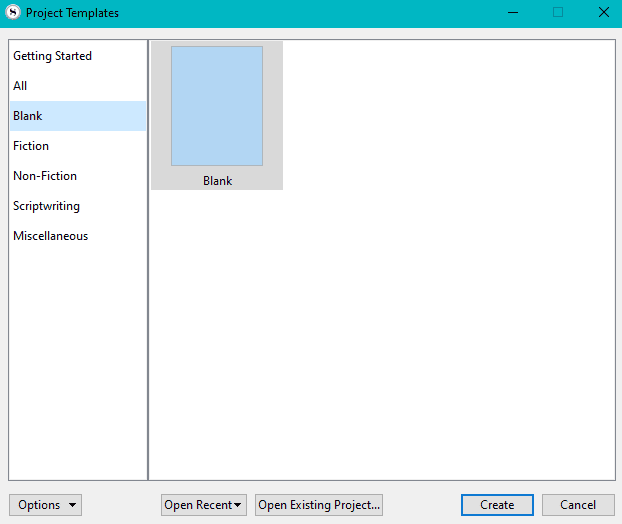
Scrivener interface
After clicking on “Create,” a window will launch on its own, and this will officially be the main writing interface of the Scrivener application. Here, you’ll be provided with all the tools and features you’ll require for getting started with jotting down whatever comes to mind.
The following is how the text editor interface of this famed writing application looks like. It’s a fresher take on most word processors, considering the wealth of tools and other functionality Scrivener has to its name. We hope you have a great time drafting your next great piece of literature with this application!
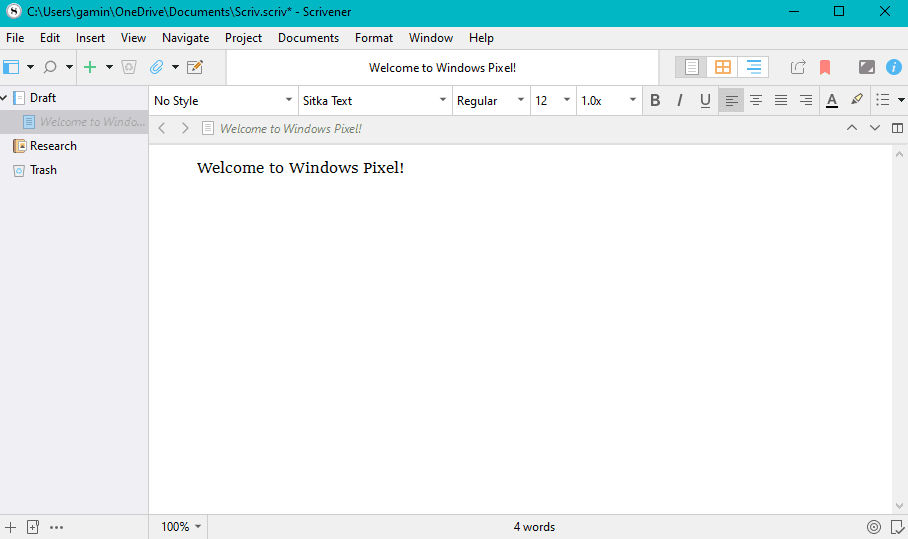
Scrivener text editor
Conclusion
Scrivener is one of the world’s most successful writing applications. It’s widespread among the ranks of our time’s top novelists and book writers. In addition, major publication magazines worldwide, including Macworld, MacUser, PCWorld, PC Pro, and Mac Format, have all endorsed Scrivener as the go-to software for writers without a sliver of doubt in mind.
This guide has talked about the most straightforward method for installing and using Scrivener on a Windows PC. In addition, we have left a brief overview of the Scrivener application, including some of its best features that are sure to allure you if you’re a new writer. Finally, let us know in the comments section if you happened to get Scrivener on your device.
