Table of Contents
It is critical to establish a recovery disc to restore your computer if it ceases to boot or crashes frequently. As a result, you’ll be able to fix a system image and get your PC up and running again. It’s simple to make a recovery disk with the operating system files. However, creating a system image on a USB drive rather than the recovery disk is always intelligent. This post will show you how to make a USB recovery disk in Windows 11.
A recovery drive is a bootable USB drive or DVD that has troubleshooting tools that you can use to troubleshoot Windows 11 when it isn’t working correctly, as you probably already know. As a result, it is critical to create a recovery drive from a USB flash drive to resolve the operating system’s crashing issues.
Many of the features in Windows 11 for backing up, recovering, and resetting your system rely on Windows being able to boot. Having a USB recovery disk on hand is one of the most excellent methods to avoid disaster if it won’t start.
A USB recovery disk enables you to bypass your failed Windows installation and repair and restore your PC using the standalone Windows advanced recovery environment. If something goes wrong, you may use several built-in tools to restore your PC quickly. That is what you’ll need to do if you want to create Windows 11 USB recovery disc for troubleshooting PC issues.
Here is a quick snippet of the steps if you are looking for a summarized version:
- First, attach a blank or erasable USB drive to a free USB port on your computer.
- After that, go to the Start menu and type “Recovery Drive” into the search box.
- Then, under “Create a recovery drive,” select “Create a recovery drive.” The option is also available in Control Panel.
- Go to Control Panel > System and Security > Security and Maintenance > Recovery > Create a recovery disk and follow the prompts.
- Uncheck the “Back up system files to the recovery drive” box in the new Recovery drive window and click “Next.”
- Now you must choose your USB disk and click “Next.”
- You will receive a notice that all data on the USB drive will be destroyed at this moment.
- To continue, select “Create” from the drop-down menu.
- Allow a few moments for the troubleshooting utilities to be copied to the USB drive.
- Click the Finish button after the recovery drive is ready.
- That’s all. Your recovery USB stick is now ready, and you can use it to restore the system image and get your Windows 11 PC back up and running.
When creating a USB recovery disk in Windows 11 for the summarized version, that’s all there is to it. However, if you resonate with the step-by-step guide with images, don’t worry. In the next section, we dive right into it.
How to make a USB recovery drive for Windows 11
The instructions for creating a Windows 11 USB recovery drive are similar to those for creating a Windows 10 USB recovery drive. Plug a USB drive with a capacity of 16–32 GB (the amount required varies by system) into a free port on your PC for the best results. Keep in mind that the entire contents of the drive will be erased. Make sure you’re using a flash drive that doesn’t contain any required files or that you’ve backed up your data first.
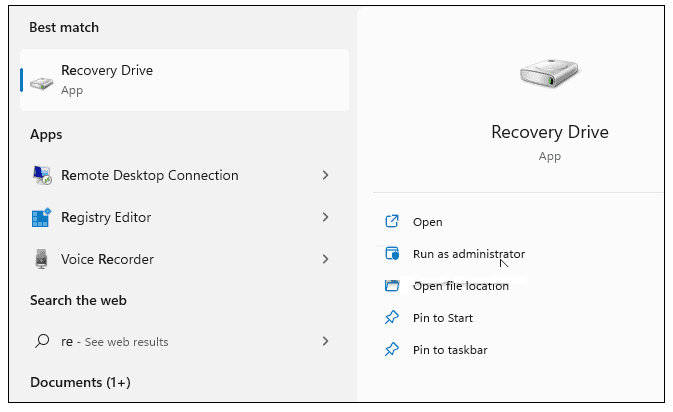
Press the “Start” button on Windows 11 to create a USB recovery drive (or hit the Windows key on your keyboard). Type “recovery drive” in the search bar, then select “Run as administrator” on the right.
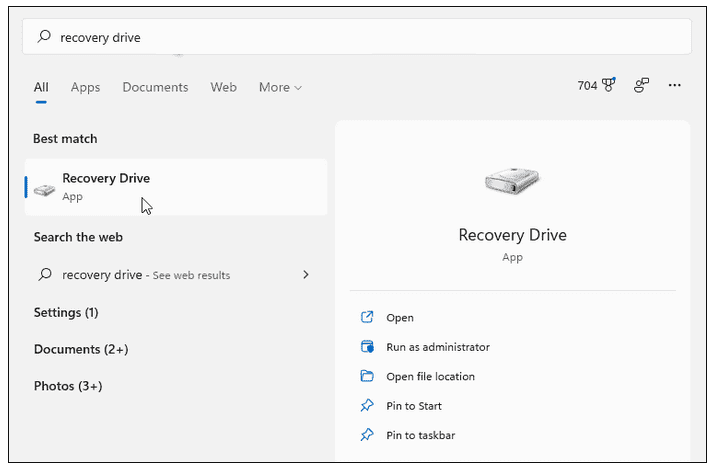
recovery drive
If a notice about User Account Control appears, select “Yes.”
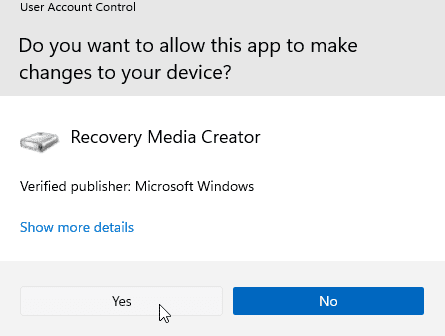
yes
The Wizard for Building a Recovery Drive guides you through the process of creating a recovery drive. Select the option to backup system files to the recovery disk, then click “Next.”
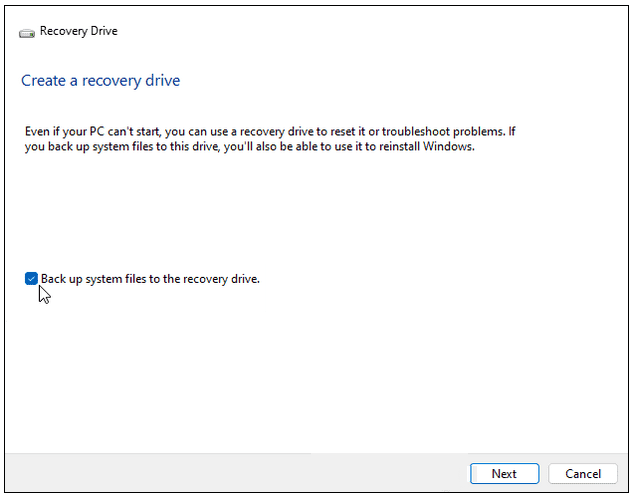
Back up system files to the recovery drive
Give the Recovery Drive utility some time to check your PC for available USB devices. While it’s scanning, you’ll see a progress bar.
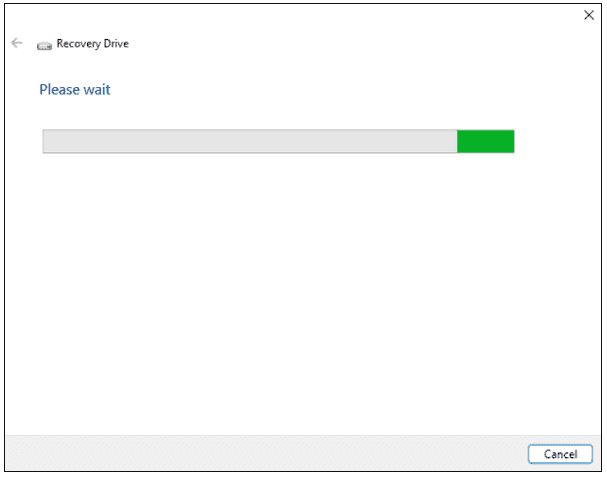
scan your PC for available USB drives
Choose the USB drive you want to use after the drive(s) have been discovered and click “Next.”
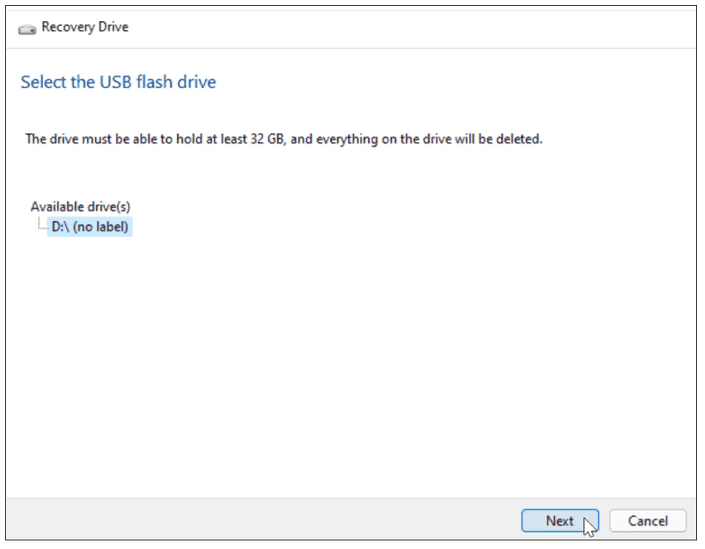
choose the USB drive you want to use
Following that, you’ll see a message stating that everything on the drive will be erased. If the drive contains any personal files, make a backup of them first. Press the “Create” button when you’re ready.
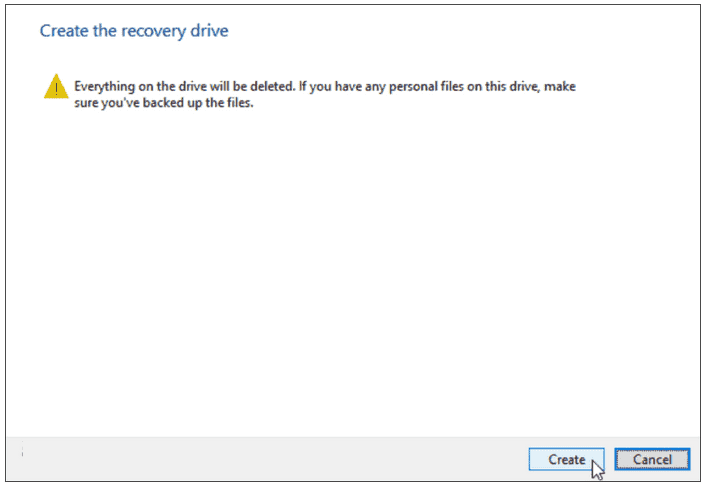
Create the recovery drive
How to make a USB recovery drive
A progress bar will appear when Windows 11 generates your new recovery disk. Allow some time for this to finish—the time it takes to create a new drive varies depending on the system.
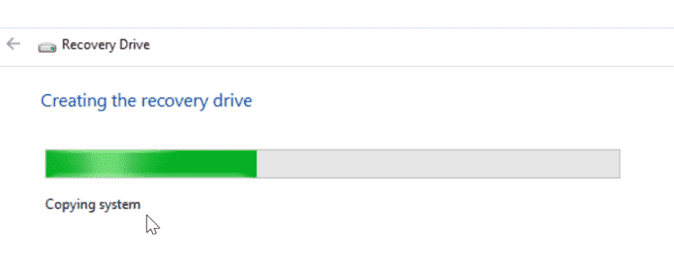
copying system
When the process is finished, a notification will appear stating that the recovery drive is ready. Click “Finish” when you’re finished; the drive can now be safely removed.

Recovery drive is ready
Your Windows 11 USB recovery drive should be kept in a secure area. If your computer has a problem, plug it in, start it up, and utilize the sophisticated recovery environment to repair, restore, or reinstall Windows 11. If Windows fails to create the recovery disc the first time, check that your drive is working correctly. When running the software, ensure that “Run as administrator” is chosen on the right.
run as administrator
Using a USB Recovery Drive for Windows 11
If you’re unable to boot into Windows 11 for whatever reason, you can enter the advanced recovery environment by booting from the USB recovery disk.
Sophisticated alternatives include applications like System Restore and System Image Recovery to repair your PC. You can also change the starting options, delete Windows 11 updates, and open the Command Prompt. You can also restore your computer to its settings. Advanced choices Windows 11 is the latest version of Microsoft’s operating.
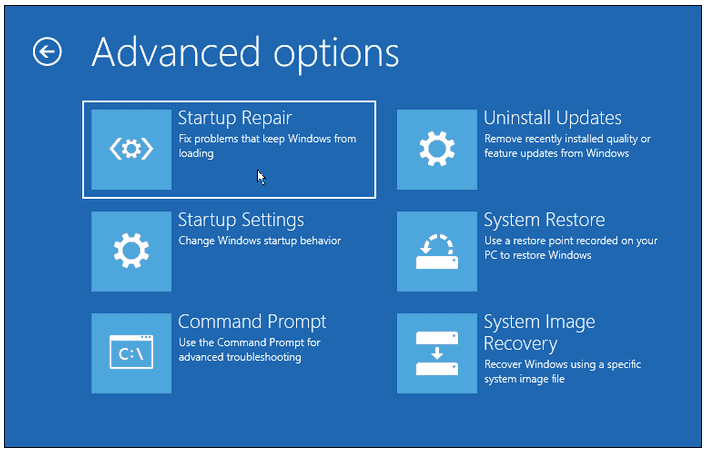
Advanced option
If you’re resetting your PC, first locate your Windows 11 product key (if it isn’t already attached to your account). After installing Windows 11, you might want to relocate the Start button to the left.
How do I enter Windows recovery mode?
Insert your computer’s recovery USB drive or DVD. To boot from a USB device or DVD instead of your hard drive, press the relevant key when the computer starts up. Select the keyboard layout for your language or country on the keyboard layout screen. Enter the code. To tell the computer to use the version of Windows on your drive, select “Recover from a Drive.” It implies that all your files and programs will be deleted after reinstalling the operating system. If you’re planning to recycle the computer, you can remove merely data or wipe the operating system clean. Because you intend to keep this computer, select “remove my files.”
The final step is to select “Recover” from the drop-down menu. All personal files will be erased, and any software that did not accompany the OS will be removed. After that, the computer will warn you once more. Additionally, partitioning your hard disk will restore it to its previous condition, requiring you to re-create the partition. After that, Windows will inform you that it is recovering your computer. When you’re done, Windows will be reinstalled.
Conclusion
That concludes the procedure for creating a Windows 10 recovery USB for a different computer. It’s critical to create a System backup or recovery drive ahead of time. You should utilize EaseUS Todo Backup if you have machines running other versions of Windows than Windows 10. This software automatically resolves unbootable issues.
Creating a recovery drive is an excellent idea. If your PC ever has a significant problem, such as a hardware failure, you’ll be able to reinstall Windows 11 using the recovery disk. Because Windows updates to improve security and PC performance regularly, we recommend that you recreate the recovery drive at least once a year. Personal files and software not included with your computer will not be backed up. A USB drive with at least 16 GB is required.