
Table of Contents
The Windows 10 service will be phased down in the near future, and Microsoft is getting increasingly aggressive in urging consumers to upgrade. If your device satisfies the prerequisites for Windows 11, Microsoft will begin installing Windows 11 automatically.
If you are not yet ready to upgrade to Windows 11, you can stop the release update notifications and manually enable just the updates you want to avoid installing Windows 11. We’ll show you just how to accomplish it.
Note: Microsoft is not forcing Windows 10 customers to update to Windows 11. However, if your computer has gotten an invitation, updating is simple. So, to avoid an unintentional update or restrict other users on your devices from beginning an upgrade, you need to disable the Windows 11 update.
Disabling Windows 11 update notification
You may disable the Windows 11 update in several ways: using the Local Group Policy Editor, through the Registry Editor, turning off the Windows update service, and via the windows settings.
Pause the update with the Windows settings
If you want to briefly halt the Windows 11 update, Windows Settings is the simplest way to do so. This approach allows you to pause the update for seven days or more.
What you must do is as follows:
1. To launch Windows Settings, press the “Windows + I” keys on your keyboard simultaneously.
2. Click on Update & Security in the Settings window, and then pick Windows Update from the left panel in the following window.
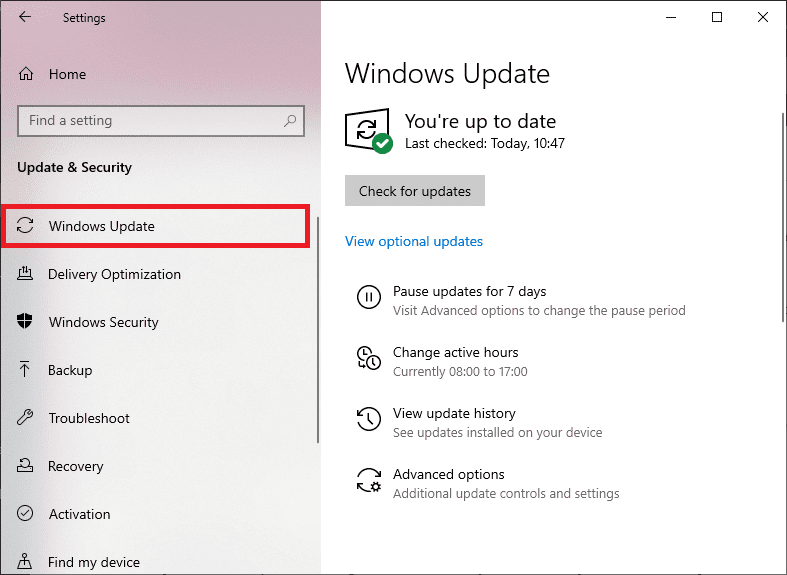
Windows Update
3. You may also choose to pause updates for seven days. This should temporarily halt updates for a week.
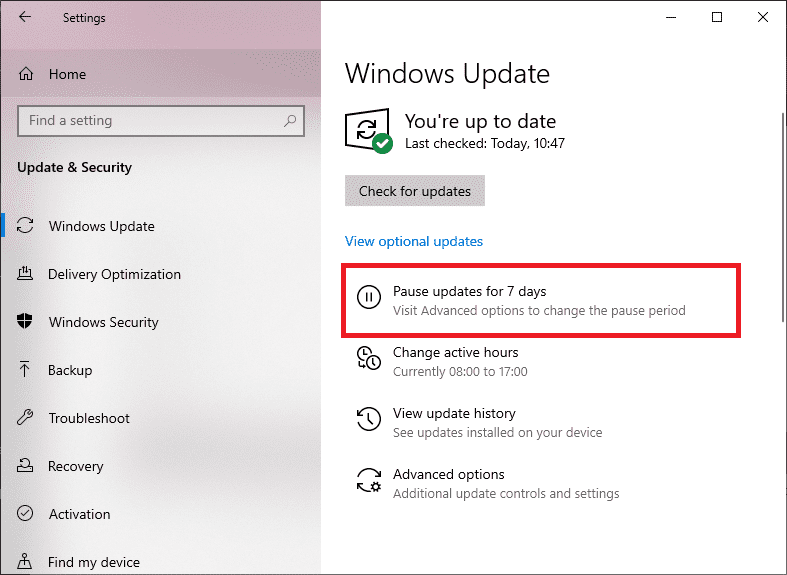
Pause updates
4. If you wish to pause them for more than a week, go to Advanced settings and expand the dropdown choice under Pause updates in the next box.
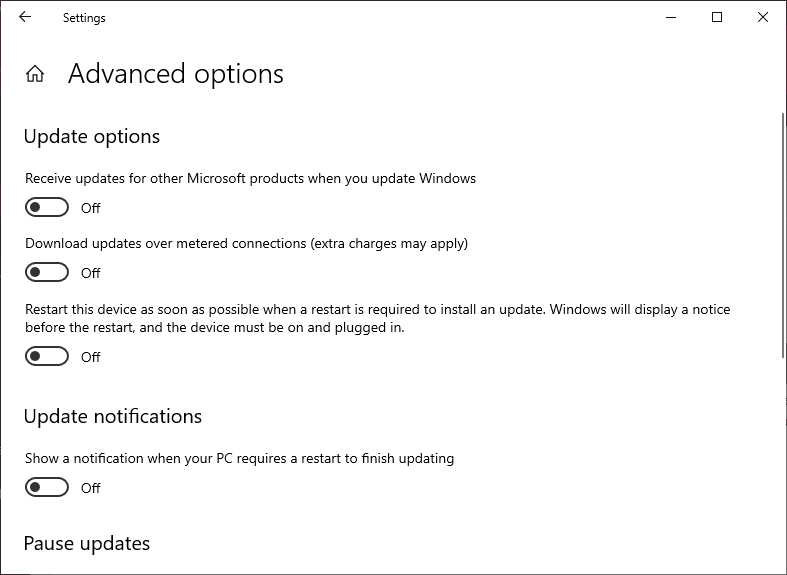
Advanced options
Now choose a date, and you will have successfully disabled the updates.
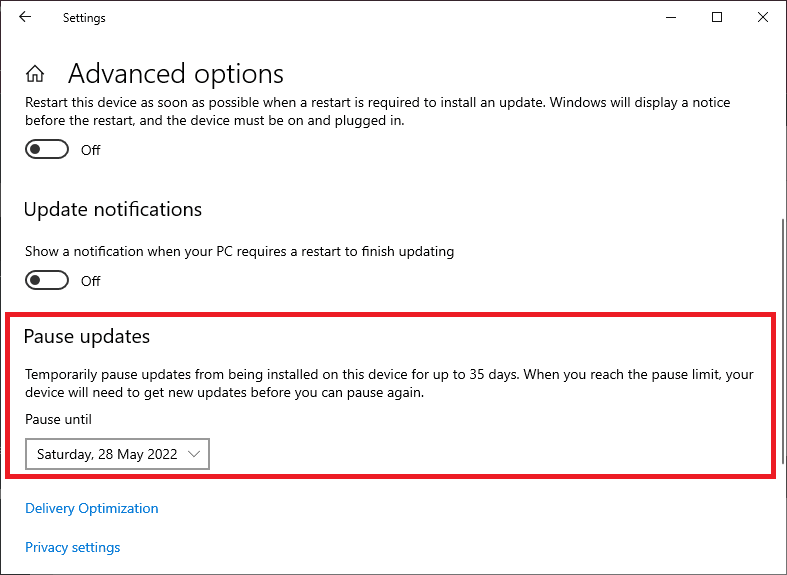
Pause updates to a later date
Disable updates using the Registry Editor
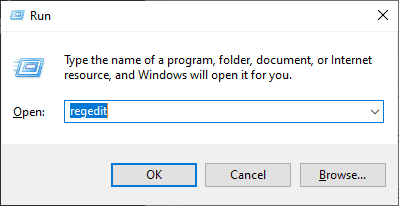
To utilize the Registry Editor approach to block the Windows 11 update from being deployed, open the Run box by simultaneously hitting the Windows and R keys.
Enter the following into the Run box and hit Enter. This will launch the Registry Editor.
regedit
Regedit
A “User Account Control” popup will appear. Choose “Yes” at this prompt to proceed.
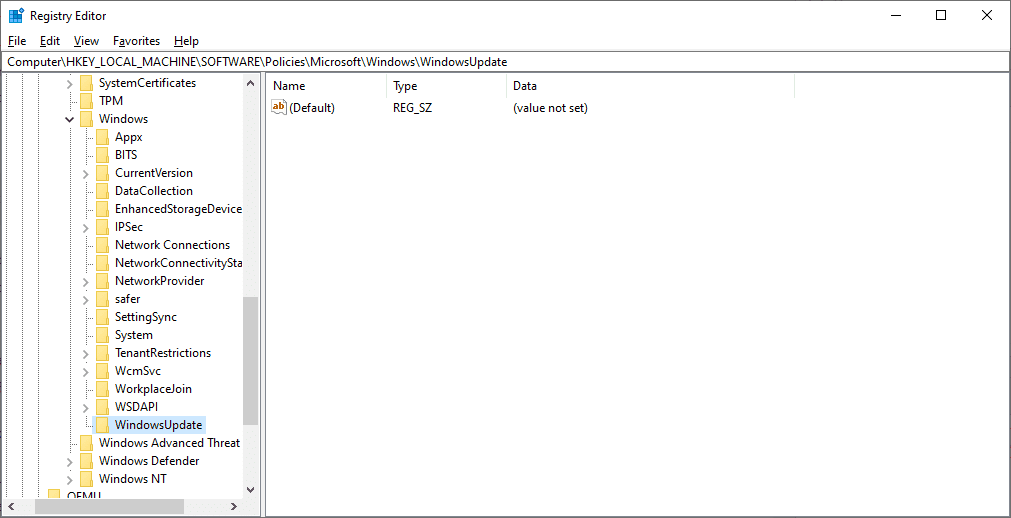
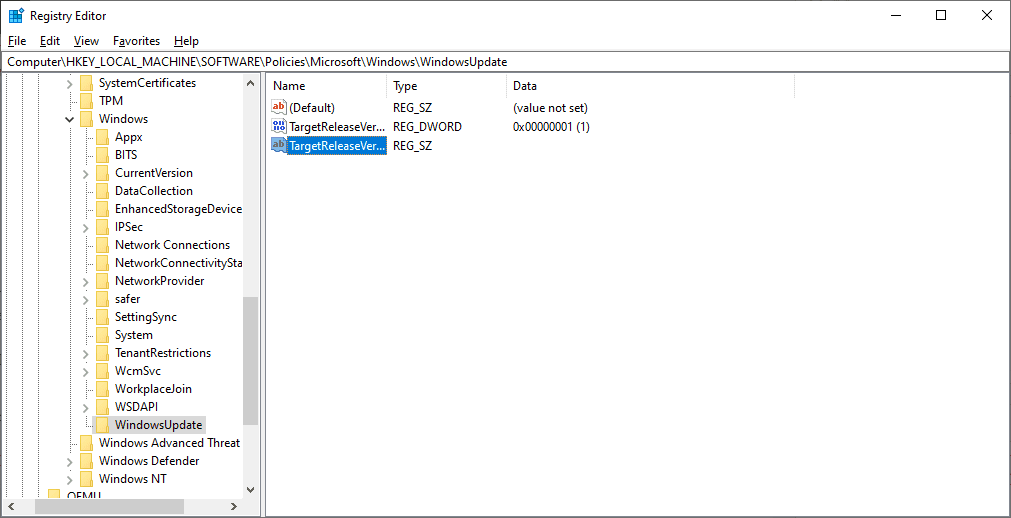
When the Registry Editor opens, browse to the following directory using the sidebar on the left:
Computer\HKEY_LOCAL_MACHINE\SOFTWARE\Policies\Microsoft\Windows\WindowsUpdate
Note: If the final “WindowsUpdate” directory is not displayed, right-click the “Windows” directory and choose New > Key. Now create the directory by typing WindowsUpdate and pressing Enter.
Create a new Windows Update
Double-click the “TargetReleaseVersion” entry in the right pane to open it. If you do not see this item, right-click a blank area in the right pane and select New > DWORD (32-bit) Value. Then enter “TargetReleaseVersion” without the quotation marks and click Enter to create the item.
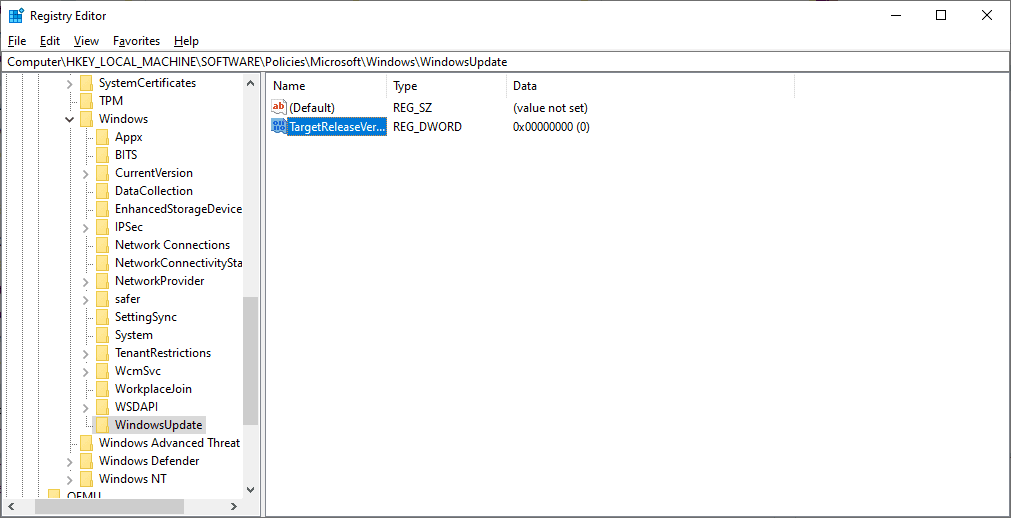
Create new Targetreleaseversion
In the box labeled “Edit DWORD (32-bit) Value,” click the “Value Data” field and enter “1” (without quotes). Then press “OK.”
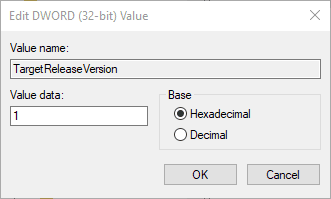
Edit Dword 32-bit value
Again, double-click the “TargetReleaseVersionInfo” entry in the right pane. If it is not there, right-click a blank area on the right pane and select New > String Value. Enter “TargetReleaseVersionInfo” without quotation marks to create the entry.
Create new Targetreleaseversioninfo
Here, we’ll input the release update that we want to maintain. At the time of writing, I am using the most recent version of Windows 10, the 21H1 upgrade. To discover the current version of Windows 10, use the official Microsoft documentation for the most recent release.
In the “Value Data” field of the “Edit String” box, put “21H1” (without quotation marks) or your selected release. Then choose “OK.”
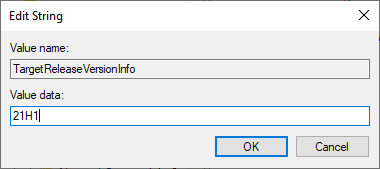
Edit string
Close Registry Editor and restart the Windows 10 computer. You’re all set.
Note: Your Windows 10 computer will stop future upgrades, including the Windows 11 update, following your provided update. The deficiency of this approach is that you must continually adjust the release value to reflect the most recent Windows 10 upgrades.
Disable updates using the Windows Update Service
The Windows Update Service can also be deactivated to prevent Windows 11 from updating. Note, however, that this will prevent any Windows updates (including cumulative and security update patches) from installing on your computer. When you are all set to apply the updates in the future, you must manually restart the service.
Press the Windows and R keys simultaneously to enter the Run dialog box.
In the dialog box’s text field, type services.msc and press Enter.

Services
Once within the Service window, select the Windows Update service and double-click it.
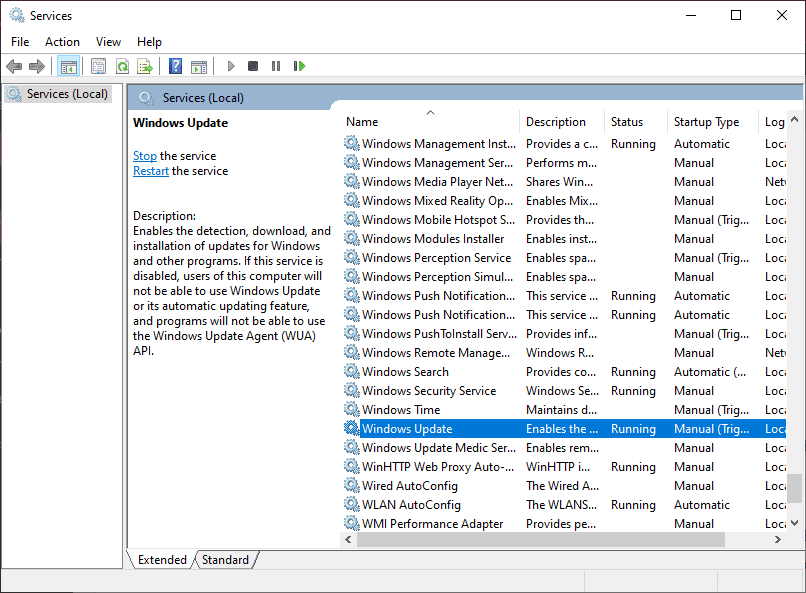
Windows updates services
Expand the dropdown menu next to Startup, type in the Windows Update Properties dialog box, and choose Disabled.
Click the Stop option under Service status and hit “Apply/OK” to save the changes.

Disable Windows Updates
Note: The steps provided herein will cancel the Windows 11 update. If you wish to restart the update service in the future, repeat the steps above and choose Automatic as the Startup type. Then press OK after clicking the Start button.
Disable updates using the Local Group Policy Editor
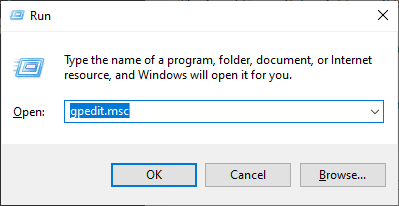
To access the Local Group Policy Editor, use Windows+R to bring up the Run box on your PC. You may do this by typing this into the Run box and pressing Enter.
gpedit.msc
Local group policy editor
The Local Group Policy Editor will be shown on your computer’s desktop.
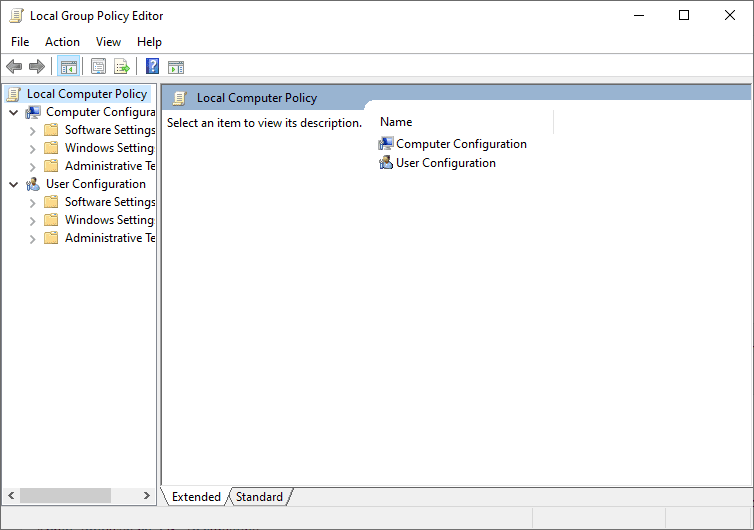
Local group policy editor screen
Using the left-hand-side list of directories, browse to the directory specified below:
Local Computer Policy > Computer Configuration > Administrative Templates > Windows Components > Windows Update > Windows Update for Business
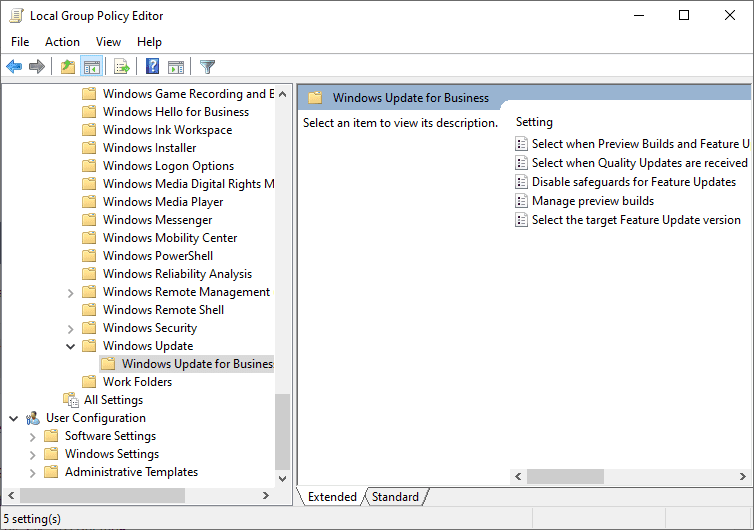
Windows updates for business
Double-click the “Select the Target Feature Update Version” entry in the right pane.

Select target feature
A dialog titled “Select the Target Feature Update Version” will appear. Enable the “Enabled” option here. Then, select the “Target Version for Feature Updates” option and enter “21H1” (without quotation marks) or your desired version. Click “Apply” followed by “OK” to conclude.
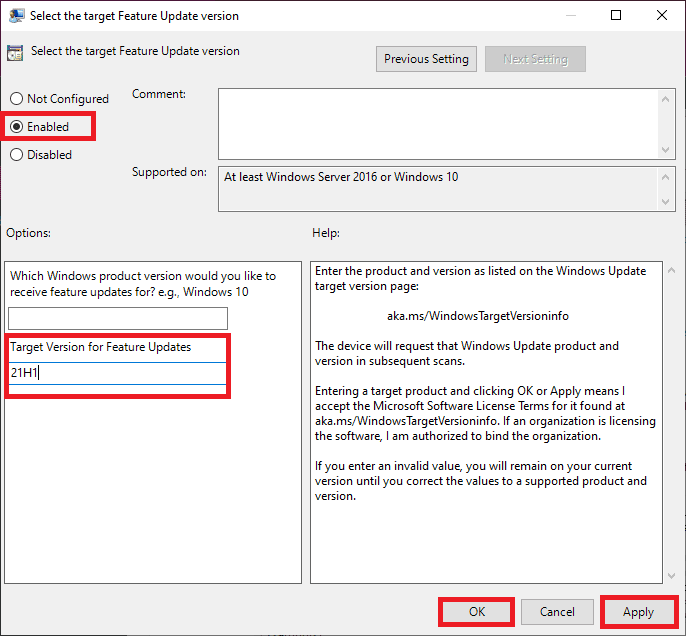
Target version for featured updates
Quit the Local Group Policy Editor and then restart the computer. The Windows 11 update has been disabled on your system. Thanks for reading, and stay connected to Windows Pixel to learn more about Windows tips.