Table of Contents
It is essential to download Windows updates to keep your Windows PC safe, fast, and not vulnerable to attacks. Security is critical in this day and age where hackers try to exploit every minimal opportunity they get. Allowing Windows 10 and previous window versions to update itself ensures that your computer will remain protected against various security problems that hackers and malware might exploit.
Weak links that are most often targeted in Windows include Active X, Internet Explorer and Net framework. Furthermore, updating windows ensures that your computer receives bug fixes and optimization updates to help windows run smoother and faster. Windows updates may introduce new features that you can get for free.
Error 0x80070490
Error 0x80070490 is a status code that signals a corrupted file or process in the System Component Store or Component-Based Servicing (CBS). These two services have the responsibility of running and overseeing all Windows-related operations. Therefore, any damage or corruption within their files might render the Windows Update component inoperable.
This error may occur during a system update via Windows Update or by installing an update using the KB file. In addition, there are confirmed cases whereby this error occurred due to installing cumulative Windows updates. This error prevents you from installing InPlace upgrades, including Media creation tools, mounted ISO, and bootable USB drive. The error can also occur while updating an app downloaded from the Microsoft store. Also, you may get this error when trying to buy an app from the Microsoft store or when upgrading to windows 10 from windows 7 or 8.1.
There is no definitive answer to what causes this error, but there are a few known cases. As mentioned earlier, this error can occur if files belonging to the Component-Based Servicing (CBS) or System component store become corrupt. Other potential reasons for the occurrence of the error include corrupted Windows Registry files and disabled services required by Windows Update.
Third-party antivirus programs may also cause this error by preventing Windows Update from performing its tasks. Before you attempt to use any of the provide fixes, you should temporarily disable your antivirus software and try installing updates to see if that resolves the problem.
The error code 0x80070490 stands for E_ELEMENT_NOT_FOUND, which means that an item required to install the update could not be found in the package. This, in turn, means that the update package has been corrupted. Many users struggle to fix the error without success. Some users try fixing the Windows Update error by running the troubleshooter, renaming the software distribution directory, and so on, but these attempts don’t always work. Even downloading standalone update packages doesn’t work. Nevertheless, some solutions have helped many users in the past.
Note: These fixes were composed with windows 10 in mind, but some might apply to windows 8.1 and 7.
How can I fix error code 0x80070490 on Windows 10?
1. Create a new local account
To fix the error on windows 10, you will have to create a new local account and move your files to it, i.e.:
- Create a new local account with administrator privileges
- Move your documents and personal files to the new account
- Delete your old account and switch to the new one
- After switching to the new account, add your Microsoft account to it.
After doing all these processes, the error should be fixed. However, if the issue is not resolved, try the other solutions below.
2. Use a system repair tool
A great solution is to install trustworthy software to fix Windows errors and keep your computer secure. This type of tool performs an advanced scan and through its repair function. It can restore your Windows errors within minutes, as well as your registry keys, DLLs, and corrupted system files. The program also does an in-depth registry cleanup and removes malware, optimizing your PC.
Download and install the Restore PC repair tool
After installing the application, launch it and wait for it to detect errors in your PC. Once errors have been detected, click Start repair. after the repair process completes, reboot the system to enable the changes to take effect.
Note: Due to the rapid improvement in technology, there have been eruptions of many phishing sites whose intentions are to breach your privacy. Hence it would be best if you were keen while selecting the appropriate software to use.
3. Run the update troubleshooter
Windows 10’s new troubleshooting tool can deal with various system problems, including troubleshooting update mishaps.
Use the following process to run this troubleshooter in Windows 10:
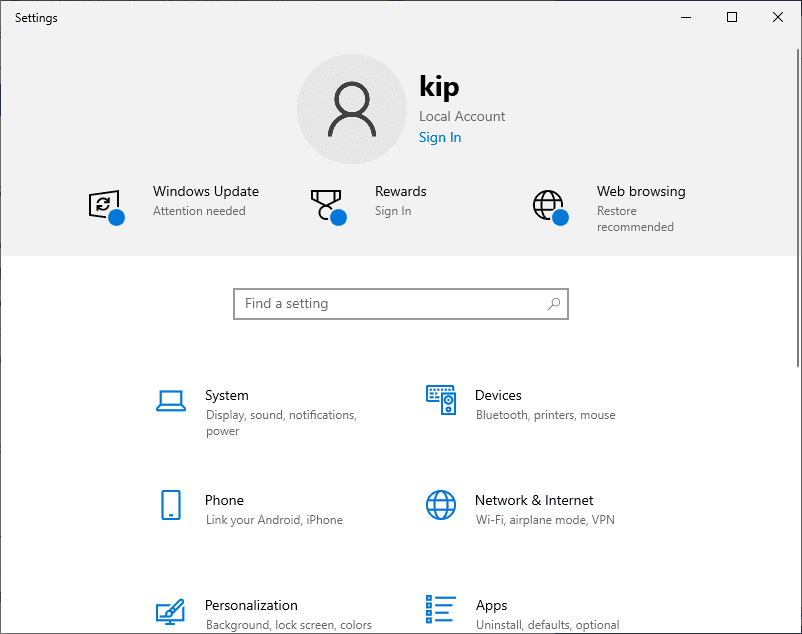
- Go to settings

settings
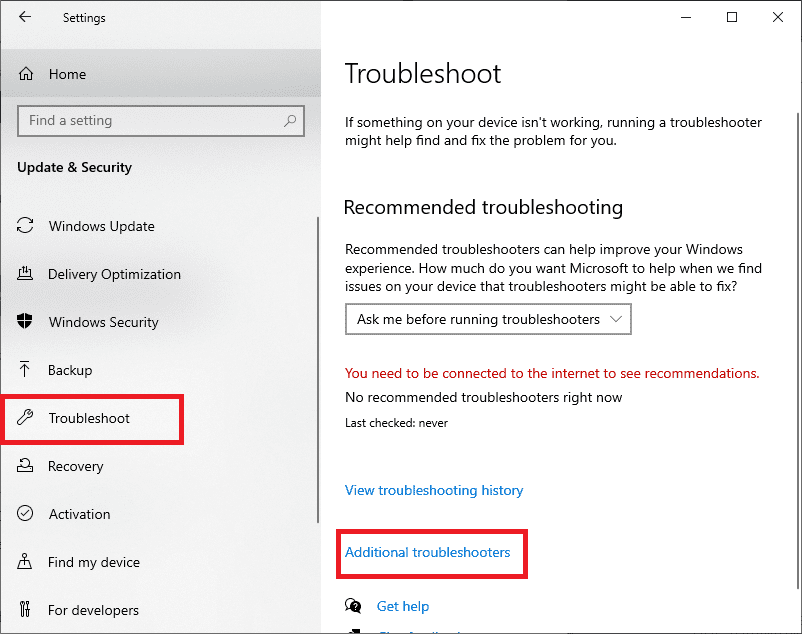
- Go to Update & security > Troubleshoot > Additional Troubleshooters
troubleshoot settings
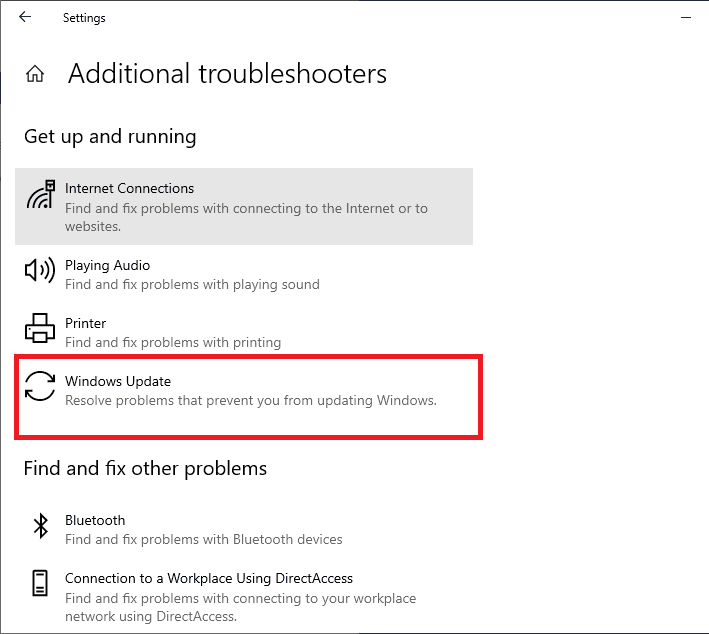
- Find Windows Update and click Run the troubleshooter
windows updates troubleshooter
- Follow the on-screen instructions
- Restart your computer
Run the SFC scan
Since you already run the Troubleshooting tools in Windows 10, you can try another process using the SFC scan. However, if you are not familiar with this tool, it serves as another built-in troubleshooter designed to resolve various system problems.
The SFC scan does not have a user interface. Hence you will have to run using the Command Prompt. Follow these instructions to run the SFC scan on your PC:
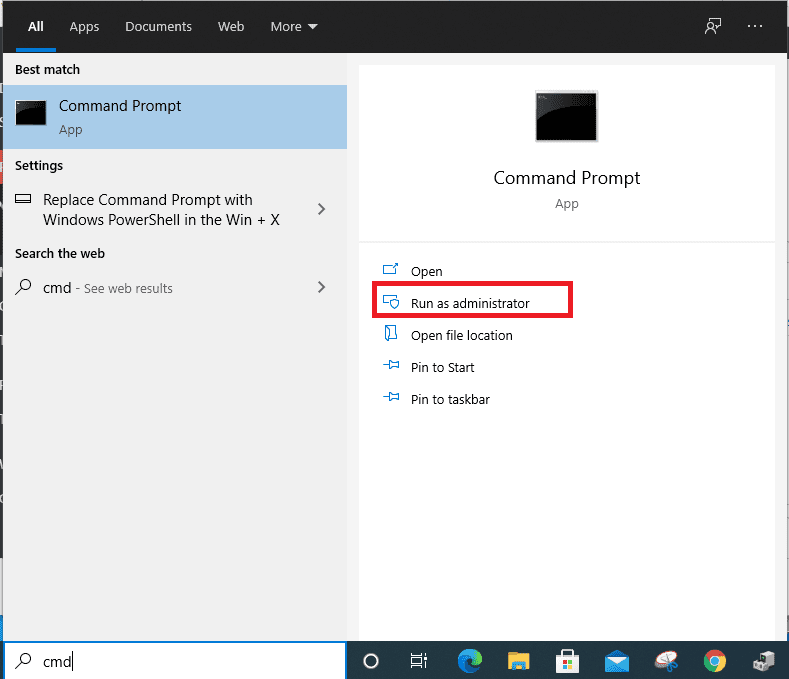
- Go to Start Menu and type cmd. Next, open the command prompt as an Administrator
run cmd as administrator.
- Enter the following line, then press Enter:

sfc/scannow
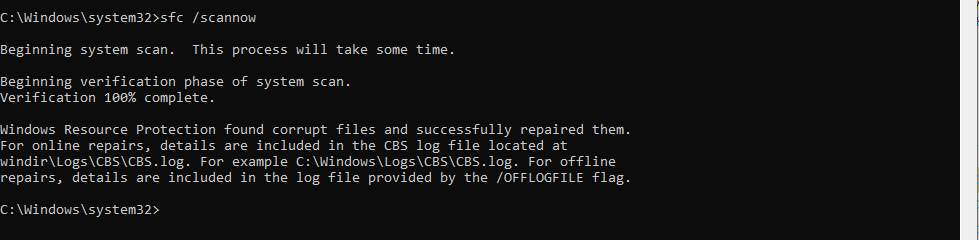
SFC scannow
- Wait for the process to finish, then restart your computer
4. Run DISM
The last troubleshooting tool you will use to resolve the 0*80070490 error is the DISM (Deployment Image & Servicing Management). This is yet another troubleshooting tool in Windows 10. Many users have termed it the most powerful troubleshooting tool in Windows 10 as it fixes many bugs.
If the previous troubleshooters failed to resolve the issue, try this one. Follow the instructions below to run DISM:
- Go to Start Menu and type cmd, then open the Command Prompt as an Administrator.
run cmd as administrator
- Enter the following command on the Command line:
DISM.exe/online/Cleanup-Image/RestoreHealth
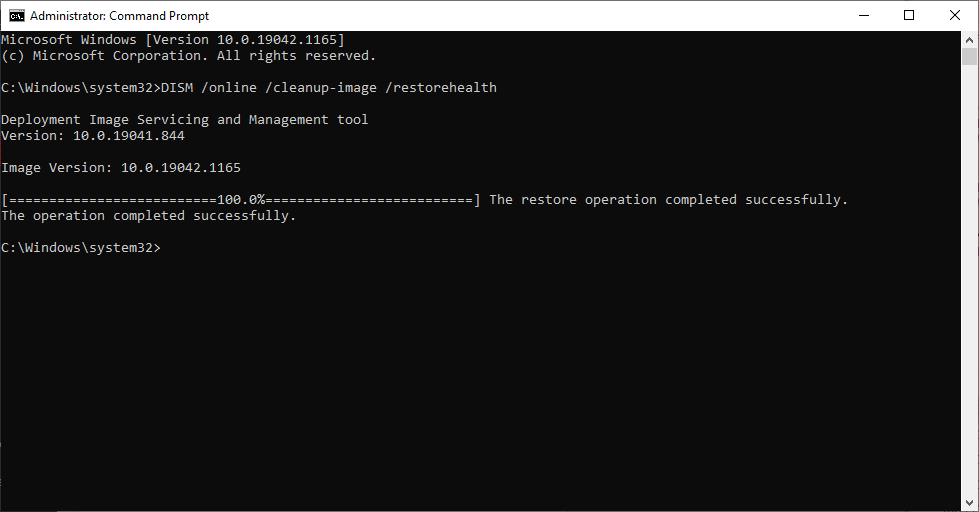
dism tool
If the DISM can’t obtain files online, try using your installation USB or DVD. Insert media and type the following command:
DISM.exe/Online/Cleanup-Image/RestoreHealth/Source:C:RepairSourceWindows/LimitAccess
Note: remember to replace the “C:RepairSourceWindows” path of your DVD or USB
5. Check for viruses
Some users associate the error with a virus or some other kind of malware. If the above solutions have helped you resolve the error, proceed and scan your computer for viruses. Once you have made sure your computer is free of viruses, this problem may disappear as well. We strongly advise you to use professional antivirus software to keep your computer safe from any malware and viruses.
6. Disable Antivirus
On the contrary to the previous solution, there is a chance that your antivirus is precisely what gives you this error since antivirus software and Windows updates are known for not getting along with each other.
To check if the antivirus causes this error, disable your antivirus software, then check for updates. If there is no error, make sure your antivirus is up to date. You may also consider changing your antivirus software or switching to Windows Defender, a perfect in-built antivirus solution.
7. Delete user ID store cache from the registry
Use the following instructions to delete the user ID cache from the registry:
- Open the Registry editor
registry editor
- When it starts, navigate to the following key in the left panel
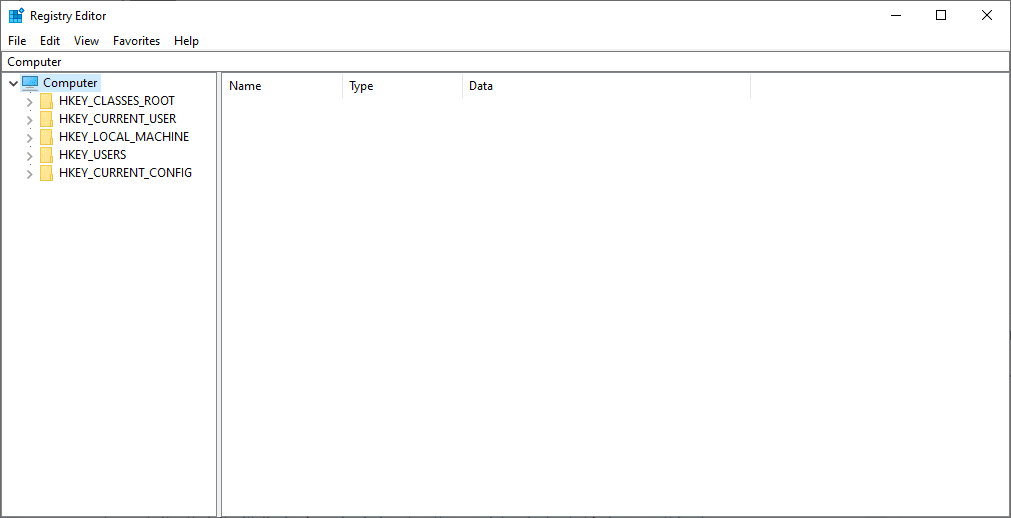
HKEY_LOCAL_MACHINE\SOFTWARE\Microsoft\Windows\CurrentVersion\Appx\AppxAllUserStore
- Now find the keys that look like this:
S-1-5-21-1505978256-3813739684-4272618129-1016.
This is just an example, and most likely, the name of the keys won’t be precisely the same, but they will have the same format.
- Select all these keys and delete them.
- After deleting these keys, close the Registry Editor and restart your computer.
Note: If you can’t locate the files mentioned above in your registry editor, proceed to the next step.
8. Check if BITS, Cryptographic, MSI Installer, and the Windows Update services are running
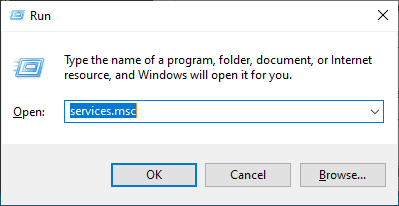
- Press Windows key + R and type services.msc
services
- When the service window opens, find the following services: BITS, Cryptographic, MSI Installer, and the Windows Update services. Make sure that these services are running.
cryptographic services

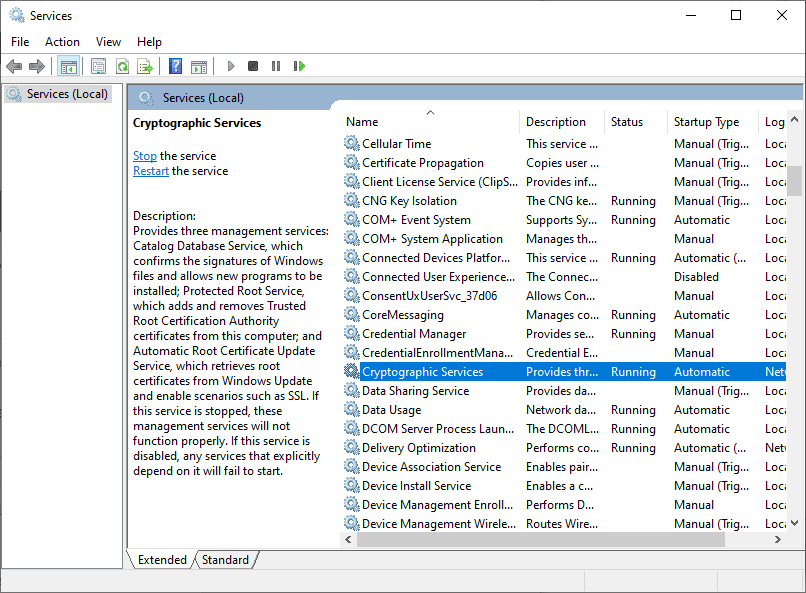
If one or more of these services are not running, make sure to start them by selecting the service and clicking Start the service.
9. Delete Software Distribution folder
The Software Distribution Folder stores all update data. If something inside this folder gets corrupted, you may encounter update mishaps. Before deleting this folder, you should disable the windows update service. To do that, follow these steps:
- Go to Search and type services.msc then go to Services
services
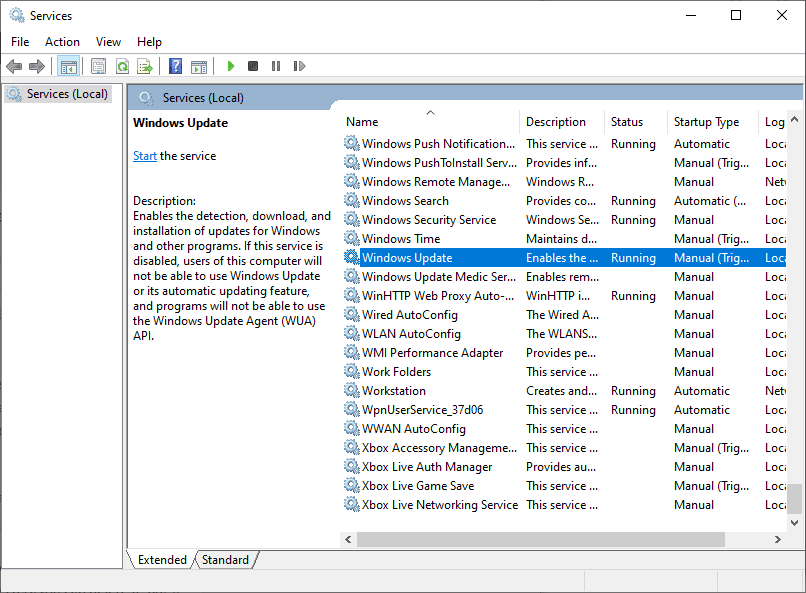
- In the services list, search for Windows Update
windows updates services
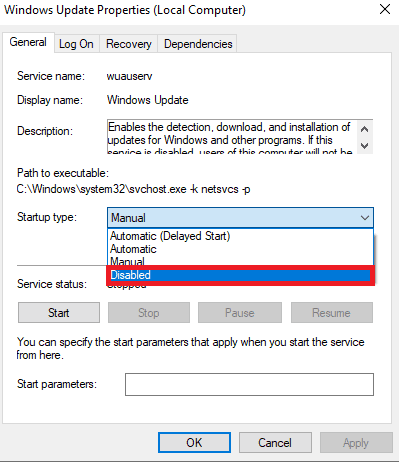
- Right-click, then go to Properties, then choose Disabled.
select disabled option for windows update
- Restart your computer.
Now that the Windows Update service is disabled, you can go and delete(rename) the Software Distribution folder by following these steps:
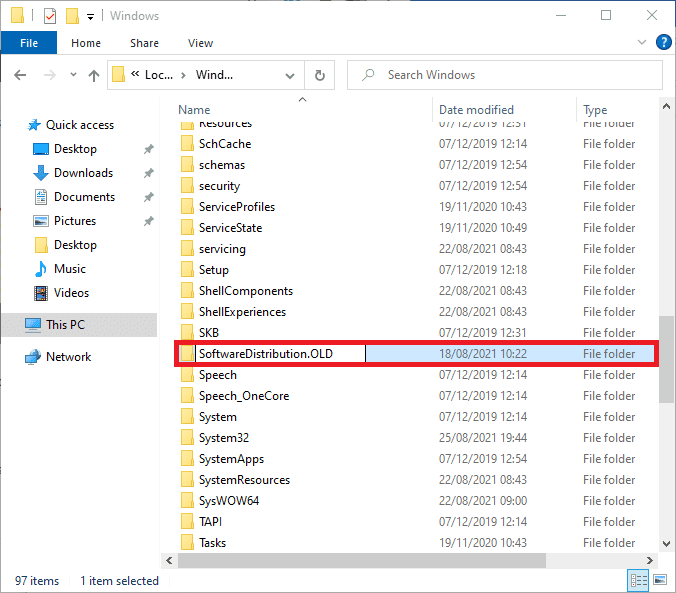
- Navigate to C: Windows and find the Software Distribution folder
software distribution folder
- Rename folder to SoftwareDistribution.OLD (you can delete it, but it is safer to leave it as it is so that you can revert to the previous folder in case the process fails to work.)
rename software distribution
- Restart your computer

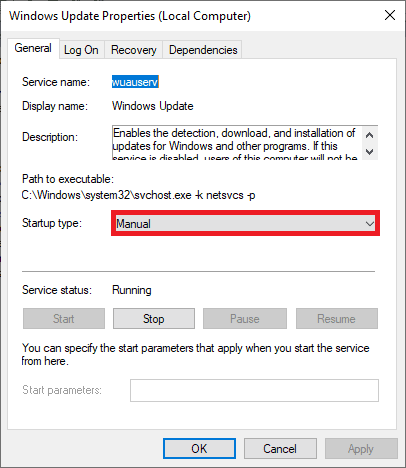
After renaming/deleting the folder, go and re-enable the windows update service by following these instructions:
- Navigate to services and find Windows Update; in Properties, change from Disabled to Manual
change windows update from disabled to manual
- Restart your computer, then check for Updates
Conclusion
From the article, we have discussed the various ways to resolve error 0x80070490. We hope that these solutions will help you fix your PC. In case of any inquiry, feel free to air out your comments in the comment section, and we will reach out to you for solutions.