
Microsoft Windows has an in-built music player with many different features to its name. However, if there’s one piece of functionality that previous iterations of the software had enabled by default, but it isn’t preeminent in Windows Media Player, it is probably visualizations.
If you want to know how exactly this feature can be toggled on, you need to keep on reading for step-by-step instructions. This guide will cover everything that you need to know about it.
Enabling the visualizations feature in Windows Media Player
Turning on visualizations in Windows Media Player promotes user experience. You get to see a visually aesthetic scenery of different shapes and structures dancing to the beat of the audio playing in the media player. The feature isn’t enabled by default, so we have to take matters into our own two hands here.
The following steps will show you the precise method of enabling visualizations in Windows Media Player. Make sure to follow them carefully.
1. To get started, you have to launch Windows Media Player on your Windows PC. Do this by searching for this application in the Windows Start menu. Check out the following screenshot for more details.
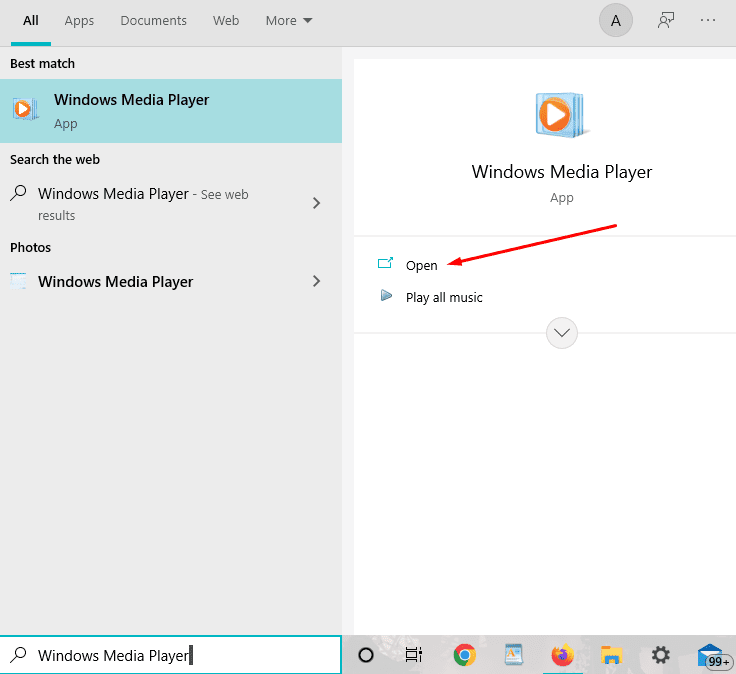
Launching Windows Media Player
2. After opening Windows Media Player, you have to click on the “Switch to Now Playing” button, which is in the bottom-right corner of the main user interface. Doing so will get you to the next step.
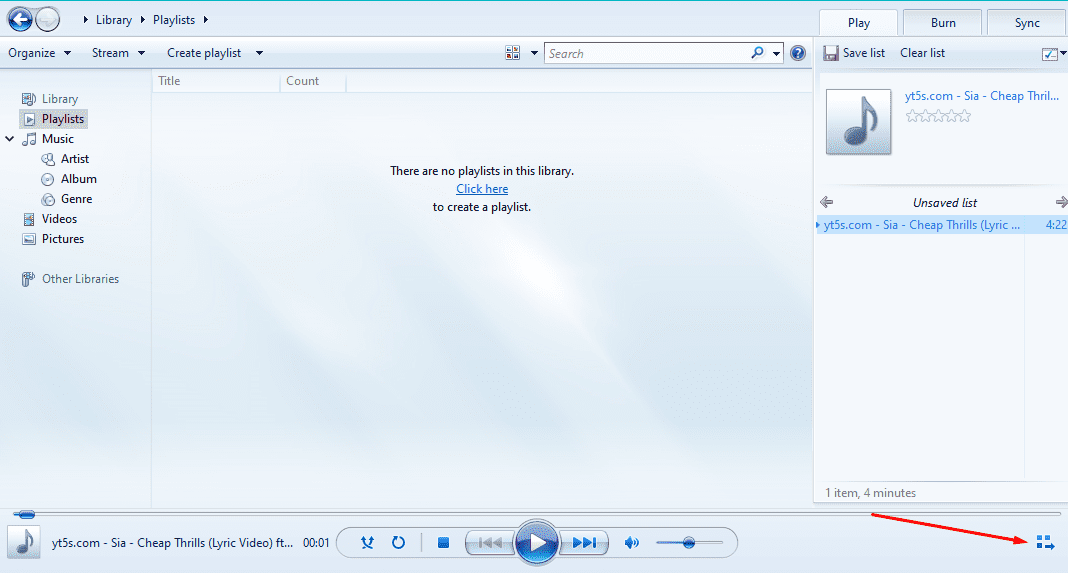
Clicking on the “Switch to Now Playing” button
3. The next step is to play any song you want to in the mini-window that opens up after the last step. This will help us kick in the visualization effect and witness it in action.
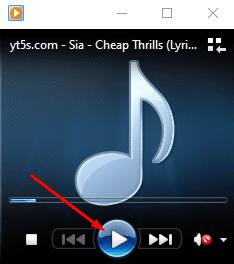
Playing any song in Windows Media Player
4. After some music has started playing, your next task is to double-click on anywhere in the mini Windows Media Player window. As soon as you do that, several options will appear on the screen for you, and “Visualizations” will be one of them. Hover over the area to reveal the different visual effects you can apply to the window. Choose whatever suits your preference, and the effect will be applied automatically. Check out the following screenshot for more.

Choosing the visualization effect
5. We chose “Fire Storm” through the “Bars and Waves” section. The result is a hybrid mixture of fire-colored waves going up and down in synchronization with the song’s beats. The following screenshot depicts this visualization in the Windows Media Player.
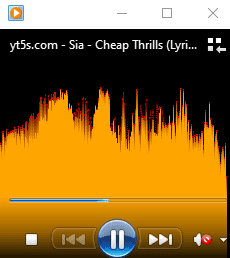
Visualizations enabled
That’s really about it! After going through these steps, you have successfully learned how to turn on visualizations in Windows Media Player. It’s no issue that the feature is not enabled by default since toggling it on doesn’t take a minute. We have now arrived after the article.
Conclusion
Windows Media Player is an effective tool that allows audio streaming to happen natively on Windows PCs. It’s a reliable application with various features ranging from playback-centric functionality to several visual effects or visualizations.
This guide shows working steps that discuss how to turn on visualizations in Windows Media Player. The instructions have been provided in an easy-to-follow format, so we’re confident that you will be able to replicate them on your end easily. Please let us know if you found this article helpful in the comments section.
We would love to read your feedback!