Table of Contents
Windows has a troubleshooting tool that lets a user diagnose connectivity problems on a computer. Whenever this tool detects a problem, it fixes them automatically, but sometimes it shows the problem and recommends the possible solutions.
On a few occasions, the troubleshooter describes the problem but does not give any solutions. One of these instances is the “Windows could not automatically detect this network’s proxy settings” error. This message informs a user that there is a problem with their network’s proxy settings, but it does not tell or recommend fixing the problem. Again, this is because proxy configurations are complex for the troubleshooter to diagnose and find possible solutions.
Fix “Windows could not automatically detect this network’s proxy settings.”
This article will discuss in detail the probable solution to the “Windows could not automatically detect this network’s proxy settings” error. Also, the article will discuss the Windows proxy settings plus the error fixes. Therefore, if you are a victim and would love to fix this error, try out the solutions provided in this article tutorial.
1. Rebooting your computer and router
Before launching advanced troubleshooting, it is advised to restart your devices first. This process may have a chance to clear up this error.
This error is usually related to misconfigured settings on your computer. By restarting your router, you might likely not affect the problem, but it is still worth a try whenever you run into network problems.
If the problem is not fixed after rebooting your computer, try out the other steps of fixing the error provided in this article.
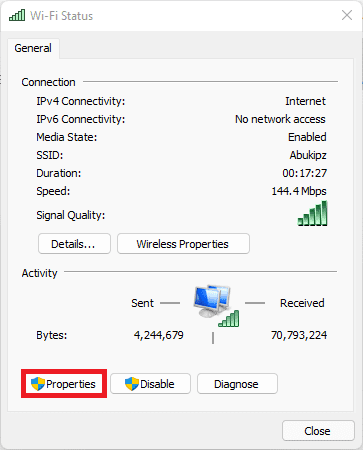
2. Restarting your PC’s Network Adapter
A fast way to fix simple and complex issues concerning connectivity is power cycling your network adapter. To do this, follow the steps highlighted below:
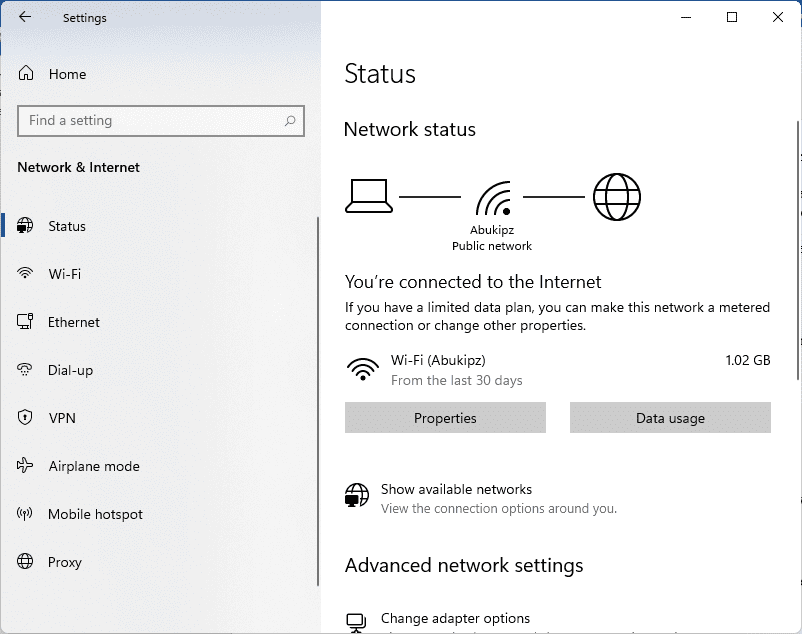
- Go to settings >Network & Internet >status

Network Status
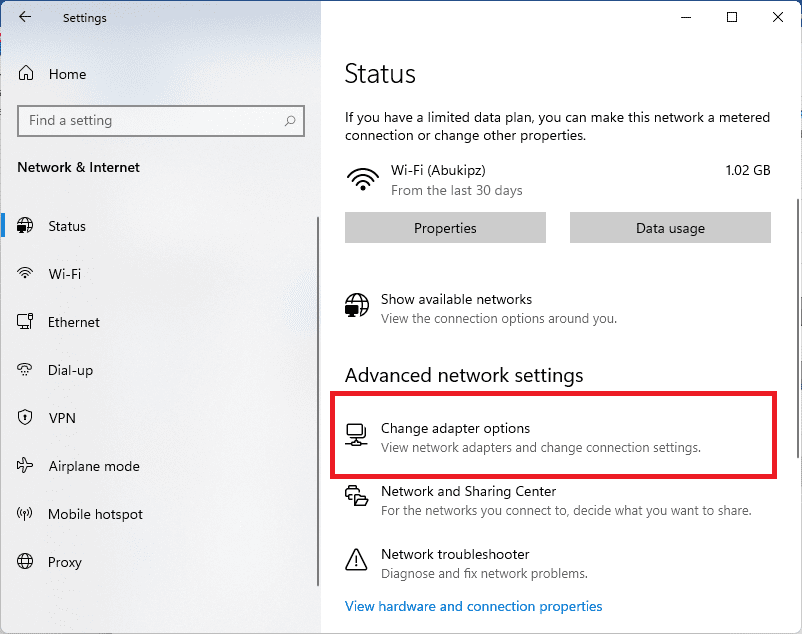
- On the Status page, click “Change adapter options.”

Change adapter options
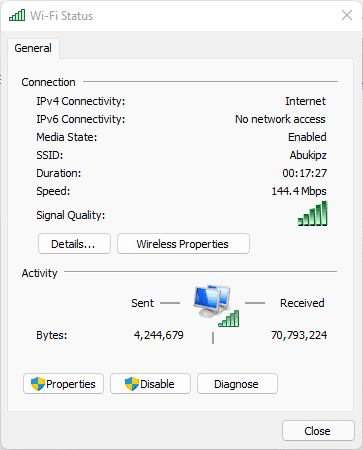
- Select WiFi if you use a wireless connection or Ethernet if you use a wired/LAN connection. Then, on the toolbar, click “Disable this Network device.”
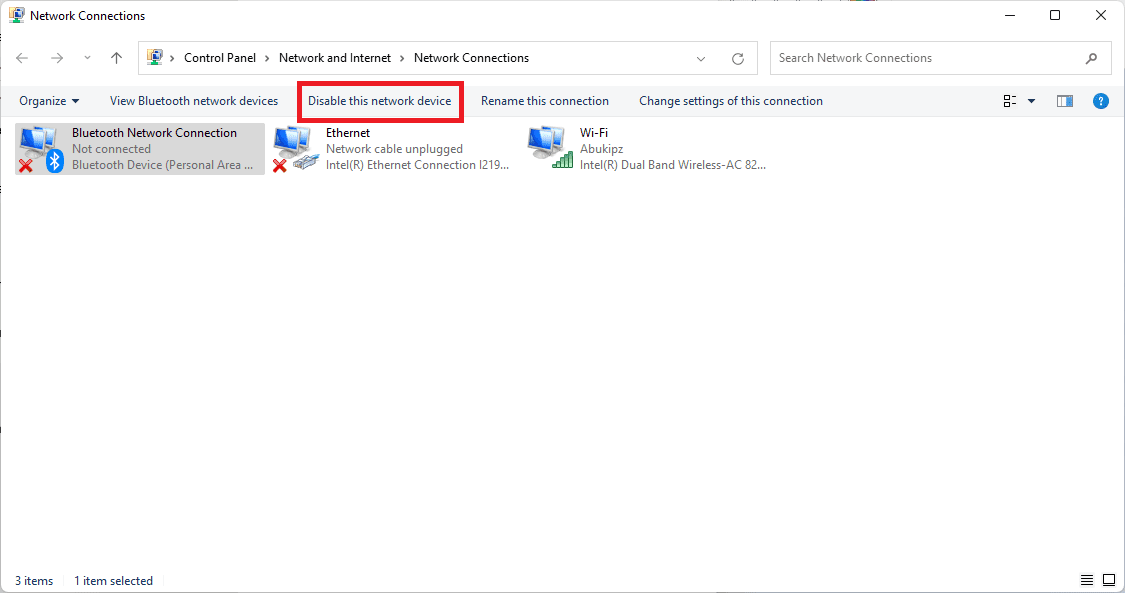
Disable this network device
- Wait for a few seconds, then re-enable the network adapter by selecting the network (WiFi or Ethernet) then clicking Enable this network device.
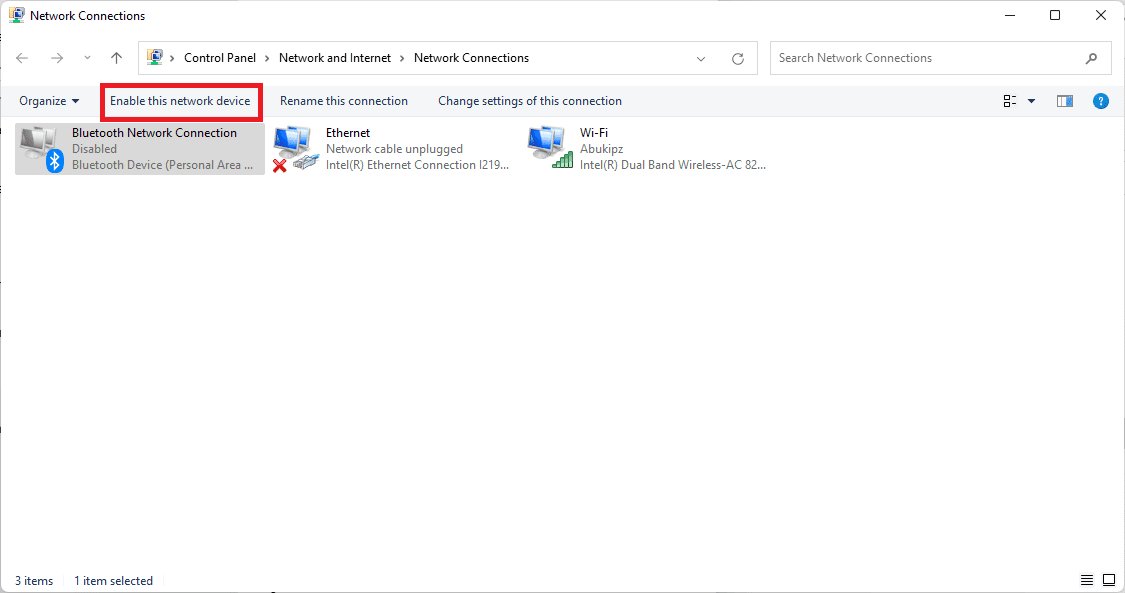
Enable this network device
3. Reviewing the proxy settings in Windows
This should be the first place to check since the problem is related to the Window proxy settings. Follow the following steps to get to the windows 10 proxy settings:
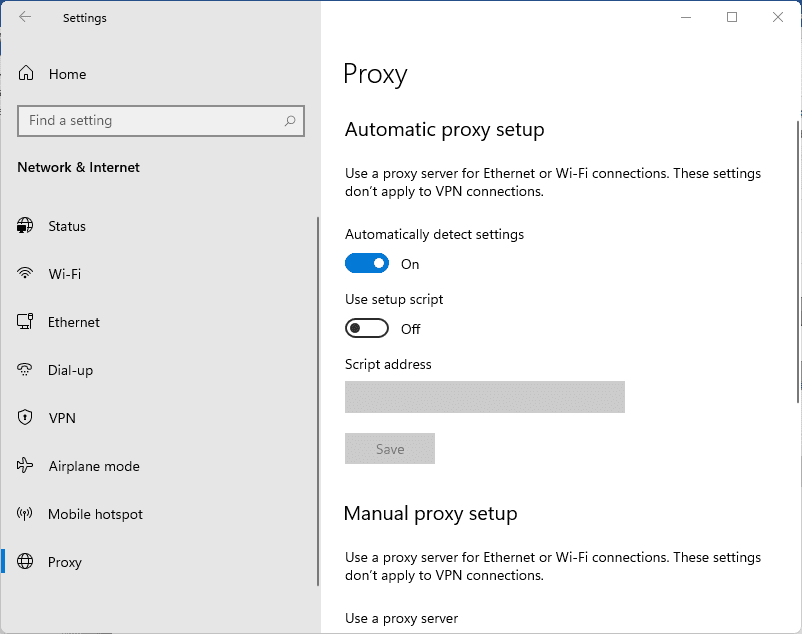
Open settings, then select the Network & Internet category. Next, on the left side, switch to the Proxy tab. On this tab, you will see a list of options related to proxy servers.
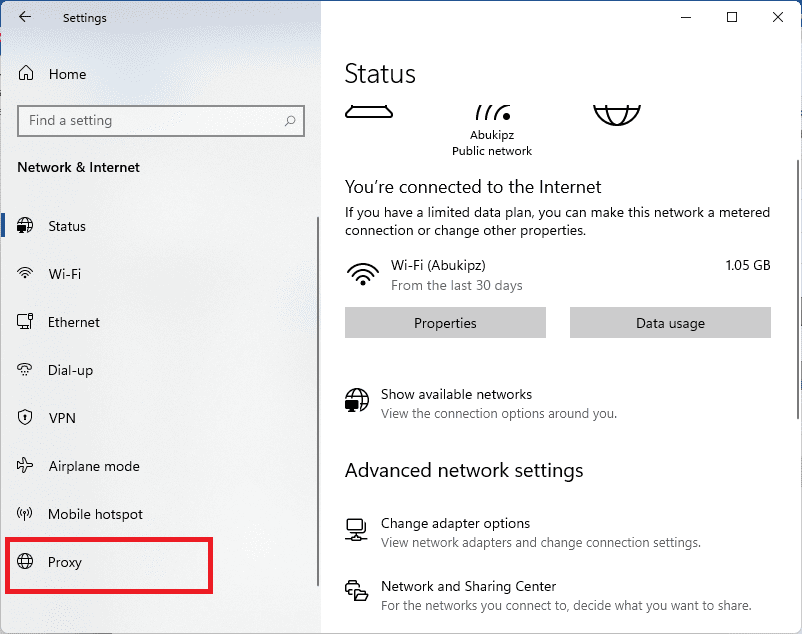
Proxy Settings
Most home users don’t use a proxy. Therefore, ensure that it is turned off when you want to use a proxy server. If the Automatically detect settings button is on, leave it like that as shown in the image below:
Proxy setup settings
If you are a user that connects with a Proxy – such as in a business or school – you might want to confirm with your system administrator to ensure that you have the correct proxy details.
After doing all this, try reconnecting to the network again. If the error persists, turn off the “Automatically detect settings” in the proxy options and try again.
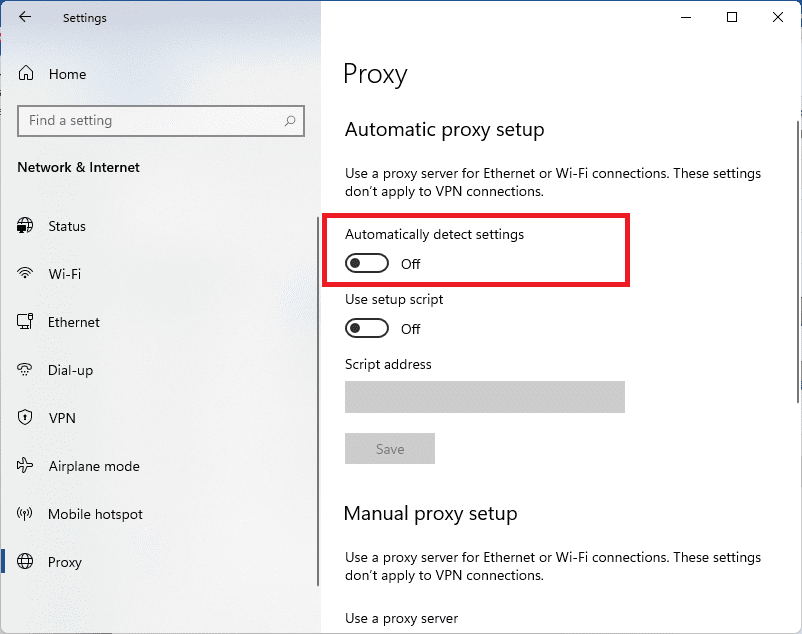
Turn off Automatically detect settings (Proxy)
4. Run the network adapter troubleshooter
Whenever you right-click on the network connection icon on the system tray and choose to troubleshoot, it runs the Internet Connections troubleshooter, resulting in the error. In addition, there is a Network adapter troubleshooter that a user can run and provide help. To run this troubleshooter, use the following steps:
Navigate to “settings” and go to “Update & Security,” then select “Troubleshoot.”
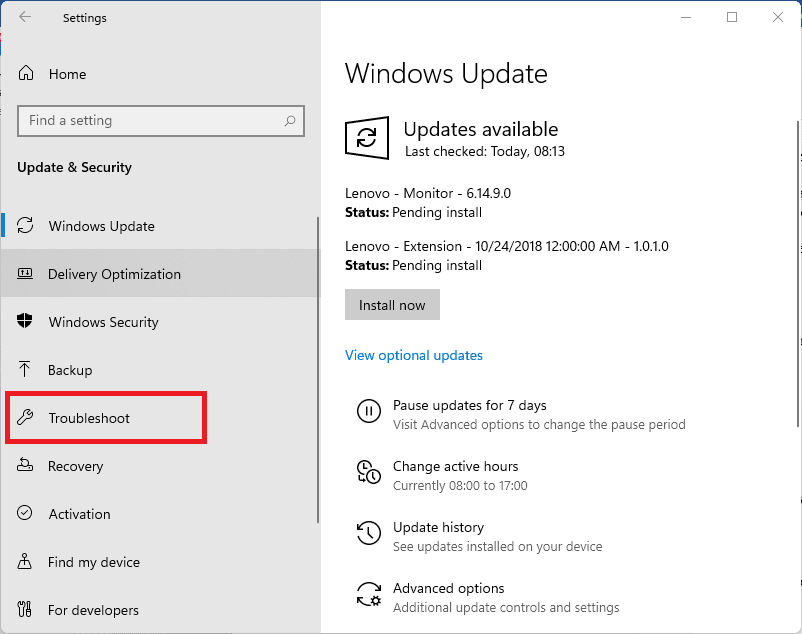
Troubleshoot settings
Next, click on Additional troubleshooters
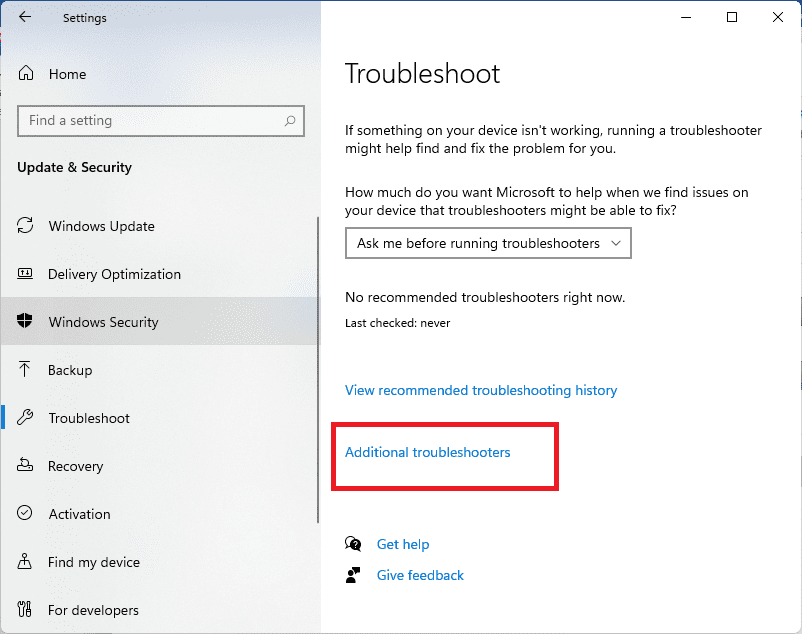
Additional Troubleshooters
Choose “Network Adapter” from the list.
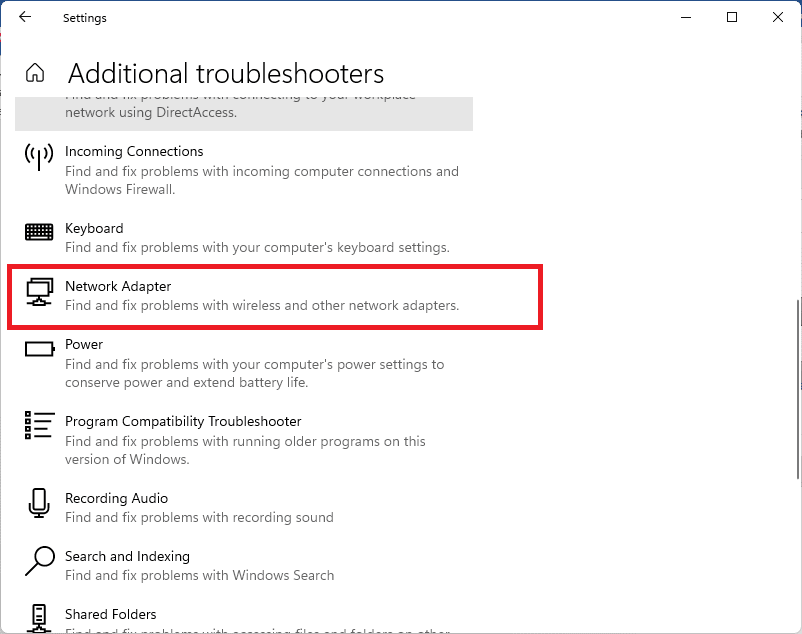
Network Adapter
Run the troubleshooter and check if the error is resolved.
5. Auto Obtain IP address and DNS info
Misconfigured IP addresses or DNS settings can cause this error even though they are technically not related to proxy settings. To check these:
Open settings, then go to Network & Internet, then Status.
Network Status
Click the Change adapter options button in the list to see all network connections.
Change Adapter options
Double click on the network you are using.
Network Properties
Click the button labeled Properties.
Select Properties button
Now double click Internet Protocol Version 4 from the list.
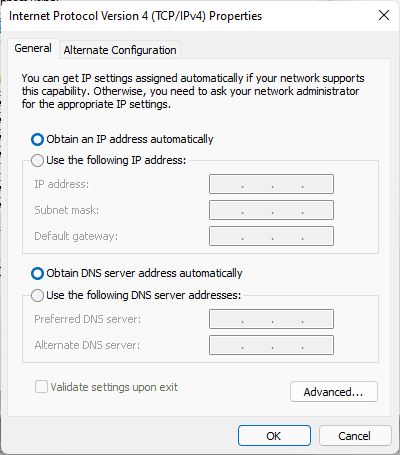
Internet Protocol version 4 properties
Ensure both Obtain an IP address automatically and Obtain DNS server address automatically are selected then click OK.
Now try your connection to check if the error has been solved. If not, proceed to the next solution.
6. Update/ roll back your network driver
Outdated network drivers may cause connection problems. Also, a user might have installed a botched update for their network driver. In both cases, replacing the driver could clear the proxy error. To do this, follow these steps:
On the Start button, right-click, then choose Device Manager.
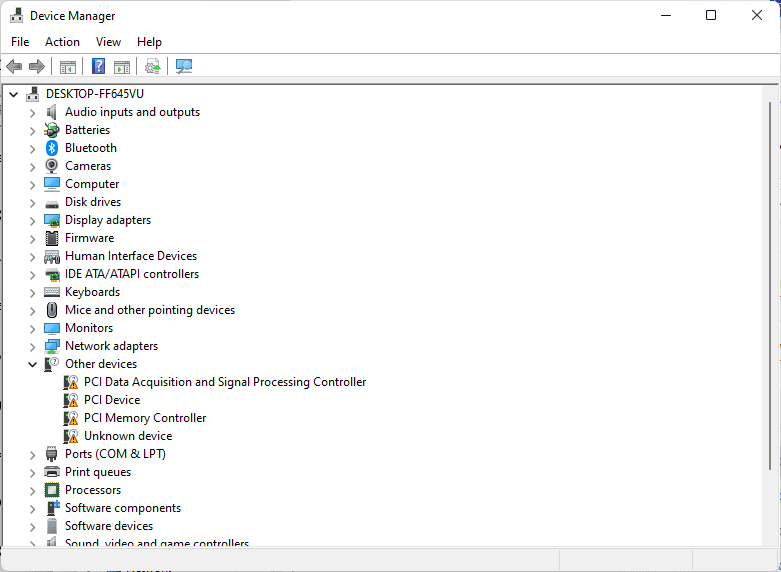
Device manager
Expand the Network Adapters section, then double click on the connection you use.
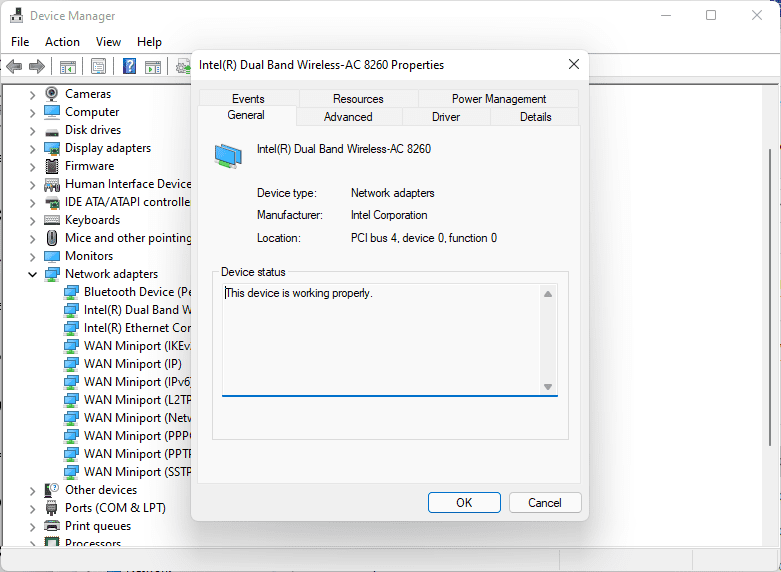
Network adapter properties
On the Driver tab, choose Rollback driver.
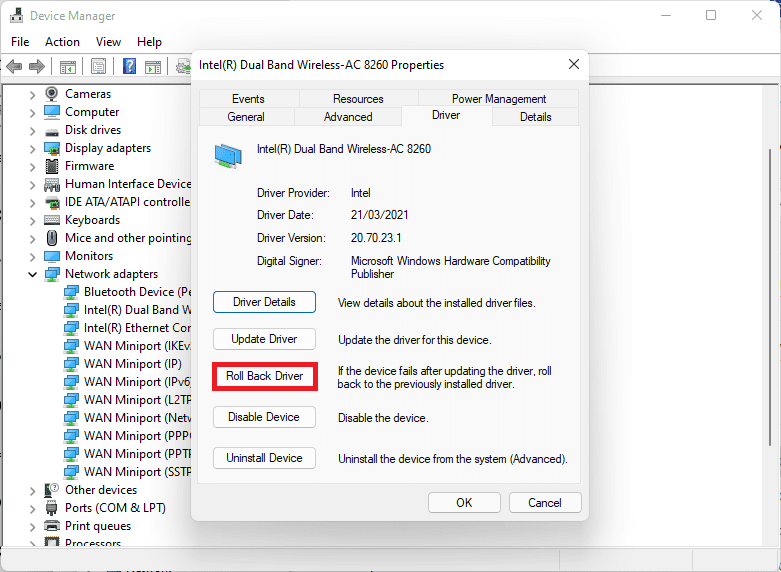
Rollback driver
This uninstalls the latest update and returns to the previous one. Use this process if you started experiencing this issue after updating, but it might not be available in all cases.
On the Driver tab, choose Update Driver. Here you can check for new updates over the internet. However, this will not find anything, so you will have to update the drivers by downloading them from the manufacture manually.
7. Resetting Network configuration through the Command Prompt
Windows usually offer network troubleshooting tools through the Command Prompt. Commands can often clear up the issue quickly. Use the following steps to clear the error through the command prompt:
On the Start button, right-click and open a Command Prompt with administrator rights.

Run CMD as Admin
Run the commands below one at a time. These commands will reset various network functions on the computer, such as getting a new IP address from the router and clearing old connection data.
netsh winsock reset
netsh int ip reset
ipconfig /release
ipconfig /renew
ipconfig /flushdns
8. Review Firewall, VPN, and Antivirus Software
You should make sure you do not have a firewall, VPN, or a security suite interfering with your network connection. For example, your software might have had an update that changed an option that you were not aware of, or you installed an app that changed the proxy settings.
You should try disabling your firewall, VPN, and antivirus one by one, then check if the error is gone. If it does go away, then the issue lies on one of the three; therefore, you will need to configure them to avoid interference with regular network activity.
9. Scanning for malware
Some malware continually messes with a computer’s proxy settings to prevent you from being online. If the “Windows could not detect this network’s proxy settings” error appears every time you reboot, then your computer is a victim of the malware.
Using a trusted anti-malware app, run the scan. The scan will detect any malware running on your computer’s system and get rid of it. If the scan finds an infection in your system, follow the recommendations, then check if your connection works normally.
10. Utilize a restore point
This feature allows you to return to a previous point known as the System Restore feature in windows. This allows your computer to return to an earlier point where it was working normally. If the error started recently, then you should try this feature. To access it do the following:
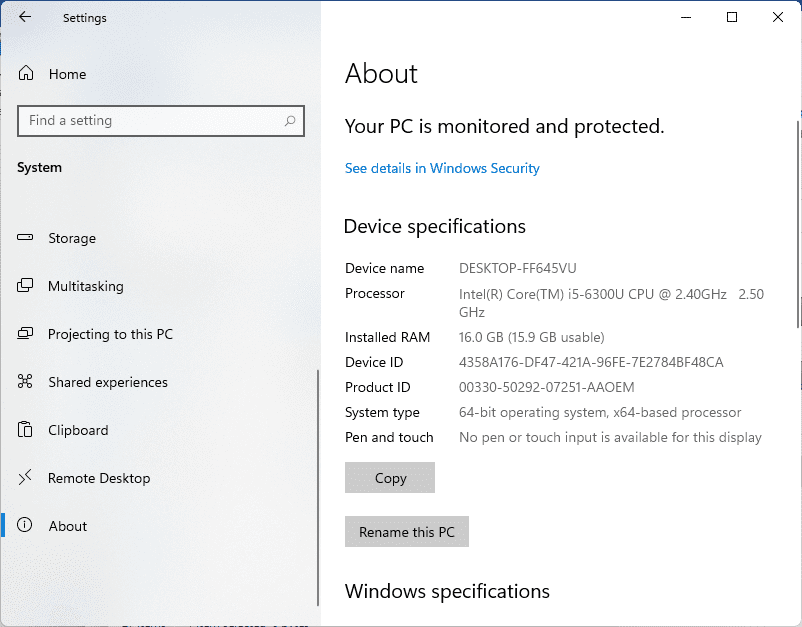
Go to Settings>System>About.
About settings
On the right sidebar, click System protection. If you can’t see it, expand the window horizontally.
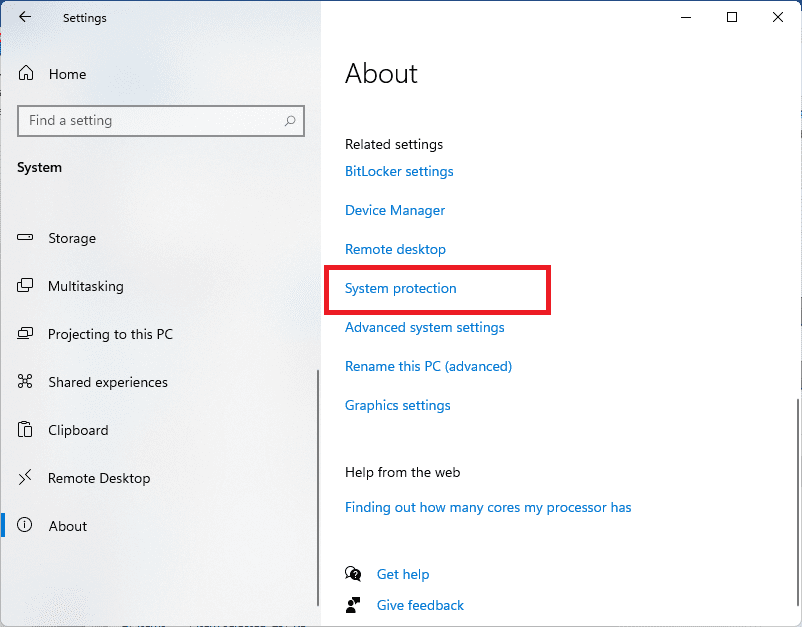
System Protection
In the System Properties discourse box on the System Protection tab, click on System Restore. A new window will pop up, and it will walk you through the process of choosing a restore point. Confirm the operation.
You can’t use this feature if your computer has not created restore points. Using this feature will remove programs and drivers that you installed since making that restore point. By clicking on Scan for affected programs, you can see affected programs.
Note: The System restore does not tamper with your personal files.
11. Reset your network settings
A reset of your network settings should clear whatever persistent problem is blocking the connection. Windows 10 has made it easy to reset your whole configuration.
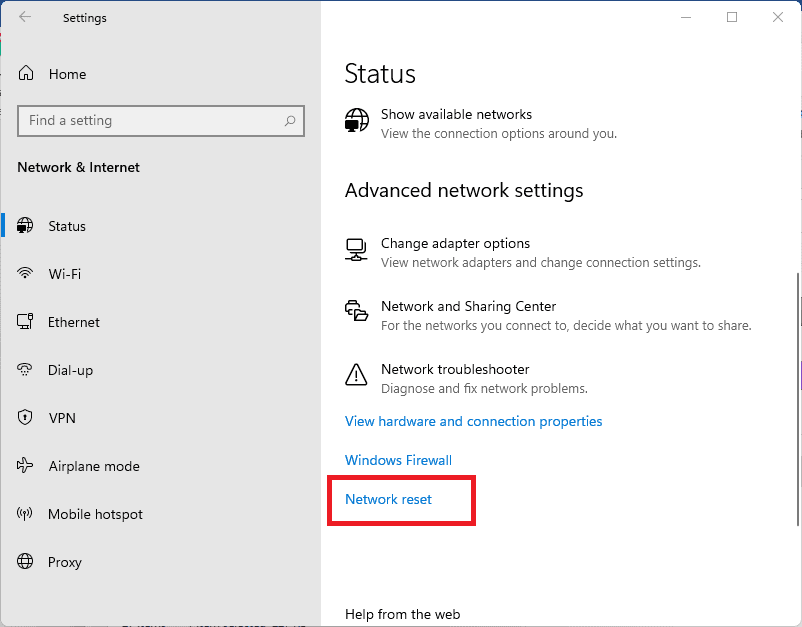
Open Settings>Network & Internet. At the bottom of the Status tab, Click on Network reset.
Network reset
Note that this will remove all network information from the computer. Therefore, you will need to reconnect to the saved networks again. If this is OK with you, click Reset now. The computer will reset then restart.
12. Restore Internet connectivity
Suppose none of these recommendations can resolve the problem. In that case, you should try using the Windows File checker tool to repair the corrupt system files that are messing with your PC’s network configurations.
As a last resort, you should try reinstalling your Windows 10 operating system.
Conclusion
This article has comprehensively covered the solutions to the “Windows could not automatically detect this network’s proxy settings” error. We believe you are now able to fix the error whenever you encounter it. Although all network errors are frustrating, you should be able to clear this error without much strain since the article has provided step-by-step guidelines making it much more manageable.
Note: It is important to have the proxy turned off if you don’t use it. Otherwise, if you regularly use it, it is recommended that you ensure it is properly configured. This will help save you the trouble of getting the error tackled in this article.
2 comments
Thank you for your support….
My laptop show the internet connection but not connect to the network. How to solve.